Real home tours have become a powerful way to showcase interior design, architecture, and lifestyle inspiration. Whether you’re a homeowner wanting to share your space, a real‑estate professional highlighting a property, or a content creator building a portfolio, a well‑executed home tour can captivate viewers and convey the unique story of a home. This guide walks you through the entire process—from planning and preparation to filming, editing, and publishing—so you can create a polished, data‑driven home tour that feels authentic and engaging.
1. Planning Your Real Home Tour
Define Your Objective and Audience
- Objective: Decide if the tour is for sales, inspiration, or documentation.
- Audience: Identify demographics (e.g., first‑time buyers, design enthusiasts) to tailor the narrative.
Gather Data and Metrics
Collect key data points that will add credibility and interest:
- Square footage of each room.
- Year built and any recent renovations.
- Energy‑efficiency ratings (e.g., ENERGY STAR, LEED).
- Cost of major upgrades (kitchen remodel, flooring).
Create a Shot List
Map out a logical flow that mirrors how a visitor would move through the space. A typical sequence includes:
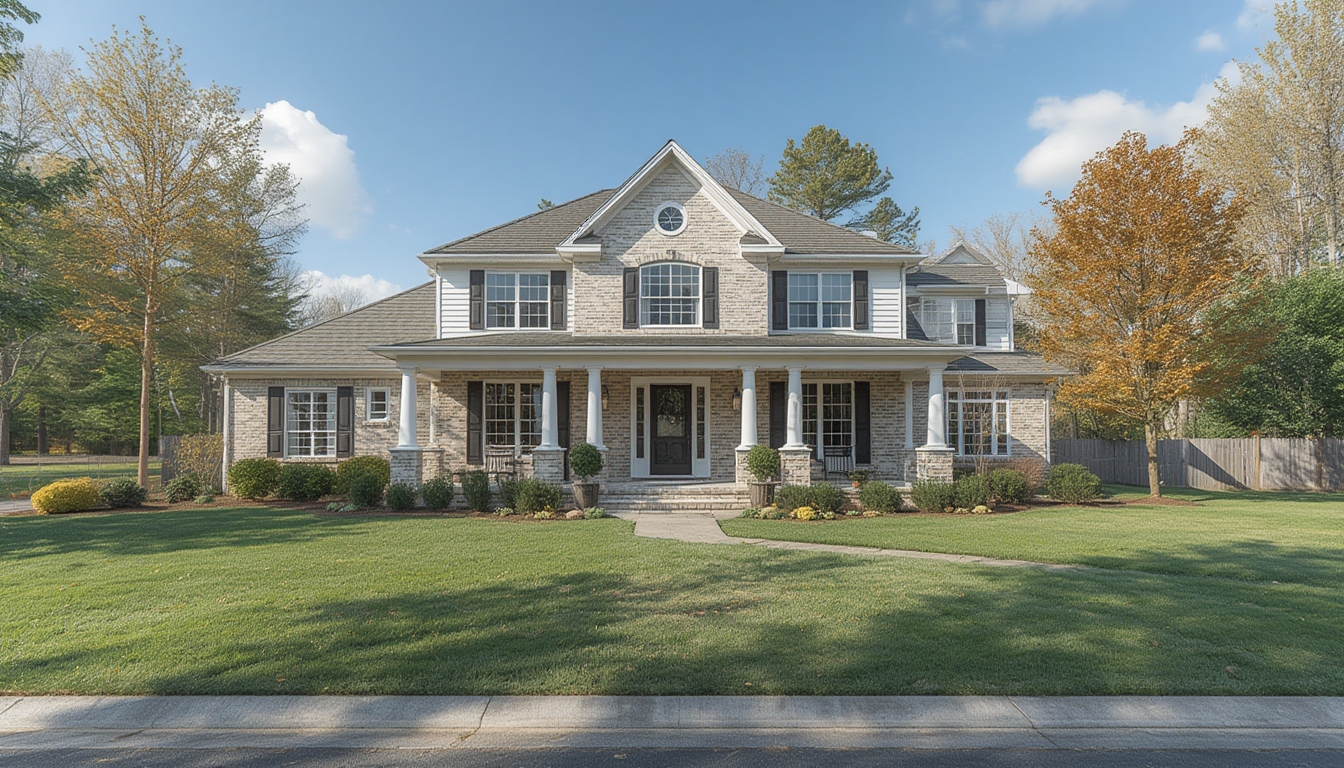
- Exterior curb appeal.
- Entryway and foyer.
- Living areas (living room, dining room).
- Kitchen and pantry.
- Bedrooms and bathrooms.
- Special features (home office, gym, outdoor patio).
- Utility spaces (laundry, garage).
Assign a brief description and data point to each shot, ensuring you capture both visual appeal and factual information.
2. Preparing the Home
Declutter and Stage
- Remove personal items (photos, paperwork) to keep the focus on the space.
- Use neutral décor to highlight architecture; add a few accent pieces for personality.
- Arrange furniture to create clear sightlines and balanced composition.
Lighting Optimization
Natural light is your best friend. Follow these steps:
- Film during mid‑morning or late afternoon when sunlight is soft.
- Open curtains and blinds to let in as much light as possible.
- Turn on all interior lights to eliminate dark corners.
- Use portable LED panels (5000K, CRI 95+) to fill shadows in rooms with limited windows.
Technical Checks
- Test Wi‑Fi strength if you plan to stream live.
- Charge all batteries (camera, gimbal, phone).
- Clear storage space on your recording device (at least 20 GB free).
3. Equipment and Tools You’ll Need
Camera Options
| Device | Pros | Cons |
|---|---|---|
| Mirrorless (e.g., Sony A7 IV) | 4K 60fps, interchangeable lenses, excellent low‑light performance | Higher cost, larger footprint |
| Smartphone (iPhone 15 Pro) | Portability, built‑in stabilization, easy sharing | Limited zoom, smaller sensor |
| Action Cam (GoPro HERO 12) | Wide‑angle, rugged, great for tight spaces | Audio quality needs external mic |
Stabilization Gear
- 3‑axis gimbal for smooth walkthroughs.
- Tripod with a fluid head for static shots (e.g., kitchen countertops).
- Slider (optional) for cinematic horizontal movement.
Audio and Lighting
- Shotgun microphone or wireless lavalier for narration.
- Portable LED panels with adjustable brightness.
- Reflectors to bounce natural light into darker corners.
4. Filming the Tour
Set Up Your Camera Settings
- Resolution: 4K (3840 × 2160) for high‑detail playback.
- Frame rate: 30 fps for a natural look; 60 fps if you plan to create slow‑motion highlights.
- White balance: Use a custom Kelvin setting (usually 5600 K for daylight).
- Focus: Switch to manual focus and lock it on a central point to avoid hunting.
Capture the Walkthrough
- Exterior: Start with a wide establishing shot, then move closer to highlight landscaping and entry details.
- Entryway: Walk through the front door, keeping the camera at eye level (≈5 ft). Use a slow, steady pace—about 1 m/s.
- Room Transitions: Pause briefly at doorways to let viewers absorb each space before moving on.
- Detail Shots: After the main walkthrough, return to capture close‑ups of unique features (e.g., custom crown molding, smart thermostat).
- Narration: Record a voice‑over on location or add it in post‑production. Mention data points (square footage, renovation cost) as you enter each room.
Maintain Consistency
Keep the camera height and speed consistent throughout the tour. Use a speed‑controlled gimbal mode (e.g., “Follow” with a set follow‑speed of 0.5) to avoid jerky movements.
5. Post‑Production Workflow
Organize Your Footage
- Create folders:
Raw,Audio,Graphics,Exports. - Rename clips with a clear convention (e.g.,
01_Exterior_Wide.mp4).
Editing Steps
- Import clips into your editing software (Adobe Premiere Pro, DaVinci Resolve, or Final Cut Pro).
- Place the main walkthrough on the timeline in the order of your shot list.
- Trim excess footage—aim for 2‑3 seconds per room transition to keep the total runtime around 5‑7 minutes.
- Add lower‑third graphics that display the data points you collected (e.g., “3,200 sq ft – Built 1998”).
- Sync or record the narration, ensuring a calm, conversational tone.
- Apply color correction: adjust exposure, contrast, and white balance for a cohesive look.
- Insert background music (royalty‑free) at a low volume (≈‑20 dB) to maintain focus on narration.
- Export in two formats: 1080p MP4 for quick web upload and 4K MP4 for high‑quality archive.
Data‑Driven Enhancements
Overlay simple charts or icons to illustrate:
- Energy savings (e.g., “30% lower utility bills”).
- Renovation timeline (e.g., “Kitchen remodel: Jan‑Mar 2023”).
- Cost breakdown (e.g., “Flooring upgrade: $12,500”).
6. Publishing on WordPress
Upload the Video
- Use the native WordPress video block for the 1080p version to ensure fast loading.
- Add the 4K version as a downloadable file for enthusiasts who want the highest quality.
Structure the Post
- Start with a brief introduction that sets the scene and mentions the home’s key stats.
- Insert the video after the intro.
- Follow with a series of
<h2>sections that correspond to each major area (Exterior, Living Room, Kitchen, etc.). - Within each
<h2>, use<h3>subheadings for “Design Highlights,” “Materials Used,” and “Data Points.” - Conclude with a call‑to‑action (e.g., “Contact us for a private showing”).
Optimize for User Experience
- Enable lazy loading for images and the video thumbnail.
- Include alt text on images that describes the visual and any relevant data.
- Use internal links to related tours or blog posts for deeper engagement.
7. Practical Tips for Ongoing Success
Maintain a Consistent Brand Look
Develop a template for lower‑third graphics (same font, color palette, and logo placement). This creates a recognizable visual identity across multiple tours.
Leverage Viewer Analytics
After publishing, monitor watch‑time, drop‑off points, and click‑through rates. If viewers consistently exit at a certain segment, revisit that part of the tour for tighter editing or clearer narration.
Schedule Regular Updates
Homes evolve—new paint, furniture, or seasonal décor can refresh a tour. Plan a quarterly review to capture any changes and re‑upload an updated version.
Backup All Raw Assets
Store original footage, audio files, and project files on a cloud service (e.g., Google Drive or Dropbox) and a local external SSD. This safeguards against data loss and makes future revisions easier.
Engage with Your Audience
Invite comments and questions at the end of the post. Respond promptly with additional data or behind‑the‑scenes photos, which can increase dwell time and foster community trust.
By following these data‑driven steps, you’ll produce a real home tour that not only looks professional but also delivers valuable information to viewers. The combination of thoughtful planning, precise execution, and clear presentation ensures that each tour becomes a compelling showcase of the home’s character and functionality.