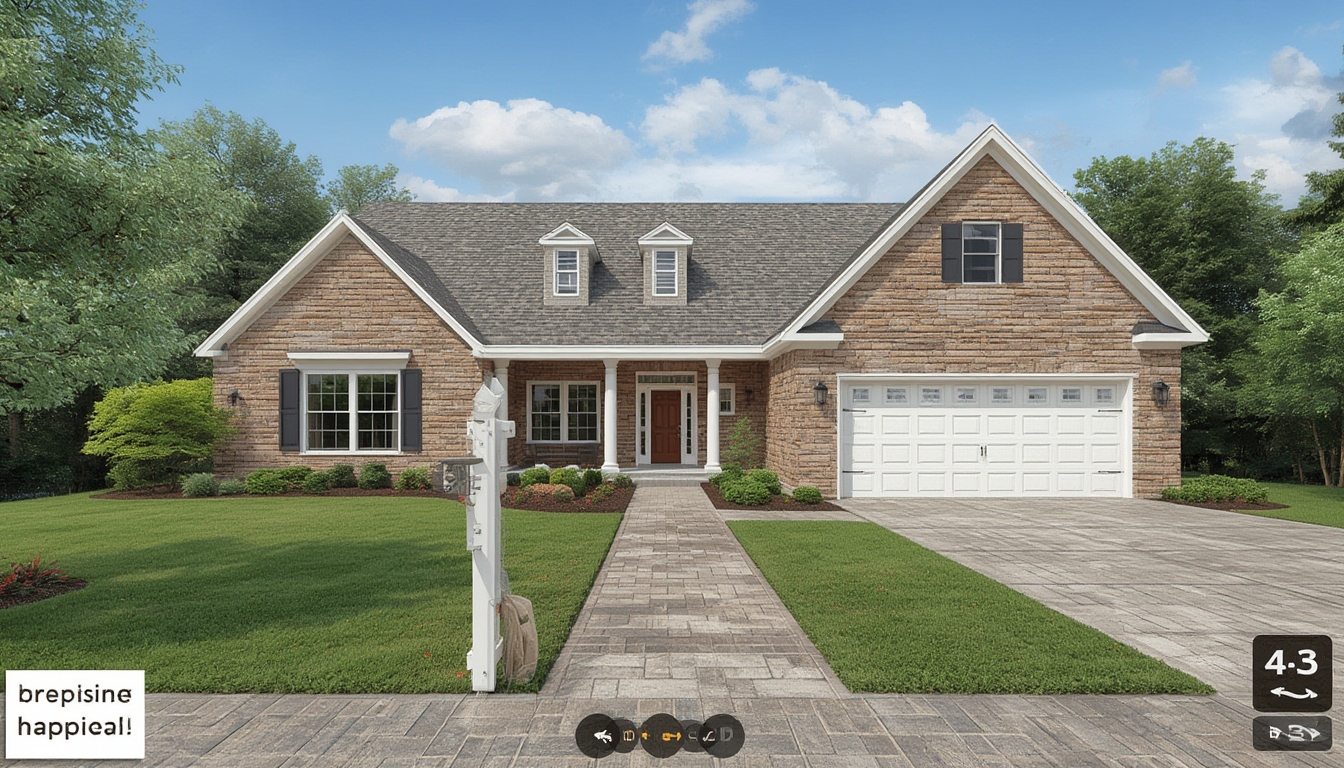
Real home tours have become a staple for homeowners, interior designers, and real‑estate enthusiasts looking to showcase spaces in an authentic, immersive way. Whether you’re planning to film a walkthrough, curate a photo gallery, or build an interactive 3‑D experience, a well‑structured approach ensures the final piece feels polished and engaging. Below is a step‑by‑step guide that walks you through the entire process—from preparation and equipment selection to post‑production styling—so you can confidently deliver a professional‑grade home tour that resonates with viewers.
1. Planning Your Real Home Tour
Define the Tour’s Purpose
Start by clarifying the primary goal of the tour. Are you highlighting a recent renovation, showcasing a model home for sale, or providing design inspiration? Knowing the purpose helps you decide which rooms to prioritize, the narrative flow, and the level of detail required.
Create a Shot List
Draft a detailed shot list that outlines every space, angle, and focal point you want to capture. Include notes such as “wide‑angle of living room sofa area” or “close‑up of kitchen backsplash tiles.” This list serves as a checklist on the day of filming and ensures you don’t miss any critical details.
Scout the Property
Visit the home in advance to assess lighting conditions, potential obstacles, and any areas that may need staging. Take quick reference photos and note the best times of day for natural light in each room. This scouting step reduces surprises and helps you schedule the shoot efficiently.
2. Assembling the Right Tools
Camera Gear
- DSLR or Mirrorless Camera: Choose a model with 4K video capability and good low‑light performance.
- Wide‑Angle Lens (16‑35mm): Captures spacious interiors without distortion.
- Stabilizer or Gimbal: Keeps footage smooth during handheld movement.
- Tripod: Essential for static shots and time‑lapse sequences.
Audio Equipment
- Lavalier Mic: Ideal for on‑camera narration.
- Shotgun Mic: Captures ambient room sounds for a more immersive feel.
Lighting Essentials
- Portable LED Panels: Provide consistent fill light in dim rooms.
- Softboxes or Diffusers: Soften harsh shadows on walls and furniture.
- Reflectors: Bounce natural light to brighten corners.
Staging Materials
- Neutral throw pillows, fresh flowers, or a bowl of fruit to add liveliness.
- Clean, decluttered surfaces – remove personal items that distract the viewer.
- Coordinated color accents that match the home’s design palette.
3. Preparing the Space
Declutter and Deep Clean
Before any camera rolls, ensure each room is tidy. Remove everyday clutter (toys, mail, dishes) and give surfaces a thorough cleaning. A spotless environment lets viewers focus on design elements rather than mess.
Stage for Visual Appeal
Arrange furniture to create natural pathways for the camera. For instance, position a coffee table centrally so the camera can glide around it, showcasing both the table and surrounding seating. Add subtle decorative pieces that complement the room’s style without overwhelming it.
Control Lighting
Open curtains to maximize natural light, but use blackout curtains if glare is an issue. Supplement with LED panels positioned at 45‑degree angles to fill shadows. Aim for a balanced exposure that highlights textures—think wood grain, fabric weaves, and wall finishes.
4. Filming the Tour
Set Up a Consistent Walkthrough Path
Map out a logical flow that mimics how a visitor would naturally move through the home. Typically, start at the front entrance, proceed through the main living areas, then transition to private spaces like bedrooms and bathrooms. Consistency helps viewers maintain orientation.
Use Smooth Camera Movements
Employ a gimbal for steady, gliding shots. Keep the camera at eye level (approximately 5‑6 feet) to emulate a natural perspective. For each room, start with a wide establishing shot, then transition to medium and close‑up shots that highlight unique features (e.g., a custom fireplace mantle or a statement light fixture).
Capture Ambient Sound
While narrating, also record the natural acoustics of each space. The subtle hum of a ceiling fan or the echo in a vaulted ceiling adds depth to the final video. Use a shotgun mic placed a few feet away to capture these ambient tones without overpowering the narration.
Record Narration in Segments
Instead of narrating continuously, pause after each room and record a concise description. This approach reduces background noise and allows you to edit each segment independently, making it easier to adjust pacing during post‑production.
5. Post‑Production Styling
Organize Your Footage
Import all video clips into a dedicated folder structure: /01_RawFootage, /02_Audio, /03_Stills. Label each file with the room name and shot type (e.g., LivingRoom_Wide_01.mp4) to streamline editing.
Edit for Flow and Pacing
- Start with a brief intro that sets the scene (e.g., “Welcome to this modern farmhouse in Austin.”)
- Trim each clip to keep only the most compelling moments—aim for 5‑10 seconds per shot.
- Insert smooth transitions (cross‑fade or dissolve) between rooms to maintain continuity.
Enhance Color and Lighting
Apply a subtle color grade to unify the look across all rooms. Increase contrast slightly to bring out texture, and adjust white balance if any clips appear too warm or cool. Ensure the final output reflects the true colors of the home’s interior.
Add Text Overlays and Graphics
Use clean, sans‑serif fonts for on‑screen labels that identify each space (e.g., “Master Bedroom”). Include brief bullet points for key features—like “Walk‑in closet” or “Heated flooring”—to provide quick, digestible information.
Incorporate Background Music
Select a low‑key instrumental track that complements the home’s vibe. Keep the volume low enough that narration remains the focal point. Loop the music seamlessly to avoid abrupt starts or stops.
6. Publishing on WordPress
Upload Video and Images
Navigate to the WordPress dashboard, create a new post, and use the “Add Media” button to upload your edited video file (preferably in MP4 format) and any high‑resolution stills. For faster loading, consider hosting the video on a platform like YouTube or Vimeo and embedding it via the provided iframe code.
Structure the Post with Headings
Use <h2> tags for major sections (e.g., “Planning Your Real Home Tour”) and <h3> tags for sub‑sections (e.g., “Define the Tour’s Purpose”). This hierarchy improves readability and guides the reader through the content logically.
Insert Actionable Tips in Call‑Out Boxes
Wrap short, actionable advice in a styled <div class="tip"> block to make it stand out. Example:
<div class="tip">
  <strong>Tip:</strong> Use a handheld reflector to bounce natural light onto dark corners, eliminating the need for additional LED panels.
</div>
Optimize for Mobile Viewing
Ensure all embedded media are responsive. In the block editor, select the “Full Width” alignment for videos and images, and verify that they scale correctly on mobile devices by previewing the post in responsive mode.
Publish and Promote
After a final review, click “Publish.” Share the post link across social platforms, embed it in newsletters, and consider adding a short teaser clip on Instagram or TikTok to drive traffic back to the full tour on your WordPress site.
7. Ongoing Maintenance and Updates
Gather Viewer Feedback
Monitor comments and analytics to see which sections receive the most engagement. Use this data to refine future tours—perhaps focusing more on high‑interest areas like kitchens or outdoor spaces.
Refresh Content Periodically
If the home undergoes renovations or seasonal décor changes, update the tour with new footage or photos. Replace outdated media in the WordPress media library and republish the post to keep it current.
Backup Your Assets
Store original footage, edited files, and project files on an external hard drive or cloud storage service. Regular backups protect your work against accidental loss and make it easier to revisit the project for future edits.
By following these structured steps—planning, equipping, staging, filming, editing, and publishing—you’ll produce a real home tour that not only showcases the property’s best features but also provides a seamless viewing experience for your audience. The combination of thoughtful preparation and meticulous execution ensures each tour feels both authentic and professionally crafted, helping you stand out in a crowded digital landscape.