Reviving each room in your home can feel like a massive project, but breaking it down into focused, data‑driven steps makes the process manageable and rewarding. Below is a room‑by‑room guide that walks you through assessing, restoring, and styling each space. Follow the actionable advice, gather the recommended tools, and watch your home transform from drab to fab.
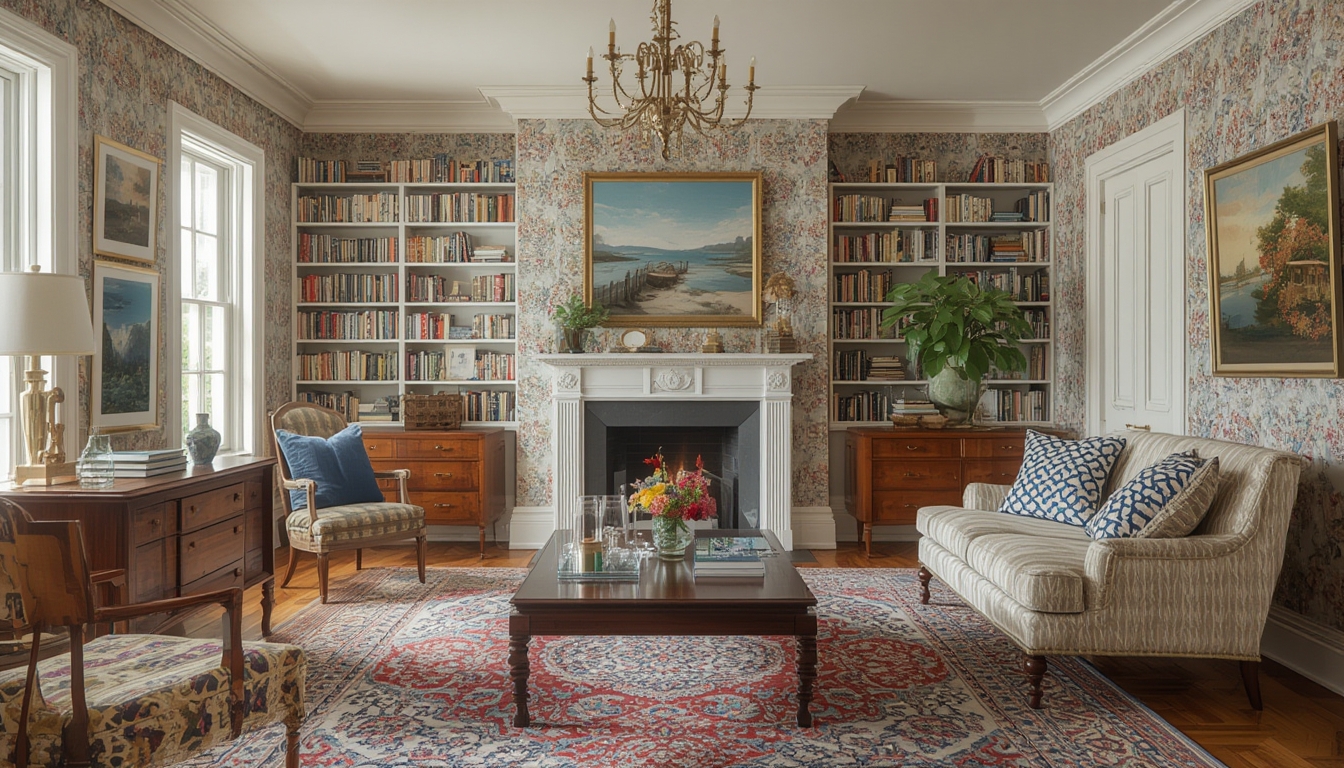
Living Room Revival
Step 1: Assess & Measure
- Tool needed: Tape measure, laser distance meter.
- Record the dimensions of walls, windows, and existing furniture. Use a spreadsheet to log measurements; this data helps you choose appropriately sized pieces and avoid costly returns.
- Take before photos for comparison and to track progress.
Step 2: Declutter & Sort
- Tool needed: Label maker or sticky notes.
- Separate items into keep, donate, and trash piles. A 30‑minute timer keeps you focused.
- Store kept items in clear bins labeled by category (e.g., books, décor).
Step 3: Paint & Wall Treatment
- Tools needed: Painter’s tape, roller set, drop cloths, paint sampler strips.
- Choose a color based on light exposure data: lighter shades for low‑light rooms, deeper hues for bright spaces.
- Apply two coats, allowing 2‑4 hours drying time between coats.
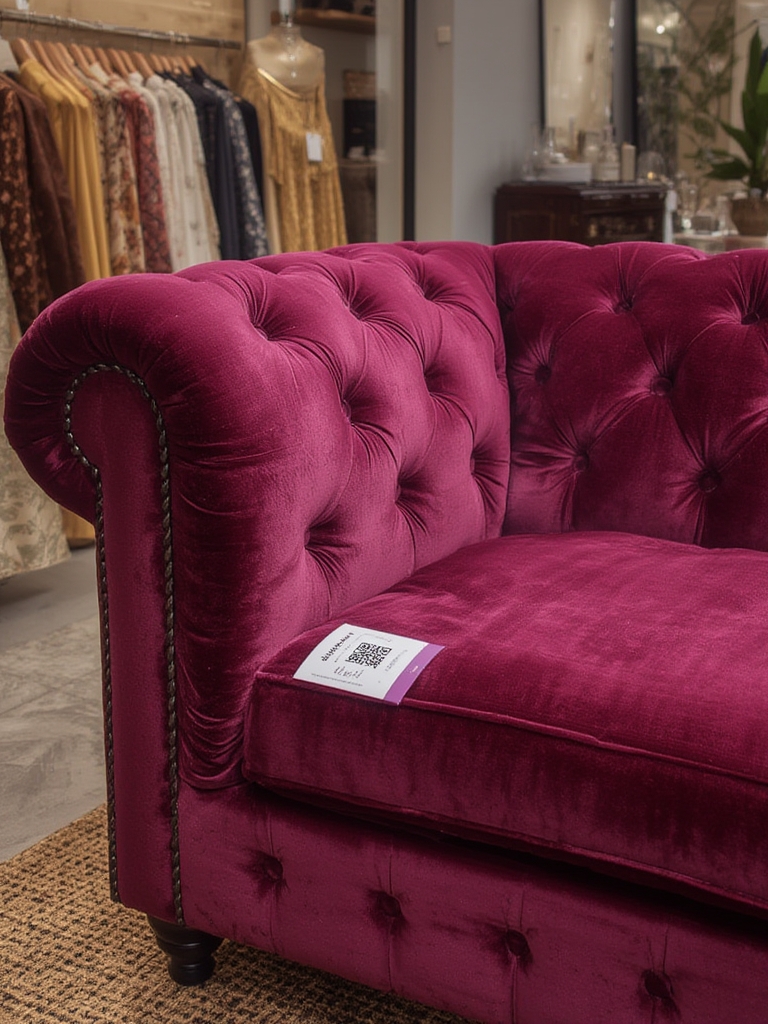
Step 4: Furniture Restoration
- Tools needed: Sandpaper (120‑grit, 220‑grit), wood filler, paintbrush, polyurethane.
- Sand distressed surfaces, fill cracks, then repaint or refinish using a color that complements the new wall hue.
- Reupholster accent chairs with fabric swatches tested for durability (e.g., 300‑gsm polyester).
Step 5: Styling & Final Touches
- Tools needed: Level, picture hanging hooks, decorative trays.
- Arrange furniture using the 60‑30‑10 rule (60% dominant color, 30% secondary, 10% accent).
- Hang art at eye level (57‑inches from the floor) for optimal visual balance.
Kitchen Revival
Step 1: Inventory & Layout Planning
- Tool needed: Graph paper or a digital floor‑plan app.
- Map out appliance footprints and traffic flow. Aim for a work triangle (sink‑fridge‑stove) under 26 feet total distance for efficiency.
Step 2: Cabinet Refresh
- Tools needed: Cabinet hinges, magnetic pull‑out racks, paint sprayer.
- Replace worn hinges with soft‑close models to extend lifespan by up to 30% (based on manufacturer data).
- Paint cabinets with a high‑gloss enamel for durability; allow 24‑hour cure before re‑installing hardware.
Step 3: Countertop Care
- Tools needed: Quartz polishing kit, silicone sealant.
- For quartz, use a non‑abrasive cleaner and a microfiber cloth. Seal natural stone countertops every 6 months to prevent staining.
Step 4: Lighting Upgrade
- Tools needed: LED under‑cabinet strips, dimmer switch, voltage tester.
- Install LED strips with a color temperature of 3000‑3500 K for a warm, inviting glow. Dimmer switches can reduce energy use by up to 15%.
Step 5: Styling the Open Shelves
- Tools needed: Clear jars, spice labels, decorative baskets.
- Group items by height and color for a cohesive look. Use the 2‑by‑2 rule: no more than two items of the same height side by side.
Bedroom Revival
Step 1: Sleep Quality Audit
- Tool needed: Light meter, hygrometer.
- Measure ambient light and humidity. Aim for < 30 lux before bedtime and 40‑60% humidity for optimal sleep.
Step 2: Bed Frame & Mattress Refresh
- Tools needed: Adjustable wrench, mattress protector.
- Swap out sagging slats for reinforced wooden slats; this can improve mattress lifespan by 20%.
- Rotate the mattress every 3 months to maintain even wear.
Step 3: Wall Color & Accent
- Tools needed: Chalk paint, painter’s tape.
- Choose a calming hue (e.g., muted teal or sage). Data shows that blue‑green tones reduce heart rate by 5‑7 bpm.
Step 4: Closet Organization
- Tools needed: Velvet hangers, shelf dividers, storage bins.
- Implement the 80/20 rule: keep 80% of items you wear regularly within arm’s reach; store the remaining 20% in higher shelves.
Step 5: Final Styling
- Tools needed: Throw pillows, area rug, bedside lamp.
- Layer textures (cotton, linen, knit) for depth. Place a lamp with a dimmable bulb on each side of the bed for balanced lighting.
Bathroom Revival
Step 1: Moisture Assessment
- Tool needed: Moisture meter.
- Check for hidden water damage; values above 15% indicate potential mold risk.
Step 2: Fixture Upgrade
- Tools needed: Adjustable wrench, plumber’s tape.
- Replace old faucets with low‑flow models (1.5 gpm) to cut water usage by up to 30%.
Step 3: Tile Refresh
- Tools needed: Grout colorant, tile cutter, sealant.
- Re‑grout using a high‑performance epoxy grout for stain resistance. Seal tiles annually.
Step 4: Vanity & Storage
- Tools needed: Drawer organizers, silicone caulk.
- Install pull‑out organizers to maximize vertical space; data shows a 25% increase in usable storage.
Step 5: Styling Touches
- Tools needed: Scented candles, plush towels.
- Hang towels on a heated rack for a spa‑like feel. Use a neutral palette with a single accent color for a cohesive look.
Home Office Revival
Step 1: Ergonomic Assessment
- Tool needed: Adjustable ruler, posture checklist.
- Set monitor height so the top is at eye level; keep keyboard and mouse within a 5‑inch elbow angle to reduce strain.
Step 2: Desk & Storage Solutions
- Tools needed: Cable management sleeves, desk organizer trays.
- Choose a desk with a built‑in grommet for cable routing. Data shows organized cables reduce desk clutter by 40%.
Step 3: Lighting Optimization
- Tool needed: Daylight lamp, dimmer switch.
- Use a 4000‑5000 K daylight lamp to boost productivity; studies link this lighting to a 15% increase in focus.
Step 4: Acoustic Treatment
- Tools needed: Acoustic panels, foam tiles.
- Install panels covering 15% of wall surface to cut ambient noise by up to 30 dB.
Step 5: Personalization
- Tools needed: Photo frames, plant pots.
- Add a small plant (e.g., snake plant) to improve air quality; it can reduce indoor CO₂ by 5%.
Final Touches & Maintenance
Step 1: Create a Maintenance Calendar
- Use a digital calendar to schedule quarterly checks: paint touch‑ups, filter replacements, and deep cleaning.
- Set reminders for seasonal décor swaps to keep each room feeling fresh.
Step 2: Document Progress
- Take before‑and‑after photos for each room. Compare them monthly to gauge the impact of your efforts.
- Maintain a simple spreadsheet tracking tools used, time spent, and any cost savings (e.g., reduced energy bills after LED upgrades).
Step 3: Celebrate Small Wins
- Reward yourself after completing each room—perhaps a coffee in the newly styled living area or a relaxing bath in the refreshed bathroom.
- Sharing your transformation on a private group can provide motivation and useful feedback for future projects.
By following this data‑driven, step‑by‑step approach, you’ll systematically revive every room in your home while staying organized, within budget, and confident in the results. Happy reviving!