Welcome to the world of DIY & upcycle projects, where creativity meets sustainability. In this guide we’ll walk you through three popular upcycling ideas—transforming a wooden pallet into a coffee table, reviving an old dresser with a fresh coat of paint and new hardware, and turning glass bottle caps into a vibrant mosaic backsplash. Each project is broken down into clear, actionable steps, complete with the tools you’ll need and handy tips to keep the process smooth and rewarding.
Project 1: Pallet Coffee Table
Materials & Tools
- 1 sturdy wooden pallet (preferably heat‑treated)
- Sandpaper (80‑grit and 220‑grit)
- Wood filler
- Paint or stain of your choice
- Brushes or a small roller
- Four metal legs (adjustable or fixed)
- Drill with 1/4‑inch drill bit
- Measuring tape
- Safety glasses & dust mask
Step‑by‑Step Assembly
- Inspect and Clean the Pallet – Lay the pallet flat and remove any nails or staples with pliers. Sweep away dust and debris.
- Sand the Surface – Start with 80‑grit sandpaper to smooth rough edges, then finish with 220‑grit for a silky feel. Sand both the top and the underside.
- Fill Gaps – Apply wood filler to cracks or holes, let it dry per the manufacturer’s instructions, then sand smooth.
- Paint or Stain – Apply a thin coat of primer if you’re painting. Follow with two coats of paint or stain, allowing each coat to dry completely (usually 2‑4 hours).
- Attach the Legs – Measure and mark the four corners where the legs will go. Drill pilot holes (1/4‑inch) to prevent splitting. Secure each leg with screws, tightening evenly.
- Final Touches – Add a clear sealant for extra durability, especially if the table will hold drinks or hot items.
Practical Tips
- Use a power sander for faster results on larger pallets.
- If you prefer a rustic look, skip the primer and apply a distressed paint technique.
- Adjustable legs let you level the table on uneven floors.
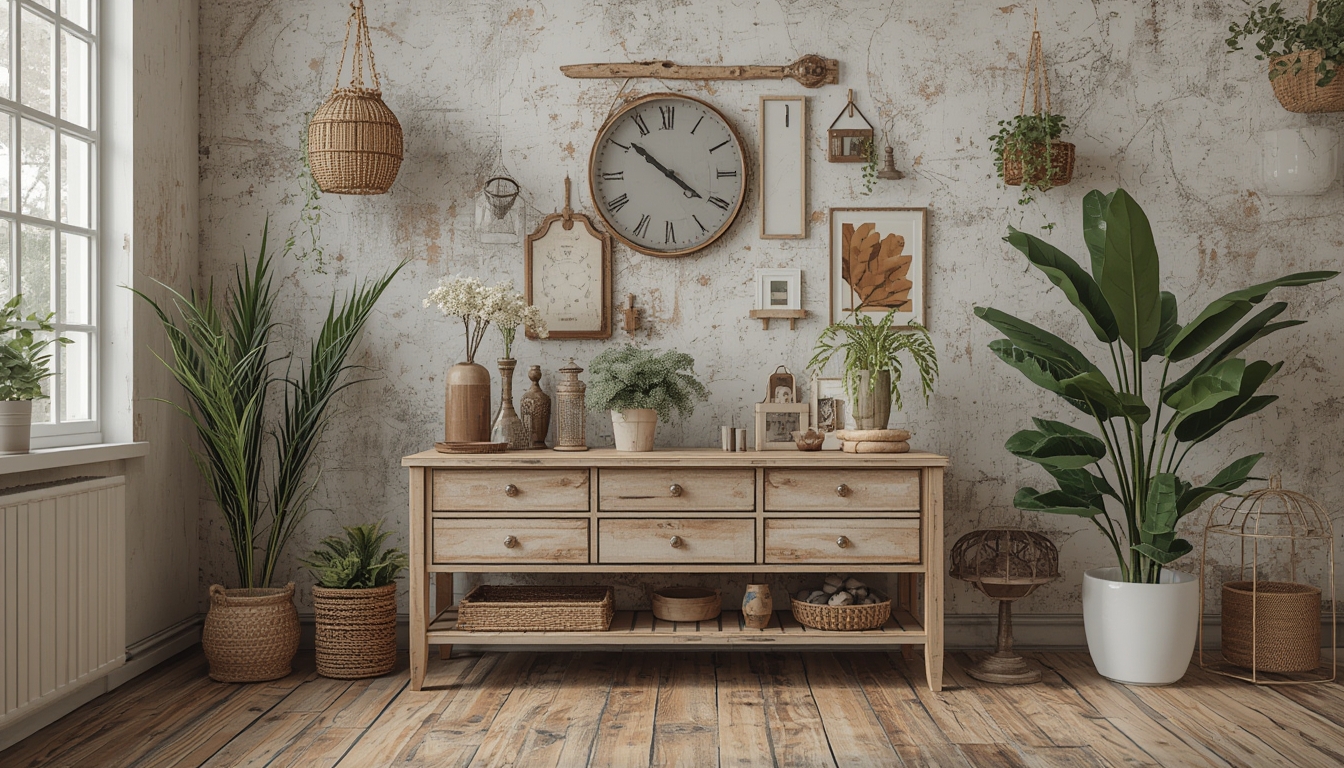
Project 2: Revitalized Dresser
Materials & Tools
- Old wooden dresser
- Paint stripper (gel or liquid)
- Scraper and steel wool
- Sandpaper (120‑grit and 320‑grit)
- Primer (bonding type)
- Paint (chalk, matte, or glossy)
- New drawer pulls or knobs
- Drill with assorted bits
- Measuring tape and pencil
- Drop cloth
- Gloves and eye protection
Step‑by‑Step Restoration
- Prepare Your Workspace – Lay a drop cloth on the floor, open windows for ventilation, and wear gloves.
- Strip the Old Finish – Apply paint stripper according to the label, let it sit, then scrape with a putty knife. Use steel wool for stubborn spots.
- Sand the Surface – Begin with 120‑grit sandpaper to remove remaining residue, then finish with 320‑grit for a smooth base.
- Repair Imperfections – Fill dents or scratches with wood filler, sand once dry.
- Prime – Apply a bonding primer to all surfaces, including inside drawers. This ensures the new paint adheres properly.
- Paint – Use a brush for edges and a roller for flat panels. Two thin coats yield a professional finish; allow 24 hours between coats.
- Swap the Hardware – Measure the existing holes, then drill new pilot holes if the new pulls are larger. Screw in the new knobs or handles.
- Reassemble – Place drawers back, check that they glide smoothly. Add felt pads to the bottom if you want to protect flooring.
Practical Tips
- Test the paint stripper on a hidden area first to gauge how long it needs to sit.
- For a vintage vibe, consider a two‑tone paint scheme—light on the top, darker on the legs.
- Use a rubber mallet to gently tap any stubborn drawer slides back into place.
Project 3: Bottle‑Cap Mosaic Backsplash
Materials & Tools
- Assorted glass bottle caps (cleaned)
- Backsplash substrate (plywood or cement board)
- Tile adhesive (thin‑set mortar)
- Grout (color of choice)
- Tile cutter or nippers
- Notched trowel (1/4‑inch)
- Rubber float
- Sponges and bucket
- Sealant (clear silicone)
- Protective gloves
Step‑by‑Step Installation
- Plan Your Design – Sketch a simple pattern on paper. Arrange caps on the floor to visualize spacing before committing.
- Prepare the Surface – Ensure the substrate is clean, dry, and level. Apply a thin layer of primer if it’s raw plywood.
- Apply Adhesive – Spread thin‑set mortar with a notched trowel, covering a small area (about 2 sq ft) at a time to prevent drying.
- Set the Caps – Press each bottle cap into the mortar, leaving a uniform 1‑mm gap for grout. Use a tile cutter to trim caps that need to fit edges.
- Let the Mortar Cure – Follow the manufacturer’s cure time (usually 24 hours).
- Grout the Gaps – Mix grout to a smooth consistency, apply with a rubber float, pressing it into the gaps. Wipe excess with a damp sponge.
- Seal the Mosaic – Once grout is fully dry (48 hours), apply a clear silicone sealant over the entire surface to protect against moisture.
- Clean Up – Remove any haze with a soft cloth and admire your colorful new backsplash.
Practical Tips
- Collect caps from a variety of colors for a vibrant, eclectic look.
- Wear gloves when handling grout to avoid skin irritation.
- If you need a curved edge, use a flexible tile cutter or carefully snap caps with nippers.
These three DIY & upcycle projects prove that with a few basic tools and a dash of imagination, you can transform everyday items into functional, stylish pieces for your home. Remember to work safely, take your time with each step, and enjoy the satisfaction of creating something uniquely yours.