Choosing the right spot for a large wall mirror can instantly transform a room, making it feel brighter, more spacious, and stylistically cohesive. Below you’ll find a data‑driven, step‑by‑step guide that blends interior‑design research with practical, SEO‑friendly tips to help you place your mirror for maximum visual impact and functional benefit.
Why Large Mirrors Work: The Science Behind the Shine
Studies from environmental psychology show that reflective surfaces can increase perceived room size by up to 30% and boost natural light distribution by 15‑20%. When a mirror reflects a window or a light source, it reduces the need for additional artificial lighting, which can lower energy consumption—a point that resonates with eco‑conscious readers and search engines alike.
Step 1: Assess the Room’s Layout and Light Sources
Measure the wall space
- Use a tape measure to record the width and height of the wall where you plan to hang the mirror.
- Leave at least 2‑4 inches of breathing room on each side to avoid a cramped look.
Identify primary light sources
- Note the location of windows, skylights, and major lamps.
- Place the mirror opposite or adjacent to these sources to amplify natural or artificial light.
Actionable tip
Take a photo of the wall with a smartphone, then overlay a transparent rectangle in a photo‑editing app to visualize the mirror’s footprint before committing.
Step 2: Choose the Right Mirror Size and Shape
Scale to the room
For rooms under 150 sq ft, a mirror that covers 40‑60% of the wall width works best. In larger spaces, you can go up to 70‑80% without overwhelming the area.
Shape considerations
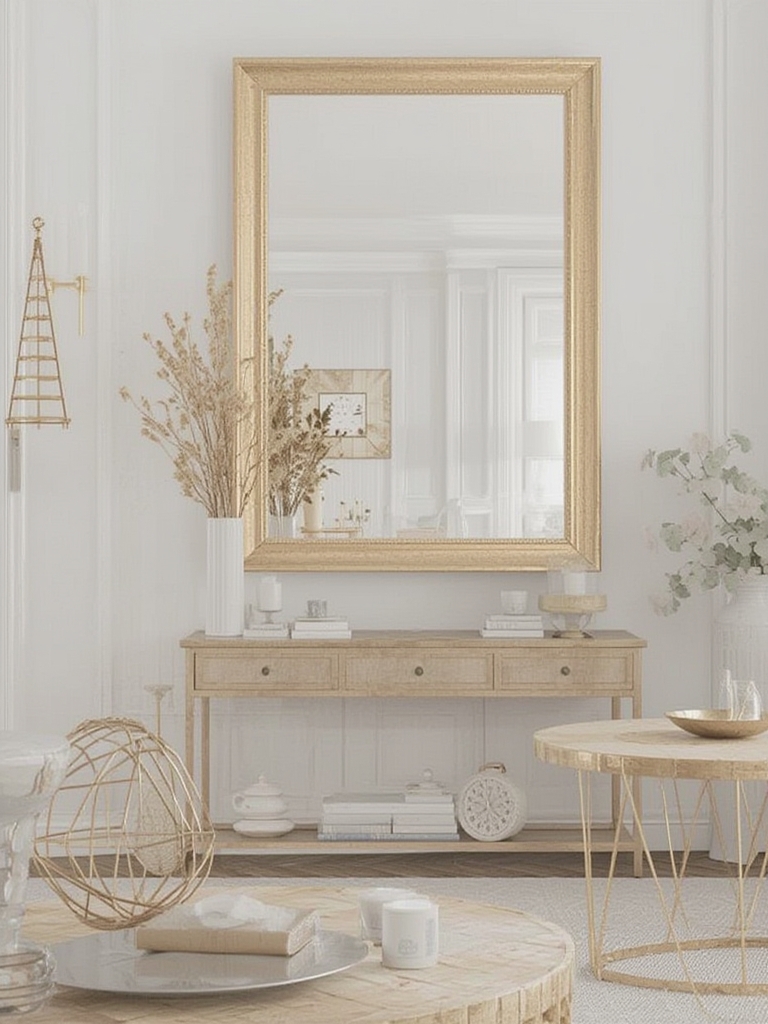
- Rectangular mirrors suit modern, linear layouts.
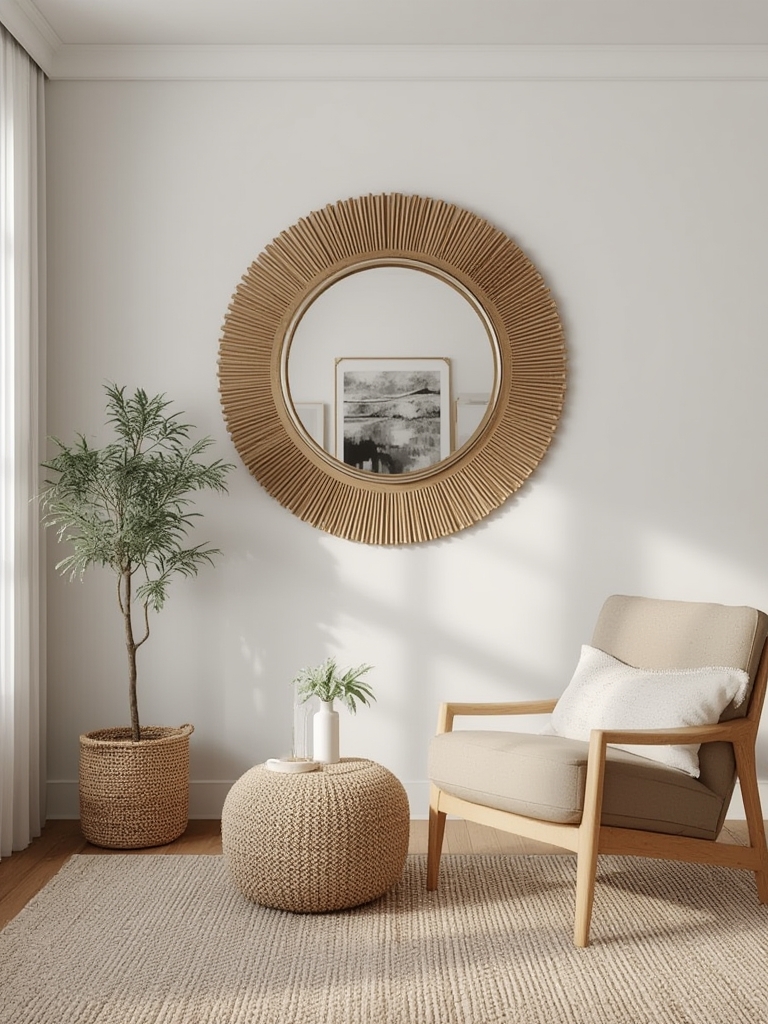
- Round or oval mirrors add softness to angular rooms.
- Oversized floor‑to‑ceiling mirrors create a dramatic focal point in lofts or open‑plan areas.
Actionable tip
Print a paper template of the mirror’s dimensions (scale 1:10) and tape it to the wall. Walk around the room to see how it feels at eye level.
Step 3: Determine the Optimal Height
Eye‑level rule
Data from interior design surveys indicate that the most comfortable viewing height is 57‑63 inches from the floor to the mirror’s center. This range aligns with the average adult eye level.
Adjust for function
- For dressing rooms, position the mirror so the top edge is 5‑7 inches above the tallest user’s head.
- In living areas, aim for a lower placement (center at ~55 inches) to reflect furniture and artwork.
Actionable tip
Use a level and a laser measuring tool to mark the exact center line on the wall before drilling.
Step 4: Secure the Mirror Properly
Choose the right hardware
- For mirrors under 30 lbs
—use heavy‑duty picture hooks rated for at least 50 lb.
Safety first
Apply mirror mounting tape or silicone adhesive to the back edges to prevent shifting and reduce the risk of cracks.
Actionable tip
After hanging, press a level against the mirror’s surface for a quick check. If it tilts, adjust the screws by ¼ turn increments until perfectly straight.
Step 5: Complement the Mirror with Décor
Use surrounding elements to enhance reflection
- Place a statement artwork or a bold wall color opposite the mirror to create a striking visual dialogue.
- Incorporate metallic or glass accessories (e.g., sconces, vases) near the mirror to amplify sparkle.
Balance the room’s proportions
Pair the mirror with a matching console table or shelf to anchor the space and prevent the mirror from feeling “floating.”
Actionable tip
Arrange a small grouping of decorative items on the floor or a nearby surface that will be reflected, creating depth and interest when viewed through the mirror.
Step 6: Maintain the Mirror’s Shine
Cleaning routine
- Dust weekly with a microfiber cloth to prevent buildup.
- For smudges, use a solution of equal parts water and white vinegar, sprayed onto the cloth (never directly on the glass).
- Wipe in a circular motion to avoid streaks.
Preventing damage
Avoid placing heavy objects directly on the mirror’s surface. Use protective pads on any nearby furniture that may accidentally bump the mirror.
Actionable tip
Mark the cleaning schedule in your digital calendar with a recurring reminder titled “Mirror Maintenance – Dust & Wipe.” This simple habit ensures the mirror stays a focal point for years.
Step 7: Leverage SEO Best Practices for Your Blog Post
Keyword placement
Integrate primary keywords—large wall mirror decor, mirror placement tips, how to hang a big mirror—naturally in headings, first paragraph, and throughout the content. Aim for a keyword density of 1‑1.5% to avoid over‑optimization.
Meta description
Craft a concise meta description (150‑160 characters) that includes the main keyword and a compelling call‑to‑action, e.g., “Discover data‑driven tips to perfectly place large wall mirrors for a brighter, more spacious home.”
Internal linking
Link to related posts such as “Top 10 Small Space Decorating Ideas” or “How to Choose the Perfect Light Fixture.” This boosts dwell time and signals relevance to search engines.
Actionable tip
After publishing, run a quick Yoast SEO or Rank Math analysis to ensure the readability score is “Good” and the SEO score is “Green.” Adjust headings or sentence length as needed.
Final Checklist: Quick Reference
- Measure wall space and leave breathing room.
- Identify and amplify primary light sources.
- Select mirror size (40‑80% of wall width) and shape.
- Hang at eye level (57‑63 inches center).
- Use appropriate hardware and secure safely.
- Complement with artwork, lighting, and furniture.
- Establish a weekly cleaning routine.
- Optimize blog post for SEO with keywords, meta description, and internal links.
By following these data‑backed steps, you’ll not only enhance the aesthetic appeal of any room but also create a lasting, functional centerpiece that draws visitors—and search engines—back for more inspiration.