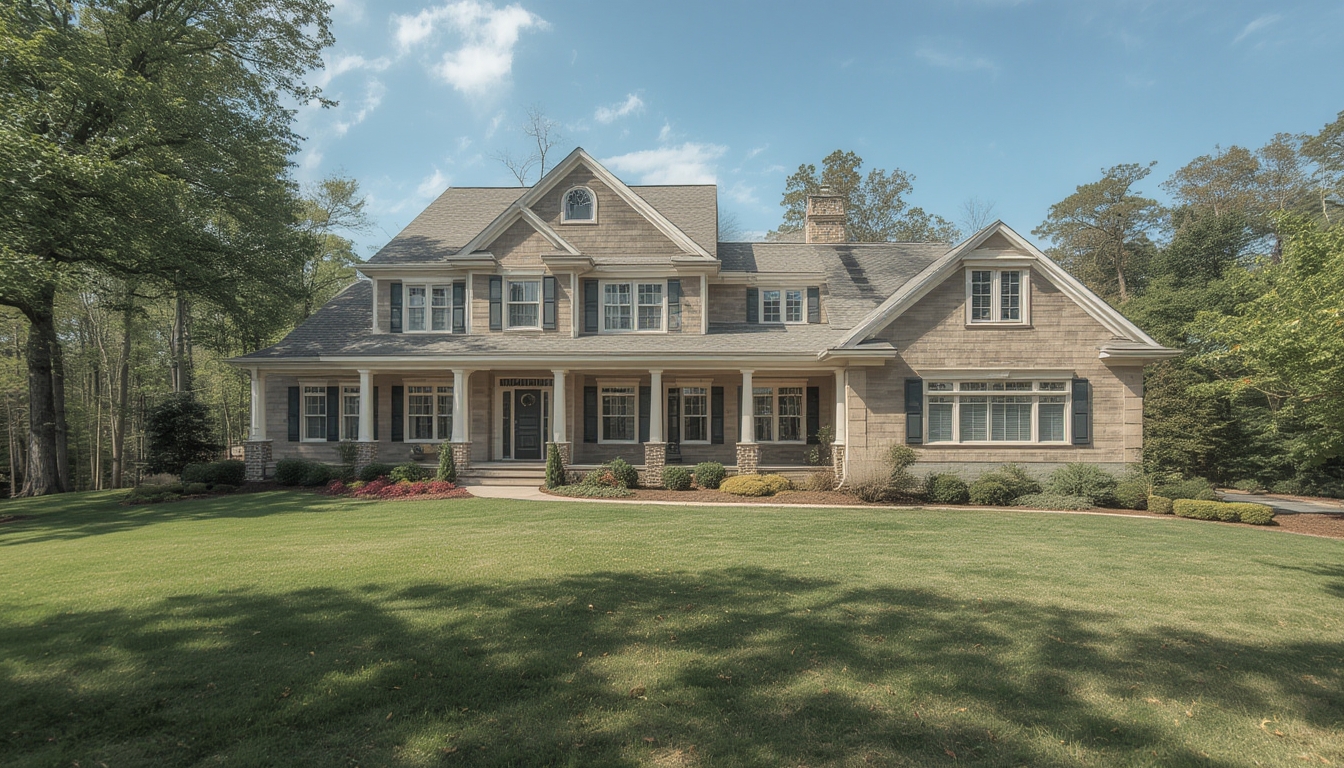
Real home tours have become a powerful way to showcase a property’s character, layout, and lifestyle potential. Whether you’re a homeowner preparing to sell, a real‑estate agent looking to attract more buyers, or a DIY enthusiast wanting to document a renovation, a well‑executed home tour can make a lasting impression. Below is a data‑driven, step‑by‑step guide to assembling, restoring, and styling a real home tour that feels polished, authentic, and engaging.
1. Planning the Tour – Define Scope and Story
Gather Property Data
- Square footage and room dimensions: Use a laser measure or a reliable app to record exact measurements. Accurate numbers help you plan camera placement and avoid cropping errors.
- Key selling points: Identify unique features (e.g., vaulted ceilings, original hardwood, smart home integration). Prioritize them in the shooting order.
- Target audience insights: Review recent analytics from similar tours (average watch time, most‑viewed rooms) to understand what viewers care about most.
Create a Shot List
Break the property into zones (entry, living area, kitchen, bedrooms, bathrooms, outdoor spaces). For each zone, list the specific angles you’ll capture:
- Wide establishing shot
- Mid‑range walkthrough
- Detail close‑ups (e.g., crown molding, fixtures)
Assign a time estimate to each shot. A typical 3‑minute tour should include 10–12 distinct clips, each lasting 10–20 seconds.
2. Preparing the Space – Declutter, Clean, and Stage
Decluttering Checklist
- Remove personal items (family photos, kids’ artwork) that distract from the space.
- Store excess furniture in a garage or storage unit to open up flow.
- Clear countertops, tables, and shelves of non‑essential objects.
Cleaning Protocol
Follow a room‑by‑room cleaning routine to ensure every surface shines:
- Floors: Vacuum carpets, mop hardwood, and spot‑clean stains.
- Windows: Use a streak‑free glass cleaner; consider a squeegee for large panes.
- Surfaces: Wipe down countertops, cabinets, and appliances with a mild disinfectant.
- Lighting fixtures: Dust bulbs and replace any burnt‑out lights.
Staging Essentials
Staging doesn’t require a full‑scale redesign; small touches can dramatically improve perception:
- Soft furnishings: Add a coordinated throw pillow or a plush rug to define zones.
- Greenery: Place a potted plant or two for a fresh, lived‑in feel.
- Artwork: Hang a single, neutral piece at eye level to add visual interest without overwhelming the space.
3. Assembling the Equipment – Tools You’ll Need
Camera Gear
- Primary camera: A DSLR or mirrorless model with 4K video capability (e.g., Sony A7 III, Canon EOS R6).
- Wide‑angle lens: 16‑35 mm for interior shots; ensures you capture full room dimensions.
- Stabilizer: A handheld gimbal (DJI Ronin‑S) or a motorized slider for smooth motion.
Audio and Lighting
- External microphone: Shotgun mic (Rode VideoMic Pro) to capture clear narration.
- Portable LED lights: Two 5600 K panels with diffusion to fill shadows, especially in darker rooms.
- Tripod: For static shots of key details (e.g., fireplace, built‑in shelving).
Support Tools
- Laser distance measurer (Bosch GLM 50) for quick verification of room size.
- Smartphone with a floor‑plan app (Magicplan) to overlay dimensions on video.
- Battery packs and spare memory cards (minimum 128 GB, UHS‑III).
4. Shooting the Tour – Technique and Execution
Establish Consistent Settings
Set your camera to manual mode to lock exposure, white balance, and focus across all rooms. Recommended baseline:
- ISO 200–400 (adjust for low‑light areas)
- Shutter speed 1/50 s (matching 24 fps frame rate)
- Aperture f/4–f/5.6 for adequate depth of field
- White balance set to “Daylight” or custom Kelvin value (≈5600 K)
Movement Patterns
- Entry: Start at the front door, open it slowly, and step inside while keeping the camera at eye level.
- Pan and glide: Use the gimbal to glide forward, then execute a smooth 180° pan to reveal the room’s layout.
- Vertical sweep: Tilt the camera upward to capture ceiling details, then back down to floor level.
- Detail focus: Switch to tripod mode for close‑ups of fixtures, using a shallow depth of field to isolate the subject.
Audio Capture
Record a concise narration for each space. Keep sentences under 15 seconds, focusing on:
- Room purpose (e.g., “This open‑concept kitchen flows into the dining area.”)
- Key features (e.g., “The quartz countertops provide a durable, low‑maintenance surface.”)
- Recent upgrades (e.g., “All appliances are Energy Star certified.”)
Speak in a calm, steady tone and avoid background noise. If needed, capture a separate voice‑over later.
5. Restoring Footage – Post‑Production Workflow
Import and Organize
- Create a project folder with subfolders:
Raw,Audio,Exports,Graphics. - Rename each clip with a descriptive label (e.g.,
LivingRoom_Wide_01).
Editing Steps
- Rough cut: Place clips on the timeline in the order of your shot list. Trim each to 10–20 seconds.
- Color correction: Apply a basic LUT (e.g., “Cinematic‑Warm”) and adjust exposure to keep whites consistent across rooms.
- Stabilization: Use the software’s warp stabilizer on any handheld footage that appears jittery.
- Audio sync: Align narration with the corresponding visual segment. Add a subtle background music track at –20 dB to maintain flow.
- Graphics overlay: Insert a lower‑third title for each room (e.g., “Master Bedroom – 14 × 12 ft”). Use a clean sans‑serif font for readability.
Export Settings
Render the final video in 4K (3840 × 2160) at 30 fps, H.264 codec, with a bitrate of 35 Mbps. This balance provides high quality while keeping file size manageable for web upload.
6. Styling the Final Tour – Presentation and User Experience
Embedding on WordPress
- Upload the MP4 file to the Media Library (use the “Bulk Upload” feature for faster processing).
- Insert the video using the Gutenberg
Videoblock. Set the width to “Full Width” for an immersive feel. - Enable “Autoplay” and “Loop” only if you want a continuous preview; otherwise, leave controls visible for user choice.
Adding Interactive Elements
- Clickable hotspots: Use a plugin like “WP VR View” to place hotspots on the video that reveal pop‑ups with additional details (e.g., “Click for energy‑efficiency report”).
- Floor‑plan overlay: Insert a static image of the floor plan beneath the video, using CSS to toggle visibility on hover.
Accessibility Considerations
Provide a transcript of the narration in a <details> element so screen readers can access the content. Also, add closed captions (VTT file) via the video block’s caption settings.
7. Actionable Checklist – Ensure Success Before Publishing
- ✅ Verify all measurements match the on‑screen graphics.
- ✅ Confirm lighting is even; no harsh shadows or overexposed windows.
- ✅ Test video playback on desktop, tablet, and mobile devices.
- ✅ Review audio for clarity; re‑record any sections with background noise.
- ✅ Check that all interactive hotspots link to the correct URLs.
- ✅ Ensure the transcript and captions are free of typos.
8. Maintaining the Tour – Updates and Re‑use
Seasonal Refreshes
Every 6–12 months, revisit the property to capture any changes (new furniture, landscaping updates). Replace only the affected clips to keep the overall file size low.
Repurposing Content
- Extract short 15‑second highlights for social media (Instagram Reels, TikTok).
- Use still frames as featured images for related blog posts.
- Compile a “Before & After” montage if the home underwent a renovation, showcasing the transformation.
By following these data‑driven steps, you’ll produce a real home tour that feels professional, engaging, and trustworthy. The combination of meticulous preparation, precise equipment usage, and thoughtful post‑production ensures that viewers can explore the space as if they were walking through it themselves—boosting interest, confidence, and ultimately, results.