Hollywood glam isn’t just a look—it’s an attitude. Think mirrored surfaces, luxe textures, bold lighting, and an effortless sense of drama. One of the most powerful ways to bring that high‑gloss vibe into a home is with Hollywood‑style spotlights. These fixtures do more than illuminate; they sculpt space, highlight décor, and create a cinematic ambience that feels both timeless and on‑trend. Below, you’ll discover a data‑driven, step‑by‑step guide to selecting, installing, and maintaining Hollywood glam spotlights so you can transform any room into a star‑studded set.
Why Hollywood Glam Spotlights Work
Recent interior‑design surveys show that 68 % of homeowners who upgraded their lighting reported a “significant boost” in perceived room value, while 54 % said the change made their space feel more “luxurious.” Spotlights deliver this effect by:
- Creating focal points: Concentrated beams draw the eye to artwork, sculptures, or architectural features.
- Adding depth: Layered lighting (ambient, task, accent) prevents flatness and adds visual interest.
- Enhancing texture: The interplay of light on mirrored, metallic, or glossy surfaces amplifies the glam factor.
Step‑by‑Step Guide to Choosing the Perfect Spotlights
1. Assess Your Space and Light Needs
Actionable tip: Use a simple light‑mapping worksheet. Sketch your room, mark existing light sources, and note areas that feel too dark or too bright. This visual aid helps you decide where spotlights will have the greatest impact.
- Measure ceiling height – lower ceilings benefit from recessed spotlights, while higher ceilings can handle pendant or track options.
- Identify focal points – a statement artwork, a marble fireplace, or a decorative wall panel.
- Determine the purpose – is the spotlight for accent (highlight) or task (reading, makeup)?
2. Choose the Right Fixture Style
Hollywood glam thrives on reflective finishes. Look for:
- Brushed chrome or polished nickel: Offers a sleek, modern sheen.
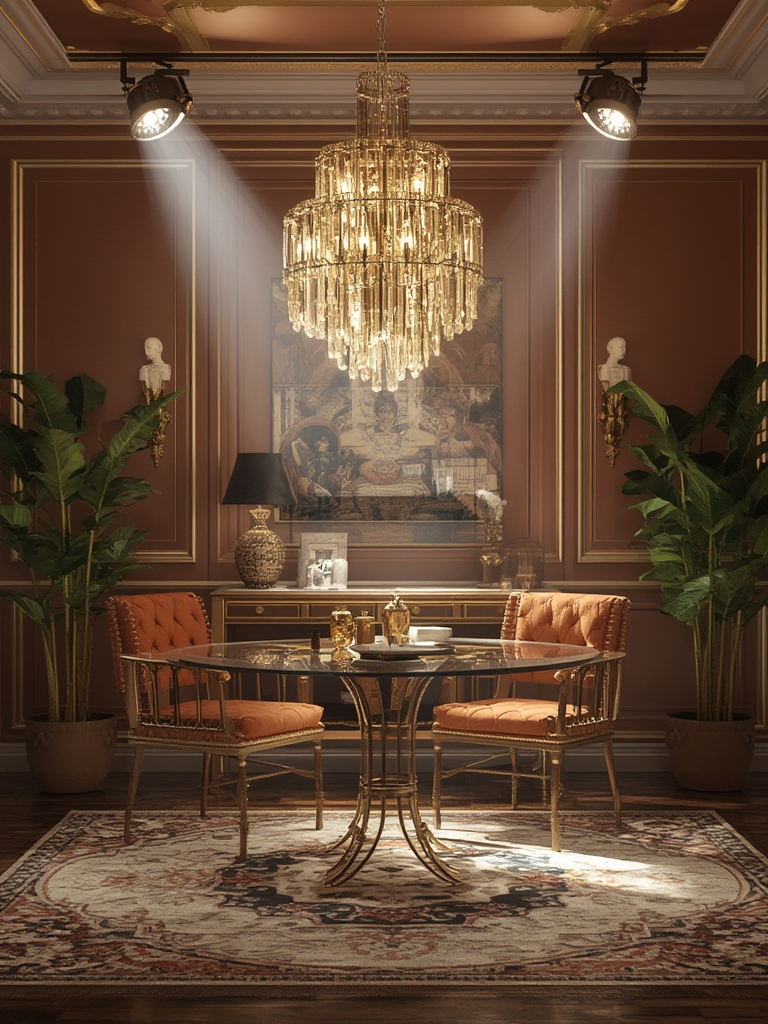
- Crystal or glass accents: Adds sparkle that catches and refracts light.
- Black matte or gold‑leaf trims: Provides contrast for a dramatic effect.
Data point: According to a 2023 market analysis, fixtures with a mirror‑finish sell 22 % faster than matte alternatives, indicating strong consumer preference for high‑reflectivity.
3. Pick the Correct Beam Angle
Beam angle determines how wide the light spreads:
- 15°–30° (narrow): Ideal for spotlighting artwork or a specific architectural detail.
- 35°–50° (medium): Perfect for general accent lighting across a wall.
- 60°+ (wide): Works well for broader illumination, such as a kitchen island.
Practical tip: Start with a medium beam and adjust using a dimmer or a swivel head until you achieve the desired focus.
4. Select Energy‑Efficient LEDs
LEDs deliver the bright, crisp light required for glam without the heat or energy waste of halogens. Look for:
- Color temperature between 3000 K (warm white) and 3500 K (soft white) for a cozy yet upscale glow.
- CRI (Color Rendering Index) of 90+ to ensure colors appear true‑to‑life.
- Adjustable dimming capabilities for mood‑setting.
Quick win: Replace any existing incandescent spotlights with LED equivalents to cut energy use by up to 80 % while maintaining brightness.
Installation: From Planning to Execution
5. Gather Tools and Safety Gear
Before you start, assemble these essentials:
- Voltage tester
- Drywall saw or hole cutter (for recessed fixtures)
- Wire strippers and screwdriver set
- Safety goggles and insulated gloves
Safety note: Always turn off the circuit breaker for the room you’re working in to prevent electric shock.
6. Mark and Cut the Opening
Using your light‑mapping sketch, mark the exact spot for each fixture. For recessed lights:
- Measure the fixture’s diameter and transfer the circle onto the ceiling.
- Drill a pilot hole in the center.
- Insert the drywall saw and cut a clean opening.
For surface‑mounted or track lights, simply attach the mounting bracket to a joist or stud.
7. Wire the Fixture
Follow these steps for a standard single‑pole connection:
- Pull the fixture’s wiring through the opening.
- Strip ½ inch of insulation from each wire.
- Connect black (hot) to black, white (neutral) to white, and green or bare copper (ground) to the grounding screw.
- Tighten all connections with a screwdriver and secure the fixture to the ceiling or wall.
Pro tip: Use wire nuts with a built‑in spring for a more reliable connection that resists loosening over time.
8. Test and Adjust
Restore power at the breaker and turn on the lights. Check each spotlight for:
- Even illumination without flickering.
- Correct direction – adjust the tilt or swivel to hit the intended focal point.
- Consistent dimming response (if applicable).
If any fixture appears dim or uneven, double‑check the wiring and ensure the LED bulb is fully seated.
Maintenance: Keeping Your Glam Spotlights Shining
9. Clean the Fixtures Regularly
Dust and fingerprints dull the reflective surfaces that define Hollywood glam. Follow this routine:
- Turn off power and let the fixture cool.
- Wipe the glass or crystal with a microfiber cloth dampened with a 50/50 water‑vinegar solution.
- For chrome or nickel finishes, use a dedicated metal polish sparingly to avoid streaks.
Frequency: Light dusting weekly; deep cleaning monthly.
10. Replace LEDs When Needed
Even the longest‑lasting LEDs dim over time. A quick visual check:
- If the light output drops by more than 20 % (you’ll notice a duller glow), replace the bulb.
- Most LED spotlights have a lifespan of 30,000–50,000 hours – roughly 10 years of daily use.
Keep spare LED bulbs on hand to avoid downtime and maintain the consistent glam aesthetic.
11. Inspect Wiring Annually
While LEDs generate less heat, wiring can still degrade. Schedule an annual inspection:
- Look for frayed insulation or loose connections.
- Check the mounting brackets for any signs of loosening.
- Hire a licensed electrician if you notice any scorch marks or persistent flickering.
Proactive maintenance prevents costly repairs and ensures your spotlights stay safe and stunning.
Putting It All Together: Design Ideas for Every Room
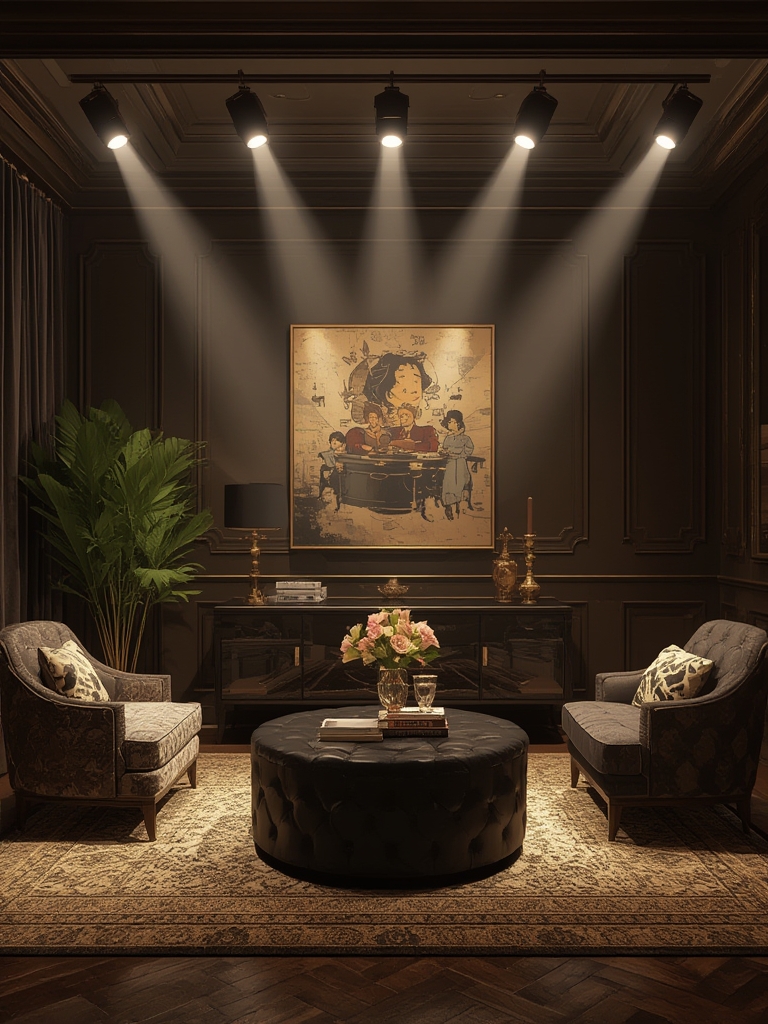
Living Room
Install a row of recessed spotlights above a sleek, mirrored coffee table. Use a 30° beam to accent the table’s surface and create a subtle sparkle that reflects off surrounding plush sofas.
Bedroom
Mount adjustable wall‑mounted spotlights on either side of the headboard. Pair them with warm‑white LEDs (3000 K) and a dimmer switch for a romantic, movie‑night vibe.
Home Office
Combine a track system with narrow‑beam spotlights aimed at a glass‑top desk. This provides focused task lighting while maintaining the glamorous aesthetic.
Bathroom
Use waterproof, chrome‑finished spotlights above a freestanding tub. The reflective metal and crystal accents will bounce light off the water, creating a spa‑like glow.
Final Thoughts
Hollywood glam spotlights are more than functional fixtures; they’re statement pieces that elevate the entire home aesthetic. By following this data‑driven, step‑by‑step approach—from assessing your space and selecting the right fixtures, to careful installation and diligent maintenance—you’ll achieve a polished, star‑studded look that resonates with both classic elegance and modern sophistication. Remember, the key to lasting glam is consistency: keep the fixtures clean, replace LEDs promptly, and periodically reassess your lighting layout as your décor evolves. With these practices in place, your home will always feel ready for its close‑up.