Upcycling is a fantastic way to breathe new life into forgotten items while keeping waste to a minimum. In this guide we’ll walk you through a complete DIY project: turning an old wooden pallet into a stylish, functional coffee table. The process is straightforward, budget‑friendly, and perfect for beginners who want a tangible result they can be proud of. Follow each step, gather the recommended tools, and you’ll have a custom piece that fits seamlessly into any living space.
Materials & Tools You’ll Need
Core Materials
- 1 solid wooden pallet (preferably heat‑treated for indoor use)
- 2–3 wooden legs or metal hairpin legs (height 16–18 inches)
- Wood glue
- 2 inches wood screws
- Sandpaper (80, 120, and 220 grit)
- Wood filler (optional for cracks)
- Finish of choice – matte polyurethane, chalk paint, or natural oil
Essential Tools
- Measuring tape and carpenter’s square
- Circular saw or handsaw
- Power drill with screwdriver bits
- Clamps (3–4 medium‑size)
- Orbital sander or sanding block
- Paintbrush or lint‑free cloth for finishing
- Safety gear – goggles, dust mask, and hearing protection
Step 1: Planning & Preparation
Assess the Pallet
Inspect the pallet for rot, splinters, or broken slats. Choose a pallet with uniform board spacing and minimal nail remnants. If the pallet shows signs of moisture damage, it’s better to start with a fresh one to avoid warping later.
Measure Your Space
Determine the ideal tabletop dimensions based on your room layout. A common size is 48 in × 24 in, but you can trim the pallet to fit a specific nook. Mark the desired length and width on the pallet with a pencil.
Gather Supplies
Before cutting, lay out all tools and materials on a clean workbench. Having everything within arm’s reach reduces interruptions and helps maintain a steady workflow.
Step 2: Disassembly & Cleaning
Remove Old Fasteners
Use a pry bar and hammer to gently extract any nails or staples. If nails are stubborn, a nail puller or pliers can help. Take care not to split the wood while pulling.
Clean the Surface
Wipe the pallet with a damp cloth to remove dust and debris. For pallets that have been stored outdoors, a mild detergent solution can eliminate grime. Let the wood dry completely (at least 24 hours) before proceeding.
Step 3: Cutting & Shaping
Trim to Size
Set the circular saw to the appropriate depth and cut along the pencil lines. Use a straight edge as a guide for a clean cut. After trimming, sand the cut edges with 80‑grit sandpaper to smooth any roughness.
Level the Surface
If the pallet boards are uneven, flip the pallet and sand the underside with 120‑grit sandpaper. This step ensures the tabletop sits flat on the legs, preventing wobble.
Step 4: Sanding & Surface Preparation
Full‑Body Sanding
Begin with 80‑grit sandpaper to remove splinters and old finishes. Progress to 120‑grit for a smoother surface, then finish with 220‑grit for a fine, paint‑ready texture. An orbital sander speeds up the process, but a sanding block works just as well for smaller areas.
Fill Gaps & Cracks
Apply wood filler to any visible cracks or nail holes. Use a putty knife to press the filler in, then sand smooth once it dries (usually 30 minutes). This step creates a uniform appearance and prevents future splintering.
Step 5: Assembling the Table
Attach the Legs
Position the legs at each corner of the pallet, ensuring they are flush with the edges. Use a carpenter’s square to verify they are perpendicular to the tabletop. Clamp each leg securely, then pre‑drill pilot holes (½ inches deep) to avoid splitting the wood.
Secure with Screws
Drive two 2‑inch wood screws through each leg into the pallet. For added stability, apply a thin bead of wood glue to the top of each leg before screwing. Wipe away any excess glue with a damp cloth before it sets.
Step 6: Finishing & Styling
Choose Your Finish
For a natural look, brush on a coat of Danish oil or tung oil. If you prefer a painted aesthetic, apply a layer of chalk paint followed by a protective matte polyurethane. Regardless of the finish, apply at least two coats, sanding lightly with 220‑grit sandpaper between coats for a flawless surface.
Protect the Edges
To guard against chipping, run a thin bead of clear silicone sealant along the tabletop’s outer edges. This not only adds durability but also gives a subtle, professional touch.
Styling Tips
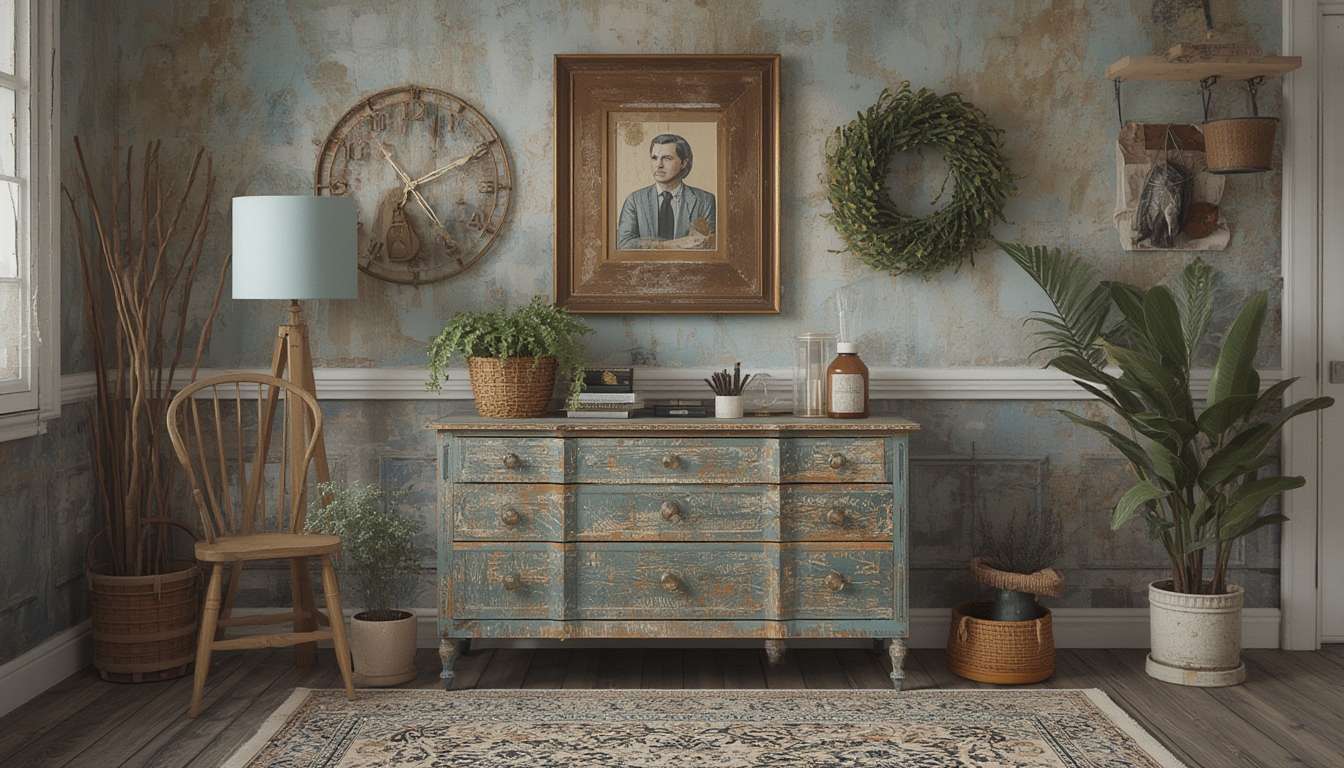
- Place a stack of vintage books or a small potted plant on the table for an instant decorative boost.
- Use a patterned runner or coaster set to add color without compromising the upcycled vibe.
- Pair the coffee table with reclaimed leather or woven baskets for a cohesive, eco‑friendly look.
Maintenance & Longevity
Routine Care
Dust the surface weekly with a soft cloth. For spills, wipe immediately with a damp cloth—avoid soaking the wood. Reapply a thin coat of oil or polyurethane every six months to maintain the finish and protect against wear.
Troubleshooting Common Issues
- Wobbling legs: Tighten the screws and check that the floor is level. Adding felt pads under the legs can compensate for uneven flooring.
- Surface scratches: Lightly sand the affected area and touch up with the same finish used originally.
- Water damage: If the wood darkens, sand the area and re‑apply a protective coat. Consider using a water‑resistant finish for high‑humidity rooms.
By following these steps, you’ll transform a simple, discarded pallet into a centerpiece that reflects both creativity and sustainability. The project not only saves money but also offers a rewarding hands‑on experience—perfect for weekend DIY enthusiasts or anyone looking to personalize their living space with a unique, upcycled piece.