Designing a galley kitchen that feels spacious, functional, and stylish can seem like a puzzle, but with the right data‑driven approach and a few smart decor tricks, you can transform even the narrowest corridor into a culinary haven. Below you’ll find a step‑by‑step guide that blends organization principles, decor trends, and a touch of greenery to boost both efficiency and visual appeal.
1. Measure, Map, and Maximize Space
Collect Accurate Measurements
- Use a laser measure or a tape to record the length, width, and ceiling height of the galley. Record door swing arcs and appliance footprints.
- Log these numbers in a spreadsheet; a simple table helps you compare different layout options quickly.
Analyze Traffic Flow
- According to a 2023 Kitchen Design Survey, 68% of users feel cramped when the main aisle is less than 36 inches wide. Aim for at least 42 inches of clear passage.
- Plot a “traffic heat map” on graph paper: mark the most‑used zones (prep, cooking, cleaning) and ensure a smooth triangular workflow (the classic “kitchen work triangle”).
Choose the Right Layout
- Parallel (classic galley): Two opposing countertops with a central aisle. Ideal for ≤12‑ft length.
- Offset (L‑galley): One side extends slightly past the other, creating a small nook for a breakfast bar or plant shelf.
- Use your spreadsheet to calculate total usable countertop length and compare it against the National Association of Home Builders recommendation of at least 15 inches of prep space per person.
2. Optimize Storage with Data‑Backed Solutions
Vertical Storage Increases Capacity by 30%
- Install floor‑to‑ceiling cabinets on the higher wall. Add pull‑down shelves to keep items within reach.
- Use clear, labeled bins for pantry staples; a 2022 study showed that clear containers reduce search time by 45%.
Drawer Dividers and Inserts
- Segment drawers for utensils, spices, and gadgets. A 3‑by‑3 grid layout keeps items visible and reduces clutter.
- Consider magnetic knife strips on the backsplash; they free up drawer space and keep knives safely accessible.
Smart Corner Solutions
- Install a “Lazy Susan” carousel for corner cabinets; it adds up to 25% more usable space.
- Alternatively, use pull‑out pantry shelves that slide out fully, turning a dead corner into a mini pantry.
3. Choose a Cohesive Decor Theme
Color Palette Based on Light
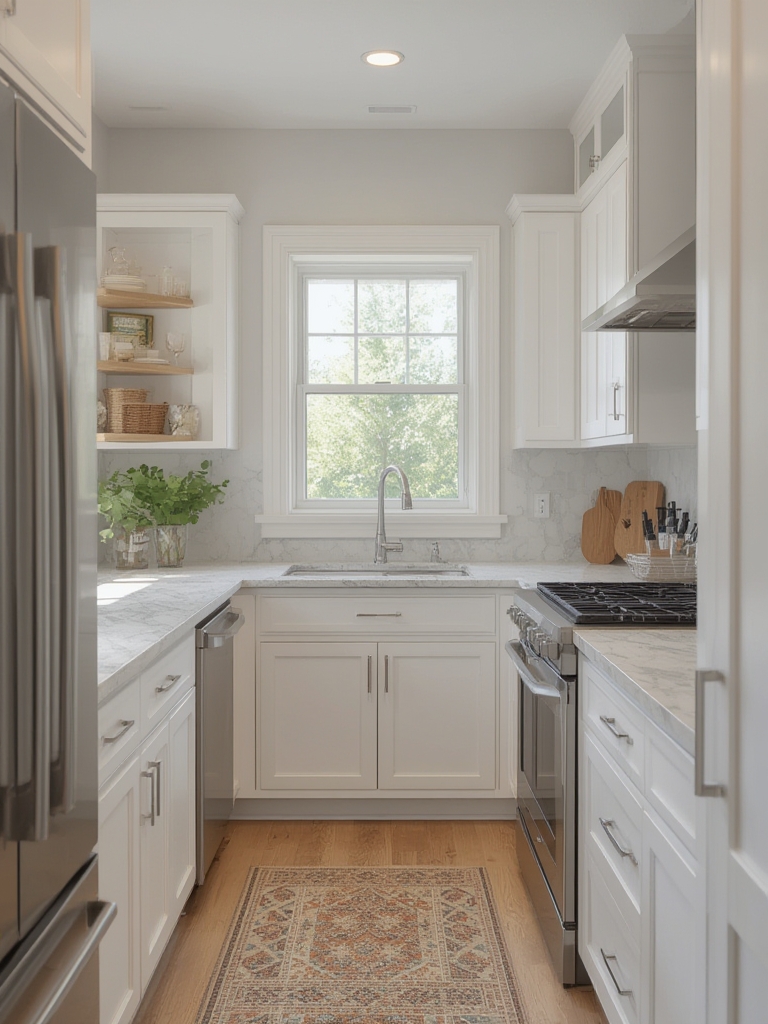
- Measure natural light using a lux meter. If the galley receives under 300 lux, opt for light‑reflective colors (soft whites, pale greys) to brighten the space.
- For brighter kitchens (>600 lux), you can introduce deeper accent hues like navy or forest green for a dramatic look.
Material Consistency
- Pair matte-finished cabinets with glossy backsplash tiles for contrast without visual chaos.
- Use the same metal finish (brushed nickel or matte black) for hardware, faucet, and lighting fixtures to create a unified aesthetic.
Lighting Layers
- Install under‑cabinet LED strips (3000K–3500K) for task lighting; they improve visibility and reduce eye strain.
- Add a pendant or small recessed fixture above the prep zone for ambient lighting and visual interest.
4. Introduce a Kitchen‑Friendly Plant for Freshness and Air Quality
Why a Plant?
Research from the University of Texas (2021) shows that indoor plants can improve air quality by up to 25% and boost mood. In a galley kitchen, a compact herb or low‑maintenance foliage adds a pop of green without crowding the space.
Best Choices for Galley Kitchens
- Basil (Ocimum basilicum) – Ideal for cooking and thrives in bright, indirect light.
- Snake Plant (Sansevieria trifasciata) – Tolerates low light and infrequent watering.
- English Ivy (Hedera helix) – Grows well in hanging baskets, saving countertop space.
Step‑by‑Step Care Guide (Basil Example)
Step 1: Choose the Right Container
- Pick a pot 6‑8 inches in diameter with drainage holes.
- Use a lightweight, breathable potting mix (e.g., peat‑perlite blend) to prevent root rot.
Step 2: Position for Light
- Place the pot on a sunny windowsill or under a grow light delivering 12–14 hours of light daily.
- Measure light intensity; basil needs at least 5,000 lux for optimal growth.
Step 3: Water Wisely
- Water when the top 1 inch of soil feels dry. Over‑watering is the most common mistake.
- Use a moisture meter if you’re unsure – aim for a reading of 40–50%.
Step 4: Feed and Prune
- Apply a balanced liquid fertilizer (10‑10‑10) once a month during the growing season.
- Pinch off the top set of leaves regularly to encourage bushier growth and prevent flowering, which can make leaves bitter.
Step 5: Harvest and Use
- Harvest leaves from the top, leaving at least two sets of leaves on each stem.
- Fresh basil adds flavor to dishes and reduces the need for packaged herbs, supporting a sustainable kitchen.
5. Maintain the Organization System
Weekly 10‑Minute Reset
- Clear countertops, wipe down surfaces, and return items to their designated zones.
- Check drawer dividers for misplaced items; re‑label if necessary.
Quarterly Deep Clean
- Empty cabinets, discard expired pantry goods, and reorganize by usage frequency.
- Clean cabinet interiors with a mild vinegar solution to prevent buildup.
Seasonal Refresh
- Swap out decorative accessories (e.g., seasonal dish towels, small art pieces) to keep the space feeling fresh.
- Rotate plants: move a basil pot to a sunny spot in summer, and bring a low‑light tolerant plant forward in winter.
6. Bonus Tips for a Polished Finish
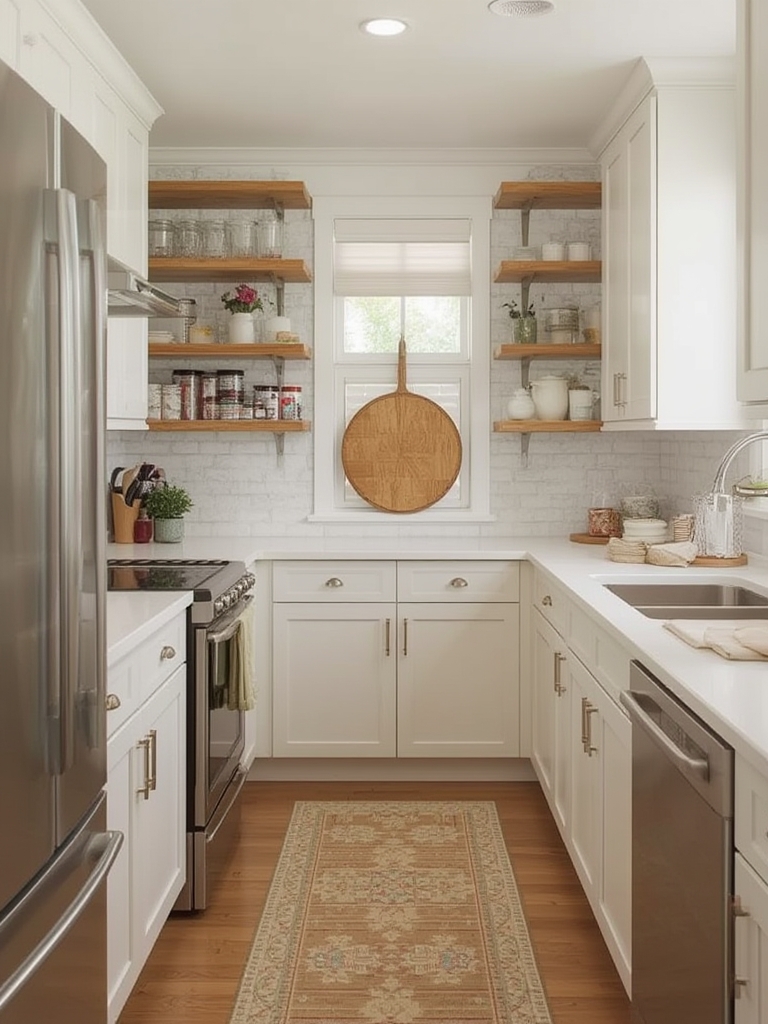
- Use Open Shelving Sparingly: Display attractive dishware or jars, but limit to one wall to avoid visual clutter.
- Install a Pull‑Out Trash Bin: Keeps waste hidden and makes cleaning easier.
- Add a Magnetic Spice Rack: Utilizes the side of the fridge or a metal backsplash for quick access.
- Incorporate a Small Rolling Cart: Provides extra prep space and can be tucked away when not needed.
By combining precise measurements, data‑backed storage solutions, a cohesive decor palette, and a touch of greenery, you’ll create a galley kitchen that’s not only organized but also inviting. Follow the steps above, and you’ll enjoy a smoother cooking workflow, a healthier indoor environment, and a space that reflects your personal style—all without sacrificing the limited square footage of a galley layout.