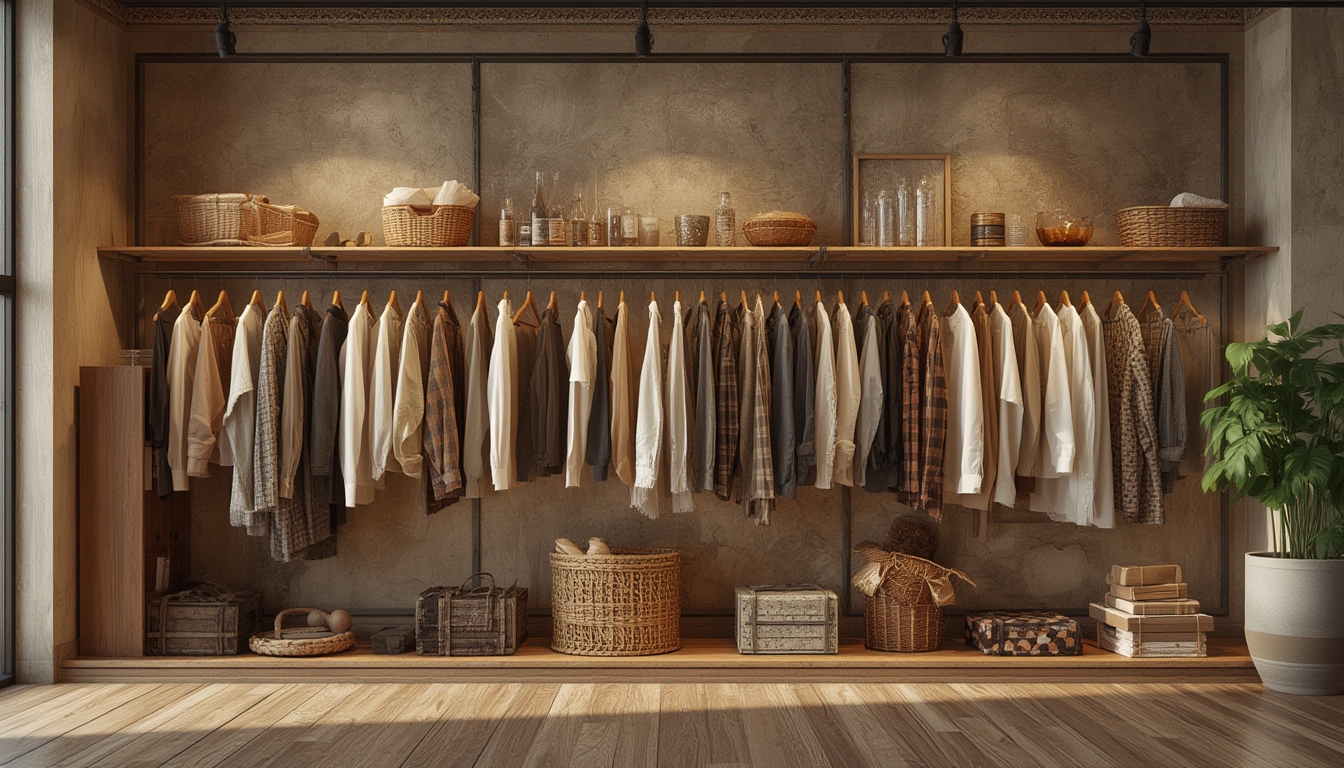
Shop the Look has become a favorite strategy for fashion enthusiasts and retailers alike, turning a single standout item into a complete, cohesive outfit. By guiding shoppers through the process of pairing clothing, accessories, and shoes, this approach not only boosts sales but also enhances the customer experience. Below is a data‑driven, step‑by‑step guide that walks you through assembling, styling, and presenting a “Shop the Look” ensemble on your WordPress site. Follow each phase, use the recommended tools, and apply the actionable tips to ensure your post converts browsers into buyers.
Understanding the “Shop the Look” Concept
According to a 2023 fashion retail study, posts that feature “Shop the Look” sections see a 27% higher average order value compared to standard product listings. The core idea is simple: showcase a primary piece (the “hero” item) and then provide direct links to every supporting item needed to recreate the look. This visual storytelling reduces decision fatigue and encourages impulse purchases.
Step 1: Choose the Hero Piece
Identify the focal item
Tools needed: Product inventory database, Google Analytics (to see top‑selling items), high‑resolution photography equipment.
Actionable advice: Pull data from your sales dashboard to pinpoint a best‑seller or a trending item. Use a high‑resolution image with a clean background (minimum 1500 px width) to ensure the hero piece stands out. If you have multiple color options, select the most popular shade based on conversion data.
Capture the hero image
Tools needed: DSLR or mirrorless camera, softbox lighting, tripod, Photoshop or GIMP for post‑processing.
Actionable advice: Position the hero piece on a mannequin or a flat lay surface. Use a 45‑degree angle for depth, and keep lighting even to avoid harsh shadows. After shooting, adjust exposure and contrast to match your site’s visual style, and export the file as a compressed JPEG (under 200 KB) to maintain page speed.
Step 2: Curate Complementary Items
Data‑driven selection
Tools needed: Sales correlation reports, Shopify or WooCommerce analytics, spreadsheet software (Excel or Google Sheets).
Actionable advice: Analyze which accessories, bottoms, and outerwear are frequently bought together with the hero piece. Look for items with a purchase frequency of at least 15% in the same transaction. Prioritize items that have a margin of 30% or higher to maximize profitability.
Gather product images
Tools needed: Same photography setup as the hero piece, image background remover (e.g., remove.bg), consistent aspect ratio (1:1 or 4:3).
Actionable advice: Ensure each complementary item is photographed from a similar angle and lighting condition as the hero piece. Consistency builds trust and makes the final collage look professionally curated.
Step 3: Build the Visual Layout
Create a collage or styled shot
Tools needed: Adobe Photoshop, Canva Pro, or Figma; a template that matches your WordPress theme.
Actionable advice: Use a 1200 × 800 px canvas for desktop and a 800 × 1200 px version for mobile. Place the hero piece at the center, then arrange complementary items around it in a “radial” layout. Add subtle drop shadows to each item for depth. Include a short caption (e.g., “Add these shoes for a complete look”) directly on the image to guide the viewer.
Link each item
Tools needed: WordPress Gutenberg editor, WooCommerce product URLs, URL shortener (optional).
Actionable advice: In Gutenberg, insert an <Image> block for the collage, then overlay <Button> blocks or <HTML> anchor tags on each product region. Use rel="noopener noreferrer" for external links. Test each link in a new tab to confirm it leads to the correct product page.
Step 4: Write Engaging Copy
Introduce the look
Actionable advice: Start with a 2‑sentence hook that highlights the occasion (e.g., “Perfect for a weekend brunch, this effortless look blends comfort with style”). Use data points like “Our customers love this combo—over 1,200 units sold last month” to add credibility.
Detail each component
Actionable advice: For each item, write a concise 30‑word description that includes material, fit, and a benefit (e.g., “The buttery‑soft cashmere sweater keeps you cozy while adding a touch of elegance”). Keep the tone consistent with your brand voice.
Step 5: Optimize the User Experience
Responsive design
Tools needed: WordPress responsive theme, Chrome DevTools.
Actionable advice: Preview the post on mobile, tablet, and desktop. Ensure the collage scales proportionally and that clickable areas remain accessible (minimum 44 × 44 px touch targets). Adjust CSS if needed:
.shop-the-look img { width: 100%; height: auto; }
.shop-the-look .clickable-area { position: absolute; }
Loading speed
Tools needed: WP Rocket or another caching plugin, ImageOptim.
Actionable advice: Enable lazy loading for images, compress the collage to under 150 KB, and set an expiration header of 30 days for static assets. Run a PageSpeed Insights test; aim for a score above 85.
Step 6: Add Interactive Elements
Product carousel
Tools needed: Elementor or a shortcode plugin for WooCommerce product sliders.
Actionable advice: Insert a carousel directly beneath the collage showing each complementary product. Enable “Add to Cart” buttons on hover to reduce friction. Limit the carousel to 5‑7 items to avoid overwhelming the user.
Customer reviews
Tools needed: WooCommerce Reviews, Yotpo widget.
Actionable advice: Pull in the top three verified buyer reviews for the hero piece and one for each accessory. Display a 5‑star rating badge next to each product link to reinforce trust.
Step 7: Publish and Track Performance
Set up tracking
Tools needed: Google Tag Manager, Facebook Pixel, UTM parameters.
Actionable advice: Append UTM tags to each product link (e.g., ?utm_source=shopthelook&utm_medium=blog&utm_campaign=summer2026) to capture traffic sources in Google Analytics. Use GTM to fire an event when a user clicks a “Shop the Look” button.
Analyze results
Tools needed: Google Data Studio, WooCommerce reports.
Actionable advice: After two weeks, compare the post’s conversion rate to your site average. Look for a lift of at least 10% in average order value. If performance lags, test alternative hero pieces or adjust the layout based on heat‑map data.
Final Checklist
- Hero piece selected based on sales data and high‑resolution image captured.
- Complementary items chosen using purchase correlation reports.
- Collage created with consistent lighting, proper dimensions, and clear captions.
- Each product linked correctly with SEO‑friendly URLs and tested links.
- Copy written in a brand‑consistent tone with concise, benefit‑focused descriptions.
- Responsive layout verified across devices; loading speed optimized.
- Interactive carousel and review widgets added for engagement.
- UTM parameters applied; tracking events set up in GTM.
- Performance metrics defined and scheduled for review.
By following this data‑driven workflow, you’ll transform a single product into a compelling, shoppable story that guides readers from inspiration to purchase. The “Shop the Look” format not only showcases your inventory but also builds a seamless shopping journey that drives higher conversion rates and encourages repeat visits.