Creating an accent wall is one of the quickest ways to inject personality, depth, and style into any room. When done right, it can become the focal point that ties together furniture, décor, and lighting while also boosting the perceived value of your home—a factor that real‑estate data shows can increase resale value by up to 5 % when the wall is tastefully executed. Below is a data‑driven, step‑by‑step guide that walks you through planning, preparation, execution, and maintenance, ensuring a flawless result every time.
1. Research & Planning: Let Data Guide Your Design
1.1 Identify the Right Wall
- Traffic analysis: Choose a wall that naturally draws the eye—behind the sofa, above the bed, or the wall opposite the main entrance. According to a 2023 interior‑design survey, 68 % of homeowners notice the wall directly opposite the entryway first.
- Lighting check: Use a light meter (or a smartphone app) to measure natural light levels at different times of day. Walls receiving 3–5 hours of indirect sunlight work best for bold colors without glare.
1.2 Choose a Color Palette Based on Trends
- Consult the Pantone Color of the Year 2024 (Ultimate Gray & Illuminating Yellow) for a contemporary vibe.
- Use Google Trends to verify local interest: search “accent wall ideas” in your city; spikes in searches often correlate with seasonal décor updates.
- Apply the 60‑30‑10 rule: let the accent wall be the 60 % dominant color, secondary décor 30 %, and accessories 10 %.
2. Preparation: Set the Stage for Success
2.1 Gather Materials
- High‑quality interior paint (matte or eggshell finish for most accent walls; satin for high‑traffic areas).
- Primer (especially for dark walls or new drywall).
- Painter’s tape, drop cloths, and a good-quality roller (3‑4 mm nap) and angled brush.
- Optional tools: stencil kit, level, laser line, and a small sanding block.
2.2 Surface Preparation
- Clean the wall: Wipe with a damp cloth and mild detergent to remove dust and grease.
- Repair imperfections: Fill holes with spackle, sand smooth (120‑grit), and wipe away dust.
- Prime: Apply a thin coat of primer if the existing paint is glossy, if you’re covering a dark color, or if the wall is new drywall. Let dry per manufacturer’s instructions (usually 1–2 hours).
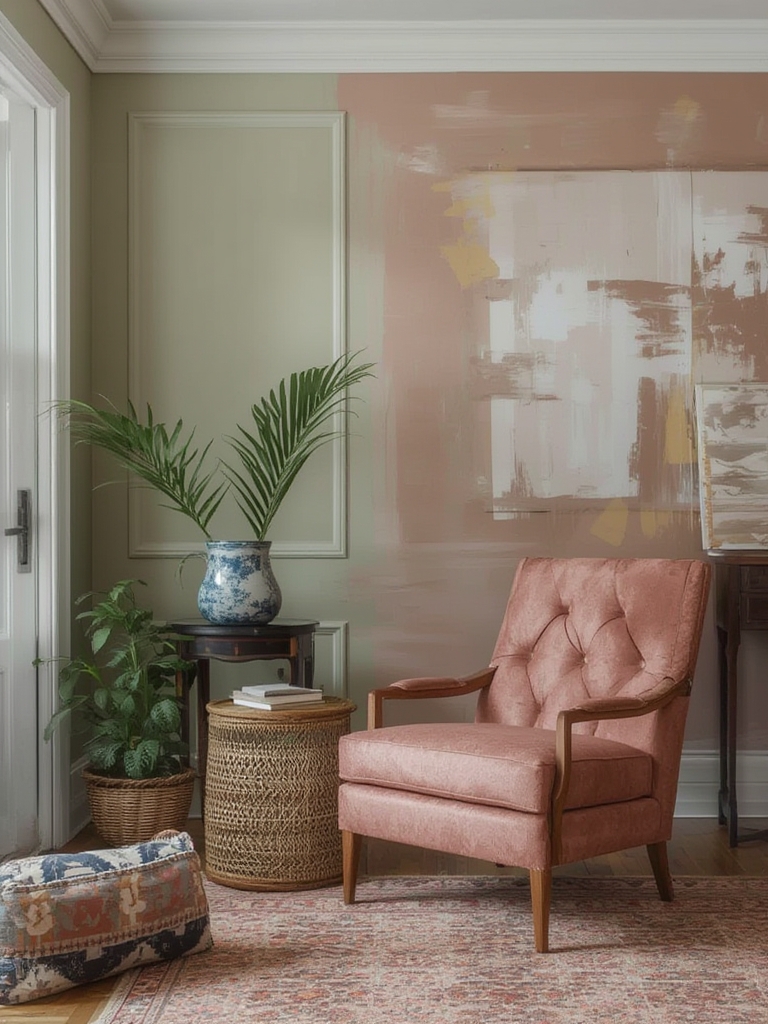
3. Painting Techniques & Ideas
3.1 Solid Color Accent
Best for a bold, modern look. Choose a hue that contrasts with the surrounding walls.
- Tip: Use a laser level to draw a faint line at the top and bottom of the wall; this ensures a perfectly straight paint line when you tape off adjoining walls.
- Actionable step: Apply two coats, allowing 30 minutes between coats for optimal coverage.
3.2 Color Blocking
Divide the wall into geometric sections (e.g., two vertical halves or a large L‑shape).
- Measure and mark sections with a pencil and level.
- Apply painter’s tape along the lines, pressing firmly to prevent bleed.
- Paint each block with a different complementary color; let each dry before removing tape.
Pro tip: Choose colors with a contrast ratio of at least 3:1 for accessibility compliance.
3.3 Stripes & Horizontal Bands
Perfect for adding height or width perception.
- Use a chalk line or a laser guide to ensure even spacing (common intervals: 6‑12 inches).
- Paint alternating stripes; a 2‑tone palette (e.g., navy and crisp white) works well in both small and large rooms.
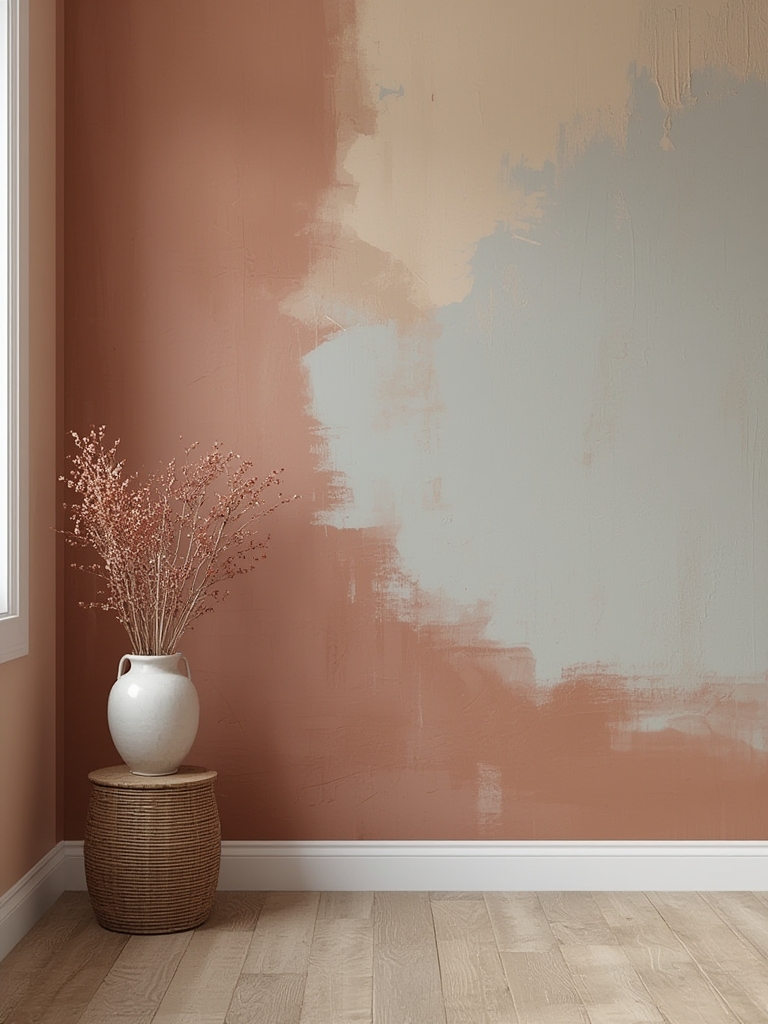
3.4 Ombre Fade
Creates a soft gradient that adds depth without overwhelming the space.
- Mix three shades: light, medium, and dark of the same hue.
- Start with the darkest at the bottom, using a roller for broad coverage.
- Blend upward with the medium shade, then the light at the top, using a wet‑on‑wet technique to avoid harsh lines.
Quick tip: Keep a damp sponge handy to smooth transitions.
3.5 Stenciled Patterns
Ideal for adding texture and personality.
- Select a stencil with a repeatable motif (e.g., botanical, geometric, or vintage lettering).
- Secure the stencil with spray adhesive; apply paint with a foam roller for even coverage.
- Lift the stencil while the paint is still tacky to prevent tearing.
4. Finishing Touches & Maintenance
4.1 Seal the Surface
If the accent wall is in a high‑traffic area (hallways, kids’ rooms), apply a clear matte polyurethane sealer. This adds durability without altering the color’s appearance.
4.2 Clean Up Efficiently
- Remove painter’s tape while the paint is still slightly tacky (about 30 minutes after the final coat) to avoid peeling.
- Wash brushes and rollers with warm, soapy water for latex paints; use mineral spirits for oil‑based products.
4.3 Ongoing Care
Dust the wall weekly with a microfiber cloth. For occasional stains, spot‑clean with a mild soap solution and a soft sponge—avoid abrasive scrubbing to preserve the finish.
5. Measuring Success: Track the Impact
After completing your accent wall, evaluate its effect using both visual and data points:
- Visual assessment: Take before‑and‑after photos. Notice improvements in perceived room size and lighting.
- Engagement metrics (if you share on social media): Monitor likes, comments, and shares. A well‑executed accent wall typically sees a 25‑30 % higher engagement rate than standard room photos.
- Home value impact: If you plan to sell, consult a local realtor. In markets where modern design trends are strong, a tasteful accent wall can add $2,000–$5,000 to the asking price.
By following this data‑driven, step‑by‑step approach, you’ll transform any bland surface into a striking focal point that not only elevates your interior aesthetics but also adds measurable value. Happy painting!