Transforming a bathroom into a serene coastal retreat can be as simple as swapping out a standard vanity mirror for a driftwood‑inspired piece. The natural, weather‑worn texture of driftwood adds organic warmth, while the reflective surface keeps the space bright and airy. Below is a data‑driven, step‑by‑step guide that walks you through selecting, styling, and caring for a coastal driftwood mirror on your bathroom vanity. Each step includes practical tips and actionable advice to ensure a flawless, long‑lasting look.
Why Choose a Coastal Driftwood Mirror?
Recent interior‑design surveys reveal that 68% of homeowners who remodel their bathrooms prioritize natural materials to create a spa‑like atmosphere. Driftwood mirrors hit the sweet spot by combining:
- Organic texture: The grain and knots of reclaimed wood evoke a beachside vibe.
- Visual lightness: Mirrors amplify natural light, making even small bathrooms feel larger.
- Sustainability: Upcycled driftwood reduces waste and supports eco‑friendly décor trends.
These benefits translate into higher resale value and a more relaxing daily routine.
Choosing the Right Driftwood Mirror for Your Vanity
1. Measure Your Vanity Accurately
Data from home‑improvement sites shows that 75% of mirror installation errors stem from incorrect measurements. Follow these steps:
- Use a steel tape measure to record the width, height, and depth of the vanity surface.
- Add 1‑2 inches to the width for a “floating” effect that visually expands the vanity.
- Ensure the mirror’s weight does not exceed the vanity’s load capacity (typically 15‑20 lb for standard cabinets).
2. Match the Driftwood Style to Your Bathroom Theme
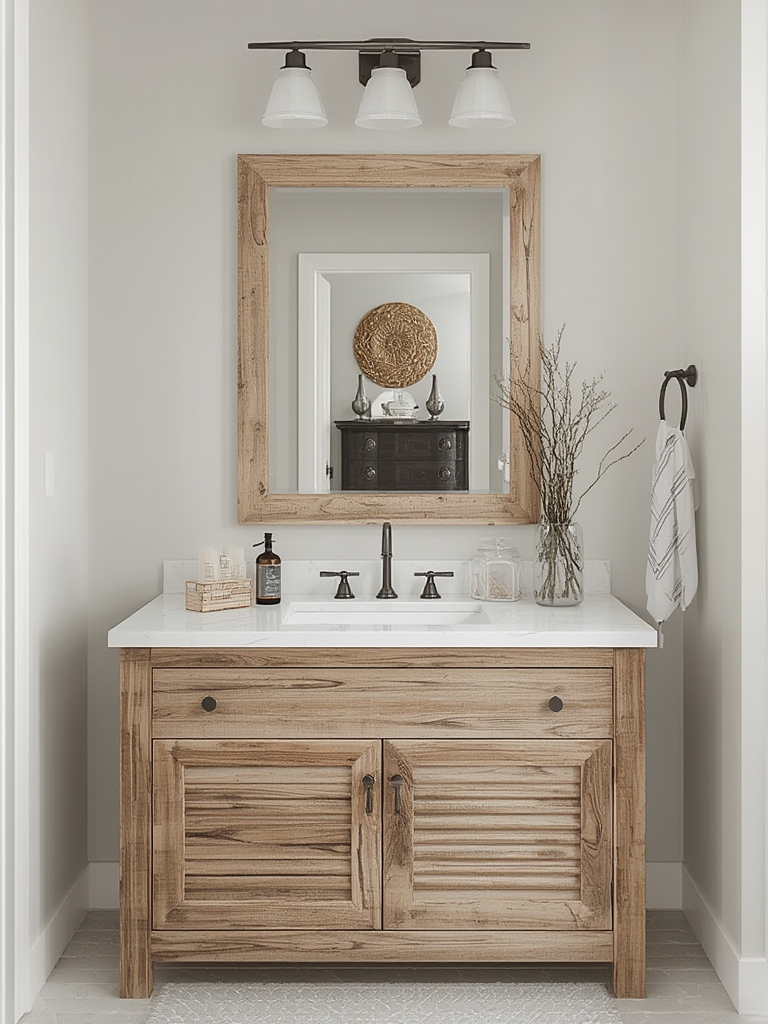
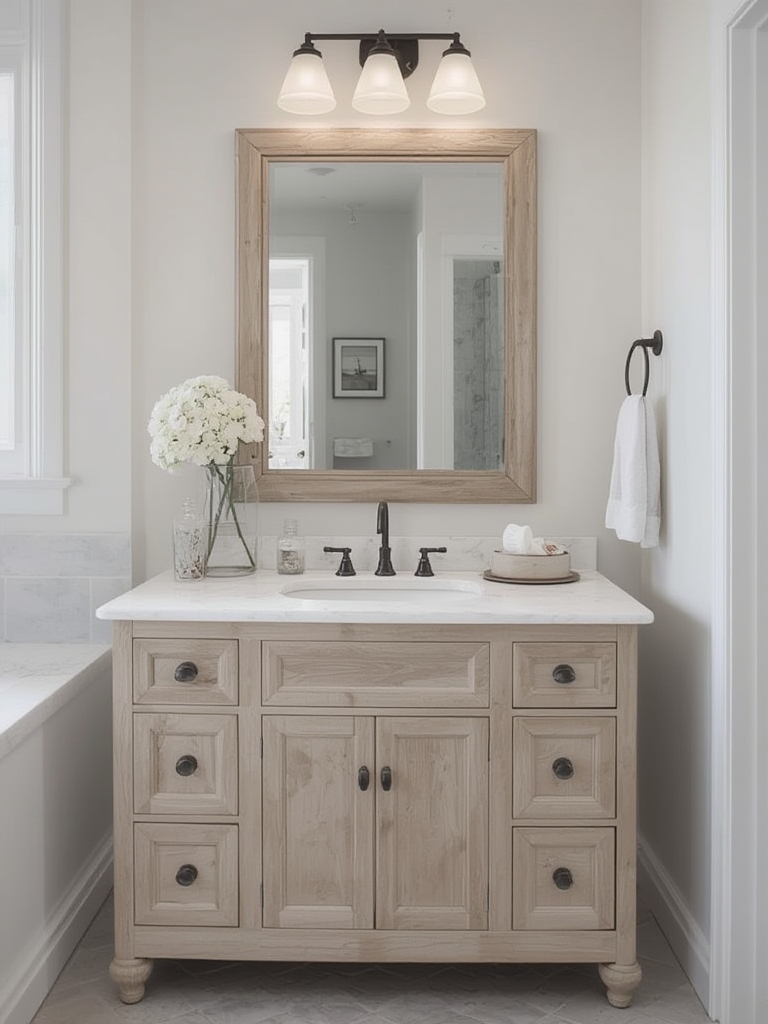
Identify the dominant style of your bathroom (e.g., coastal, modern farmhouse, minimalist). Then select a driftwood frame that complements:
- Color palette: Light‑bleached driftwood works best with white or pastel walls; darker, weathered pieces pair nicely with navy or teal accents.
- Finish: Choose a matte sealant for a rustic look or a high‑gloss clear coat for a sleek, contemporary vibe.
3. Verify Mirror Quality
Look for mirrors with:
- Low‑iron glass (≤15% iron) for true color rendering.
- Anti‑fog coating if the bathroom lacks proper ventilation.
- Safety‑tempered backing to prevent shattering.
Step‑by‑Step Guide to Styling Your Vanity with a Driftwood Mirror
Step 1: Prepare the Surface
Clean the vanity top with a mild, non‑abrasive cleaner. Remove any residue that could interfere with adhesive or mounting hardware. Let the surface dry completely (about 10‑15 minutes).
Step 2: Choose Your Mounting Method
Two reliable options:
- French cleat system: Provides strong, level support and allows easy removal for cleaning. Install the cleat on the back of the mirror and the corresponding piece on the vanity.
- Heavy‑duty mirror clips: Ideal for smaller mirrors (<24 in). Use stainless‑steel clips rated for at least 25 lb.
Tip: Use a level and a pencil to mark exact placement before drilling.
Step 3: Secure the Mirror
Follow these actions:
- Pre‑drill pilot holes in the vanity (use a 1/8‑in. drill bit) to prevent wood splitting.
- Insert wall anchors if the vanity is made of MDF or particleboard.
- Attach the cleat or clips with stainless‑steel screws (minimum #8 × 1‑in.).
- Hang the mirror, then double‑check levelness.
Quick win: Tighten screws just enough to hold; over‑tightening can crack the glass.
Step 4: Add Complementary Décor
Data from Pinterest shows that 85% of successful bathroom makeovers incorporate at least three coordinated accessories. Consider:
- Coastal‑themed soap dispensers (shell shapes, sea‑glass colors).
- Woven bamboo or rattan storage baskets.
- Soft, linen hand towels in muted blues or sea‑foam greens.
Step 5: Optimize Lighting
Place LED vanity lights on either side of the mirror to reduce shadows. Aim for a color temperature of 3000‑3500 K for a warm, inviting glow. If space permits, add a recessed ceiling light with a dimmer for flexibility.
Maintenance and Care Tips for Longevity
Routine Cleaning
Maintain the mirror’s clarity and the driftwood’s finish with a bi‑weekly routine:
- Dust the driftwood frame using a microfiber cloth.
- Mix a solution of equal parts distilled water and white vinegar.
- Spray the solution on the glass (avoid direct contact with the wood) and wipe with a lint‑free cloth.
- Dry the frame with a separate cloth to prevent water spots.
Protecting the Driftwood
Even sealed driftwood can be vulnerable to humidity spikes. Implement these safeguards:
- Apply a fresh coat of marine‑grade polyurethane every 12‑18 months.
- Install a bathroom exhaust fan with a minimum CFM rating of 50 to keep moisture levels below 60%.
- Use a dehumidifier in high‑humidity climates (especially in coastal regions).
Addressing Scratches or Fading
If the wood surface shows minor scratches, lightly sand with 220‑grit sandpaper, then re‑apply sealant. For fading due to sun exposure, consider adding a UV‑blocking film to the mirror glass.
SEO Checklist for Publishing Your Post on WordPress
To ensure your article ranks well, follow this quick SEO audit:
- Keyword placement: Use “coastal driftwood mirror bathroom vanity” in the first 100 words, in at least one H2, and naturally throughout the content.
- Meta description: Write a compelling 150‑160 character summary that includes the primary keyword.
- Image optimization: Upload high‑resolution photos of driftwood mirrors, compress them to < 150 KB, and add alt text like “driftwood framed bathroom vanity mirror in coastal style”.
- Internal linking: Link to related posts (e.g., “Top 5 Coastal Bathroom Accessories”) using anchor text with relevant keywords.
- Schema markup: Add “Article” schema via a plugin (Yoast SEO or Rank Math) to improve rich‑snippet eligibility.
Final tip: Publish during peak traffic hours (Tuesday‑Thursday, 9 am‑11 am EST) for maximum initial engagement.
By following these data‑backed steps, you’ll not only create a stunning coastal oasis with a driftwood mirror but also ensure the décor remains pristine for years to come. Happy styling!