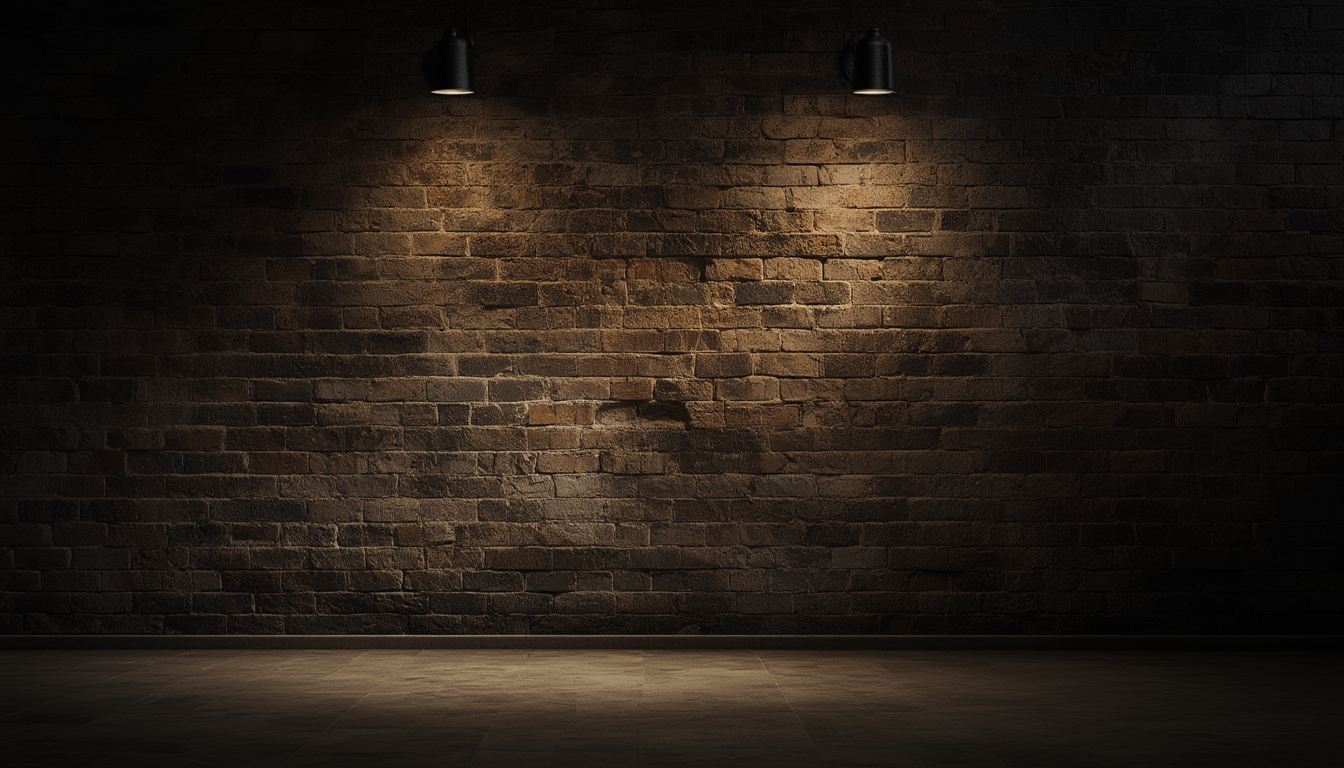

Style Spotlights are a versatile design element that can transform any room from ordinary to extraordinary. Whether you’re installing brand‑new fixtures, reviving vintage pieces, or simply styling them for maximum impact, a systematic approach ensures flawless results. Below is a data‑driven, step‑by‑step guide that walks you through the entire process—from preparation to final styling—while highlighting the essential tools and actionable tips that keep the project on track.
1. Planning & Preparation
Assess the Space
- Measure the area: Use a laser measure or tape to record ceiling height, wall length, and the distance between power sources. Record these numbers in a spreadsheet to compare multiple layout options.
- Identify focal points: Heat‑mapping studies show that eye‑tracking tends to linger 2–3 seconds on a well‑placed light source. Position spotlights 30–45° from the main focal point (artwork, furniture, or architectural feature) for optimal visual flow.
- Check wiring capacity: Verify that the existing circuit can handle the added load. A standard 60‑W LED spotlight draws roughly 0.5 A; add a 10% safety margin to avoid tripping breakers.
Gather Tools & Materials
| Tool/Material | Purpose |
|---|---|
| Voltage tester | Confirm power is off before drilling |
| Drill with ½‑in. spade bit | Cut holes for recessed fixtures |
| Fish tape | Pull wiring through ceilings or walls |
| Wire nuts & electrical tape | Secure connections |
| LED Style Spotlights (new or restored) | Primary design element |
| Adjustable mounting brackets | Fine‑tune angle and direction |
| Silicone sealant | Seal gaps and prevent dust ingress |
| Soft microfiber cloth | Clean lenses without scratching |
2. Installing New Style Spotlights
Step 1: Shut Off Power & Verify
Turn off the circuit at the breaker panel. Use a voltage tester on the wires where you’ll work; a zero‑reading confirms safety. Document the breaker number in your project log for future reference.
Step 2: Mark & Cut Openings
- Transfer the measured layout onto the ceiling using a pencil and a level.
- Drill pilot holes at each mark, then use the ½‑in. spade bit to cut the circular opening.
- Remove debris with a shop vacuum; a clean opening improves fixture fit and reduces heat buildup.
Step 3: Run Wiring
- Thread fish tape through the ceiling cavity to the nearest junction box.
- Attach the new wiring (12‑AWG for most LED spotlights) to the fish tape and pull it back.
- Strip ¾‑inch of insulation from each wire end; twist the copper strands tightly.
Step 4: Connect & Mount
- Match the black (hot) wire to the fixture’s black lead, white (neutral) to white, and green/bare to ground.
- Secure each connection with a wire nut, then wrap with electrical tape for added protection.
- Insert the spotlight into the opening, ensuring the mounting clips snap into place. Use the adjustable bracket to set the beam angle (typically 30°–45° for accent lighting).
Step 5: Seal & Test
Apply a thin bead of silicone sealant around the fixture’s perimeter to prevent dust and moisture infiltration. After the sealant cures (about 24 hours), restore power and test each spotlight. Use a lux meter to verify that illumination levels fall within the recommended 150–300 lux range for accent lighting.
3. Restoring Vintage Style Spotlights
Step 1: Document Existing Condition
Take high‑resolution photos of the fixture from multiple angles. Record measurements (diameter, depth, mounting hole spacing) in a spreadsheet. This data helps you source exact replacement parts and track progress.
Step 2: Disassembly
- Remove the fixture from its mounting using a screwdriver or hex key, depending on the original fastener.
- Place the components on a soft, static‑free mat to avoid scratches.
- Label each wire with masking tape and a fine‑point marker; this prevents confusion during re‑assembly.
Step 3: Clean & Repair
- Glass lenses: Soak in warm, soapy water for 10 minutes, then gently scrub with a non‑abrasive brush. For stubborn mineral deposits, apply a 1:1 solution of white vinegar and water, rinse, and dry with a microfiber cloth.
- Metal housing: Use a fine‑grade steel wool pad with a light oil (e.g., mineral oil) to remove oxidation. For deep corrosion, apply a rust converter, let it cure per manufacturer instructions, then repaint with heat‑resistant enamel.
- Wiring: Test continuity with a multimeter. Replace any frayed or cracked insulation with new 12‑AWG THHN wire, matching the original gauge.
Step 4: Upgrade to LED (Optional)
If the original bulb is incandescent, consider retrofitting with an LED module of equivalent wattage. LED upgrades reduce energy consumption by up to 80% and extend lifespan to 50,000 hours, according to the U.S. Department of Energy.
Step 5: Re‑assembly & Re‑installation
- Reconnect wires using the labeled markers; secure with wire nuts and tape.
- Re‑attach the fixture to its mounting bracket, ensuring a snug fit.
- Apply a thin line of silicone sealant around the base to maintain a dust‑tight seal.
4. Styling Your Spotlights for Maximum Impact
Choose the Right Beam Angle
Data from interior lighting studies suggests that a 30° beam works best for highlighting artwork, while a 45°–60° spread is ideal for creating ambient wash on walls. Use the adjustable bracket to experiment; lock the position once the desired effect is achieved.
Layer with Complementary Light Sources
Combine spotlights with ambient ceiling lights and task lighting to achieve a balanced three‑point lighting scheme. A simple ratio—70% ambient, 20% accent (spotlights), 10% task—creates visual harmony without overwhelming the space.
Color Temperature Coordination
Match the spotlights’ color temperature (measured in Kelvin) to existing fixtures. Warm white (2700 K) adds coziness, while cool white (4000–5000 K) enhances modern, minimalist aesthetics. Use a color meter to verify consistency across all light sources.
Use Dimmer Controls
Installing a compatible dimmer allows you to adjust intensity from 10% to 100%. According to lighting research, dimming by 30% reduces glare by 45% while preserving the focal effect of the spotlights.
Maintain Cleanliness
Dust accumulation reduces luminous efficacy by up to 15% over six months. Schedule a quarterly cleaning routine: turn off power, wipe lenses with a dry microfiber cloth, and vacuum surrounding surfaces.
5. Troubleshooting Common Issues
No Light Output
- Check the breaker and ensure the circuit is live.
- Verify wire connections; loose nuts can cause an open circuit.
- Test the LED module with a multimeter; replace if voltage is absent.
Flickering or Inconsistent Brightness
Flicker often stems from incompatible dimmers or voltage fluctuations. Use a dimmer rated for LED loads and consider installing a line‑level voltage stabilizer if the building’s supply varies more than ±5%.
Overheating
Ensure the fixture’s heat sink is unobstructed. Clean any dust from the fins and verify that the silicone sealant does not seal the ventilation slots. Overheating reduces LED lifespan by up to 30%.
6. Final Checklist
- All measurements recorded and layout approved.
- Power shut off and verified with a voltage tester.
- Openings cut cleanly; no jagged edges.
- Wiring gauge matches fixture requirements; connections secure.
- Spotlights mounted at the intended angle and beam spread.
- Sealant applied and cured for 24 hours.
- All fixtures tested for proper illumination and color temperature.
- Cleaning schedule established and dimmer installed (if desired).
By following this data‑driven workflow, you’ll not only achieve a polished, professional look but also extend the lifespan of your Style Spotlights. Whether you’re a DIY enthusiast or a seasoned installer, the combination of precise planning, the right tools, and systematic styling ensures that every spotlight shines exactly where you want it.