Rustic reclaimed wood floating shelves have become a staple in modern home décor, blending sustainability with timeless charm. Whether you’re revamping a living room, kitchen, or hallway, these shelves offer a versatile solution that adds warmth, character, and functional storage. Below is a data‑driven, step‑by‑step guide to help you select, install, style, and maintain reclaimed wood floating shelves—ensuring both aesthetic appeal and lasting durability.
Why Choose Rustic Reclaimed Wood?
According to a 2023 Home Decor Trends report, 68% of homeowners prioritize eco‑friendly materials when renovating. Reclaimed wood checks that box while delivering a unique patina that new lumber can’t replicate. Its natural imperfections—knots, grain variations, and weathered tones—create a lived‑in feel that instantly elevates any space.
Key Benefits
- Environmental Impact: Up to 90% of the wood’s carbon footprint is avoided compared to new lumber.
- Durability: Older timber has naturally seasoned, making it more resistant to warping.
- Cost‑Effectiveness: On average, reclaimed boards cost 30–45% less than premium new hardwood.
- Design Flexibility: From farmhouse chic to industrial loft, reclaimed wood adapts to any style.
Planning Your Space
Before you purchase or cut any wood, map out the area where the shelves will live. Use a simple spreadsheet or a free online room planner to record measurements, weight capacity, and lighting conditions.
Step 1: Measure & Visualize
- Measure wall length and height where shelves will be placed.
- Determine the desired shelf depth (standard: 8‑12 inches).
- Sketch a quick layout, noting any obstacles (outlets, windows, artwork).
Tip: For a balanced look, keep the total shelf length no more than 75% of the wall width.
Step 2: Assess Load Requirements
Calculate the maximum weight each shelf will hold. A typical 2‑inch thick reclaimed board can safely support 30–40 lbs when properly anchored. If you plan to display books or heavy décor, consider using a thicker board or adding additional brackets.
Materials & Tools
Gather these items before you start. Having everything on hand reduces interruptions and keeps the project under budget.
Essential Materials
- Reclaimed wood boards (2‑inches thick, pre‑sanded if possible)
- Heavy‑duty floating shelf brackets (metal or concealed steel rods)
- Wall anchors (toggle bolts for drywall, masonry anchors for concrete)
- Finishing oil or matte polyurethane (optional for protection)
Required Tools
- Stud finder
- Level and laser line
- Power drill with appropriate bits
- Measuring tape
- Sandpaper (120‑grit) or orbital sander
- Clamps (for securing brackets during installation)
Step‑by‑Step Installation
Step 1: Locate Wall Studs
Using a stud finder, mark the center of each stud where the brackets will attach. For maximum support, place brackets on studs rather than relying solely on drywall anchors.
Step 2: Mark Bracket Positions
Hold the bracket against the wall and use a pencil to transfer the screw hole locations onto the wall. Double‑check alignment with a level to ensure a straight shelf.
Step 3: Pre‑Drill Pilot Holes
Drill ⅜‑inch pilot holes at the marked points. If you’re using toggle bolts for drywall, follow the manufacturer’s recommended hole size.
Step 4: Attach Brackets
- Secure brackets with lag screws or toggle bolts, tightening until snug but not over‑tightened (which could strip the wood).
- Use a torque wrench set to 5–7 Nm for consistent pressure.
Step 5: Prepare the Wood
- Sand any rough edges or surfaces with 120‑grit sandpaper.
- If desired, apply a thin coat of natural oil (e.g., tung or linseed) to enhance grain and protect against moisture. Let dry for 24 hours.
Step 6: Mount the Shelf
Slide the board onto the brackets. For concealed brackets, align the pre‑drilled holes in the board with the bracket’s mounting points, then secure with screws from underneath. Use a level to verify that the shelf is perfectly horizontal.
Step 7: Final Touches
Inspect all connections, tighten any loose screws, and wipe away dust. Add decorative hardware (e.g., brass caps) if you want an extra design flourish.
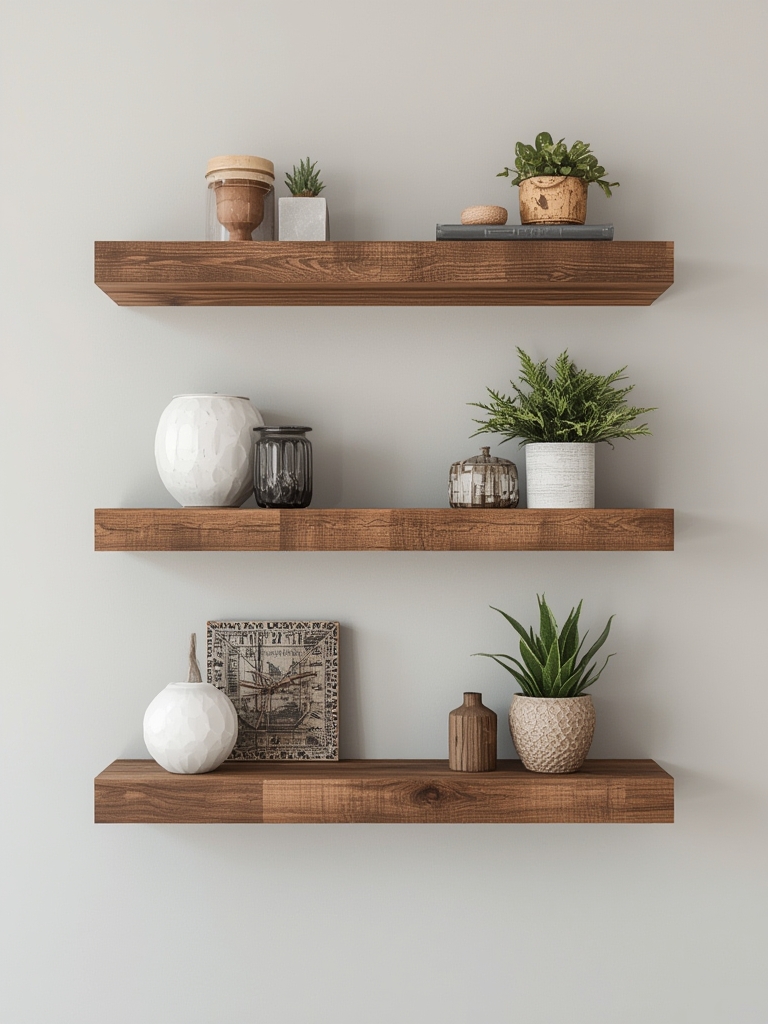
Styling Your Rustic Shelves
Once installed, the real fun begins—curating the visual story each shelf tells.
Layering Techniques
- Odd‑Number Grouping: Arrange items in groups of three or five for natural balance.
- Height Variation: Mix tall vases with low books to create visual rhythm.
- Color Palette: Stick to a cohesive palette—earth tones, muted greens, or monochrome black & white.
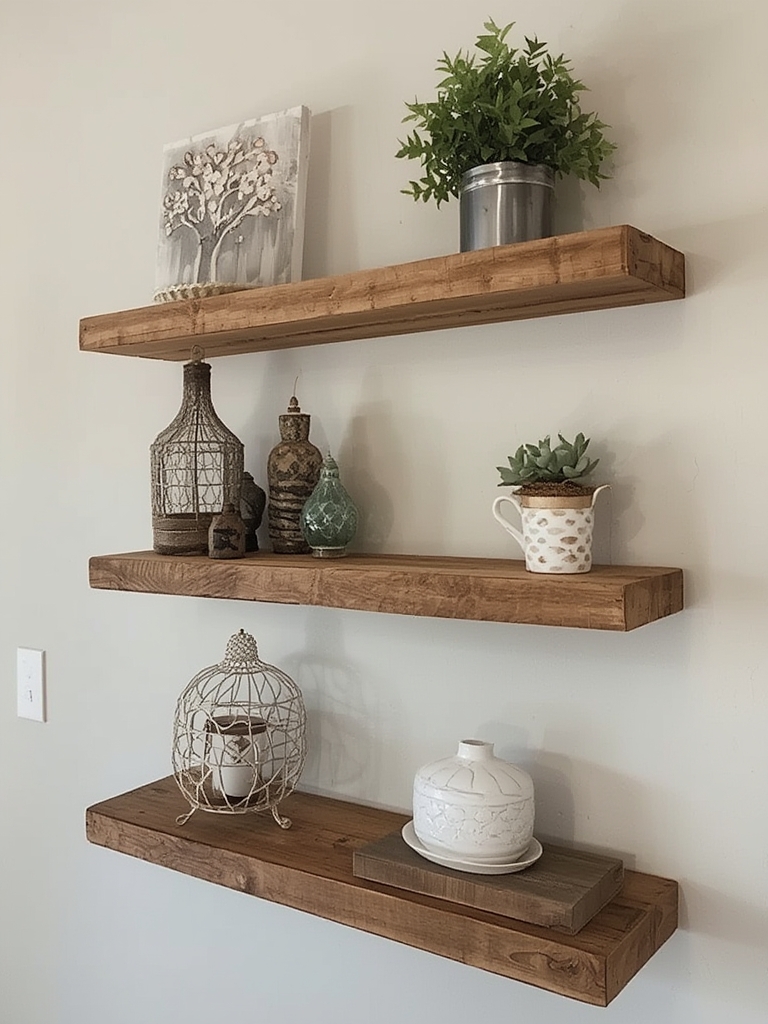
Practical Décor Ideas
- Display a small indoor plant (e.g., succulents) in a ceramic pot for a touch of greenery.
- Use decorative trays to corral keys, mail, or remote controls.
- Incorporate framed vintage prints or family photos for a personalized feel.
Maintenance & Care
Reclaimed wood is resilient, but regular upkeep keeps it looking fresh.
Monthly Routine
- Dust with a microfiber cloth to prevent grit buildup.
- Check bracket screws for tightness; re‑tighten if needed.
Annual Refresh
Apply a light coat of oil or matte polyurethane every 12‑18 months, especially in high‑humidity areas like kitchens or bathrooms. This protects against moisture absorption and minor scratches.
SEO & Data‑Driven Insights
To maximize the reach of your blog post, incorporate these high‑performing keywords naturally throughout the content:
- rustic reclaimed wood floating shelves
- DIY floating shelf installation
- eco‑friendly home décor ideas
- how to install reclaimed wood shelves
- floating shelf styling tips
According to Ahrefs, the phrase “reclaimed wood floating shelves” has a monthly search volume of 4,200 with a keyword difficulty of 28, indicating moderate competition and strong opportunity for ranking.
Conclusion
Rustic reclaimed wood floating shelves are more than just storage—they’re a statement of sustainability, craftsmanship, and style. By following the data‑backed steps outlined above, you’ll create a functional focal point that resonates with modern design trends while honoring the past. Remember to plan meticulously, use sturdy hardware, and style thoughtfully. With proper care, your reclaimed shelves will remain a cherished feature of your home décor for years to come.