Welcome to the world of DIY & Upcycle Projects! Transforming everyday items into stylish, functional pieces not only saves money but also adds a personal touch to your home. Below you’ll find three detailed projects that are perfect for beginners and seasoned makers alike. Each project includes a clear list of tools, step‑by‑step instructions, and practical tips to help you achieve professional‑looking results.
Project 1: Rustic Pallet Coffee Table
Materials & Tools
- 2–3 reclaimed wooden pallets (standard 48″ × 40″)
- Sandpaper (80, 120, and 220 grit)
- Power sander or sanding block
- Wood screws (2½″)
- Drill with screwdriver bits
- Measuring tape and pencil
- Wood glue
- Stain or paint of your choice
- Clear polyurethane sealant
- Brushes or lint‑free cloth
- Optional: metal brackets for extra stability
Step‑by‑Step Assembly
- Disassemble the pallets. Use a pry bar to carefully remove the boards, keeping them as intact as possible. This gives you individual planks for the tabletop and legs.
- Cut to size. Measure and cut four planks to 48″ for the tabletop surface. For the legs, cut four pieces to 16″ (or your desired table height).
- Sand all surfaces. Begin with 80‑grit sandpaper to remove rough edges, then progress to 120‑grit, and finish with 220‑grit for a smooth finish. Wipe away dust with a damp cloth.
- Assemble the tabletop. Lay the four long planks side by side, applying wood glue between each joint. Clamp them together and let the glue dry for at least 30 minutes.
- Secure the tabletop. Drill pilot holes through the top of the tabletop and into the underside of the legs. Insert 2½″ wood screws to attach each leg at the corners, ensuring the table sits level.
- Optional reinforcement. For added strength, attach metal brackets inside each corner where the legs meet the tabletop.
- Finish the wood. Apply your chosen stain or paint with a brush or cloth, following the grain direction. Allow the first coat to dry completely (usually 2–4 hours), then lightly sand with 220‑grit sandpaper before applying a second coat.
- Seal the surface. Finish with two coats of clear polyurethane, sanding lightly between coats. This protects the table from spills and daily wear.
Practical Tips
- When sanding, wear a dust mask and work in a well‑ventilated area.
- Use a level to double‑check leg alignment before tightening screws.
- If the pallet boards have nails, remove them with pliers to avoid splintering.
- For a distressed look, lightly sand the edges after staining.
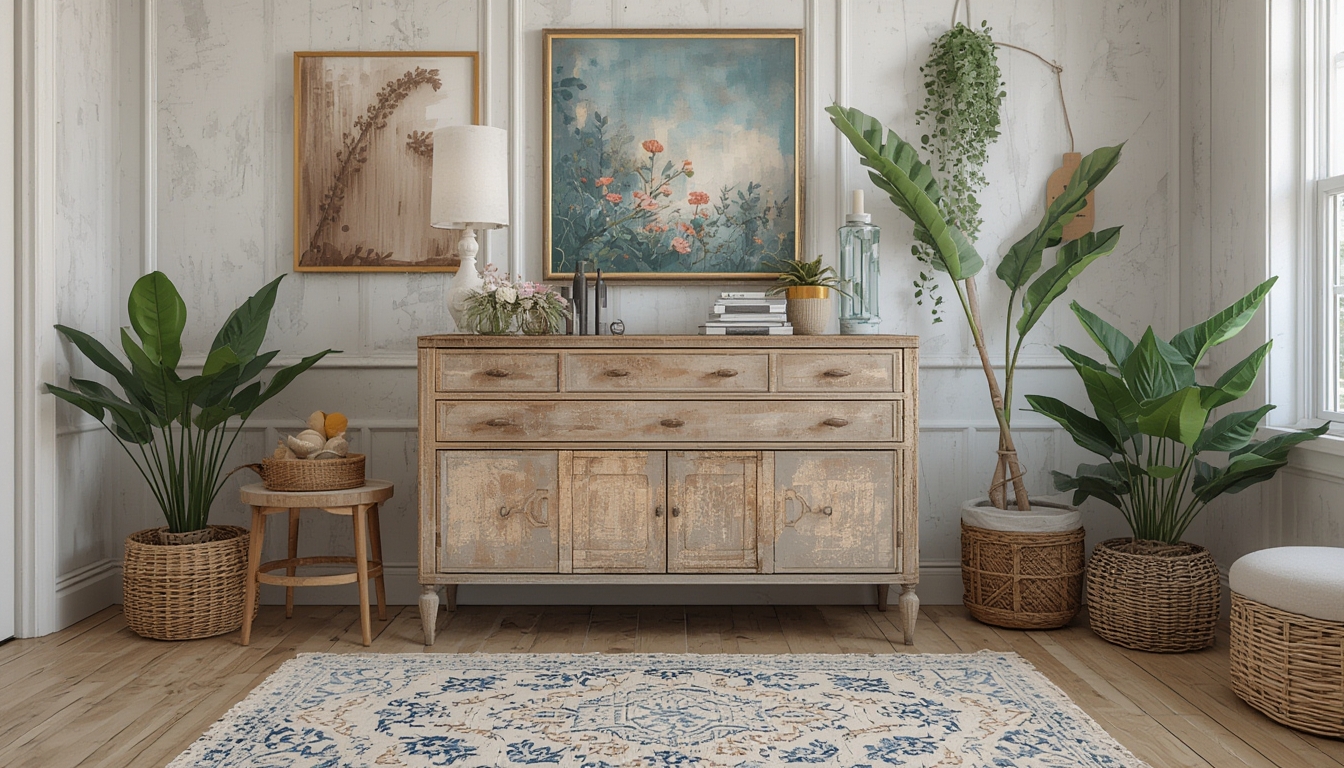
Project 2: Revitalized Dresser with Chalk Paint
Materials & Tools
- Old wooden dresser (any style)
- Chalk paint (any color)
- Fine‑grit sandpaper (220)
- Paintbrushes (2‑inch and ½‑inch)
- Painter’s tape
- Drop cloth or old sheets
- Clear wax or matte sealer
- Rubber gloves
- Small screwdriver set (for hardware removal)
Step‑by‑Step Restoration
- Prepare the workspace. Lay a drop cloth on the floor and place the dresser upright. Remove all drawer pulls and knobs using a screwdriver; keep them for re‑installation.
- Clean the surface. Wipe the dresser with a damp cloth to remove dust and grime. Let it dry completely.
- Lightly sand. Run 220‑grit sandpaper over the entire surface to smooth any rough spots and help the paint adhere. Wipe away sanding dust.
- Mask off areas. Use painter’s tape to protect the drawer interiors and any hardware you plan to keep.
- Apply the first coat of chalk paint. Using a 2‑inch brush, paint in long, even strokes following the wood grain. Chalk paint often covers well, so one coat may be sufficient for lighter colors.
- Let it dry. Allow 30–45 minutes for the paint to set.
- Second coat (optional). If you desire richer color, apply a second thin coat. Lightly sand with fine sandpaper between coats for a smoother finish.
- Seal the finish. Once the paint is fully dry, rub a thin layer of clear wax or matte sealer with a clean cloth. This adds durability while preserving the chalky texture.
- Re‑attach hardware. Replace the drawer pulls and knobs. For a cohesive look, consider painting the hardware with matching chalk paint before reinstalling.
- Final touch. Open and close each drawer to ensure smooth operation. Adjust any misaligned slides if needed.
Practical Tips
- Work in a well‑lit area to spot missed spots.
- If the dresser has a glossy finish, a quick coat of primer can improve paint adhesion.
- Test the chalk paint color on a hidden area first to confirm the shade.
- For a vintage look, lightly distress the edges with sandpaper after painting, then re‑seal.
Project 3: Boho Fabric Wall Hanging from Thrifted Scarves
Materials & Tools
- 4–6 colorful scarves or fabric remnants
- Wooden dowel (1 × 36″) or sturdy branch
- Scissors
- Measuring tape
- Fabric glue or hot glue gun
- Optional: wooden beads, tassels, or small charms
- Small needle and thread (for extra security)
Step‑by‑Step Creation
- Measure and cut fabric. Decide on the desired length (typically 24–30″). Cut each scarf to the same width, leaving a 2‑inch extra margin at the top for hanging.
- Prepare the dowel. Sand any rough spots on the dowel and wipe clean. If using a branch, ensure it’s smooth and free of splinters.
- Attach fabric to the dowel. Lay the dowel horizontally on a flat surface. Apply a thin line of fabric glue along the top edge of each scarf and press it onto the dowel, overlapping slightly for a seamless look. Hold each piece for a few seconds to set.
- Secure with stitching. For added durability, thread a needle with a matching color thread and make a simple running stitch along the top edge of each scarf, anchoring it to the dowel.
- Add decorative elements. Glue wooden beads, tassels, or charms at intervals along the dowel to create visual interest. Allow the glue to dry according to the manufacturer’s instructions.
- Finish the hanging loop. Cut a 4‑inch length of fabric, fold it in half, and glue or stitch the ends together to form a loop. Attach this loop to the back of the dowel for easy hanging.
- Display your art. Choose a spot with natural light to showcase the colors. Use a small nail or hook to hang the wall hanging securely.
Practical Tips
- Pre‑wash scarves if they’re new to prevent shrinkage after assembly.
- Use a low‑temperature setting on the glue gun to avoid scorching delicate fabrics.
- Mix and match patterns, but keep a common color thread to maintain cohesion.
- If the dowel feels heavy, attach two shorter dowels side‑by‑side for a lighter alternative.
These three DIY & Upcycle Projects demonstrate how simple tools and a bit of creativity can transform ordinary items into standout pieces for your home. By following the step‑by‑step instructions and applying the practical tips provided, you’ll achieve polished results that reflect your personal style. Happy making!