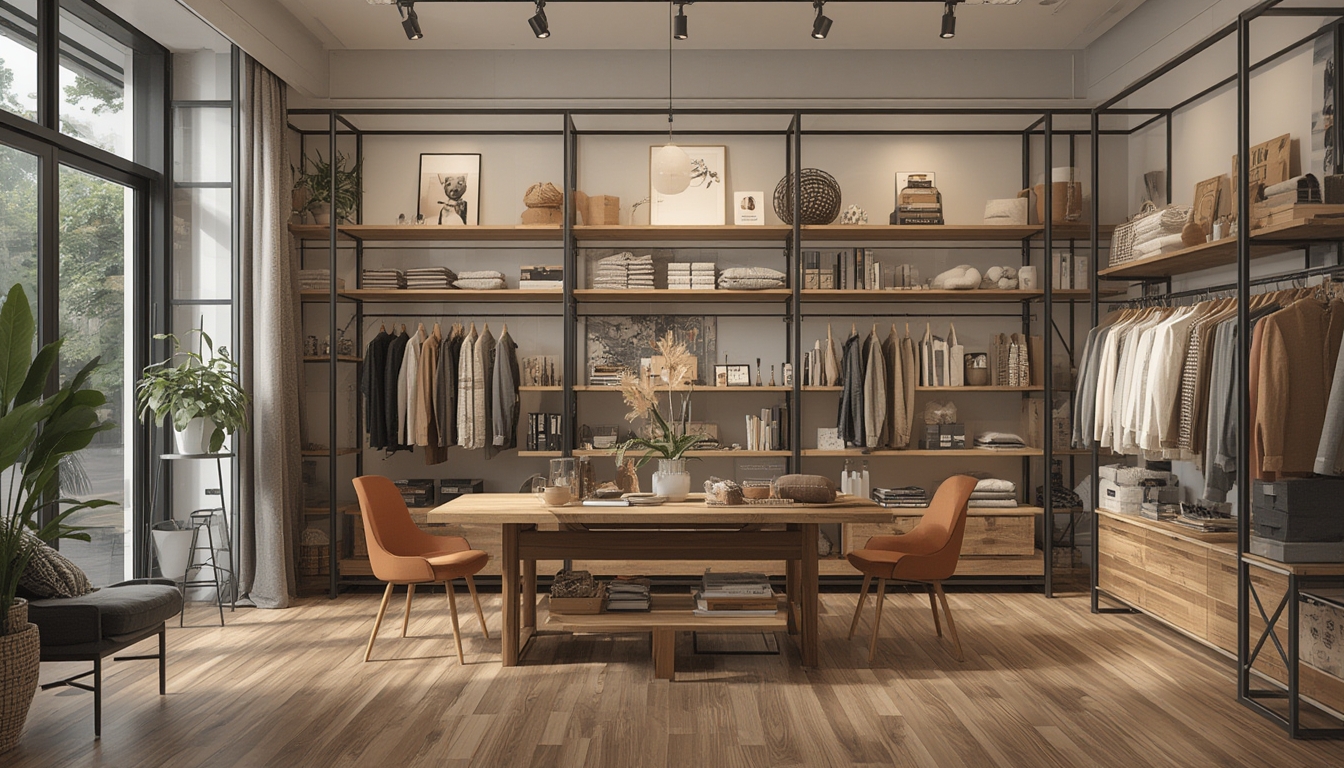

“Shop the Look” has become a powerful way for fashion retailers and interior designers to inspire customers, turning a single image into a complete shopping experience. By presenting a curated ensemble—whether it’s a runway outfit, a living‑room setup, or a street‑style snap—brands can guide shoppers through every piece, boosting conversion rates and average order values. Below is a step‑by‑step guide on how to assemble, restore, and style a “Shop the Look” feature on your WordPress site, complete with tools, practical tips, and actionable advice to ensure a smooth implementation.
1. Planning Your “Shop the Look” Concept
Define the Goal
- Purpose: Decide whether the look is for fashion, home décor, or a mixed‑category showcase.
- Target audience: Identify the demographic (age, style preferences, buying power) to tailor product selections.
- Conversion metric: Choose a KPI—e.g., click‑through rate (CTR) on product links, average order value, or time on page.
Gather Visual Assets
High‑resolution images are essential. Aim for at least 1200 px width to ensure clarity on retina displays. Collect the following:
- Primary hero image (the full look).
- Close‑up shots of individual items.
- Lifestyle background images (if you want to replace the backdrop later).
Map Out Product Data
For each item in the look, compile:
- SKU or product ID.
- Title, short description, and price.
- Link to the product page (or a direct add‑to‑cart URL).
- Stock status and any variant options (size, color).
2. Setting Up the WordPress Environment
Required Plugins & Tools
- WooCommerce: Core e‑commerce platform for product management.
- Advanced Custom Fields (ACF): Enables custom fields for linking items to specific image hotspots.
- Image Map Pro (or similar): Creates clickable zones on the hero image.
- WP Rocket (optional): Improves page load speed for image‑heavy pages.
- Browser DevTools: For quick CSS tweaks and debugging.
Install & Activate Plugins
- Navigate to Plugins → Add New in the WordPress dashboard.
- Search for “WooCommerce,” “Advanced Custom Fields,” and “Image Map Pro.”
- Click “Install” then “Activate” for each plugin.
Create a Custom Post Type (CPT)
Using ACF, register a CPT called shop_the_look. This keeps look‑pages separate from regular blog posts, making them easier to manage.
function register_shop_the_look_cpt() {
    register_post_type('shop_the_look', array(
        'label' => 'Shop the Look',
        'public' => true,
        'supports' => array('title', 'editor', 'thumbnail'),
        'has_archive' => true,
        'rewrite' => array('slug' => 'looks')
    ));
}
add_action('init', 'register_shop_the_look_cpt');
Paste this snippet into your child theme’s functions.php file or a site‑specific plugin.
3. Building the Interactive Look
Upload the Hero Image
- Open the newly created “Shop the Look” entry.
- Set the featured image to the hero photo.
- Save as draft.
Create Clickable Hotspots
Using Image Map Pro:
- Open the image editor for the hero image.
- Draw a polygon or rectangle around each product.
- In the hotspot settings, link to the corresponding WooCommerce product URL.
- Assign a tooltip with the product name and price for instant hover info.
- Save the map and copy the generated shortcode.
Insert the Image Map into the Post
Paste the shortcode directly into the content editor where you want the interactive image to appear. Example:
[image-map-pro id="123"]Display Product Details Below the Image
Use an ACF repeater field named “look_items” to list each product with its thumbnail, title, price, and “Add to Cart” button.
if( have_rows('look_items') ):
    echo '<ul class="look-items">';
    while ( have_rows('look_items') ) : the_row();
        $product_id = get_sub_field('product');
        $product = wc_get_product($product_id);
        echo '<li>';
        echo '<img src="'.get_the_post_thumbnail_url($product_id, 'thumbnail').'" alt="'.esc_attr($product->get_name()).'">';
        echo '<h3>'.esc_html($product->get_name()).'</h3>';
        echo '<p>$'.number_format($product->get_price(), 2).'</p>';
        echo do_shortcode('[add_to_cart id="'.$product_id.'"]');
        echo '</li>';
    endwhile;
    echo '</ul>';
endif;
Place this PHP block in the template file for the shop_the_look CPT (e.g., single-shop_the_look.php).
4. Styling and Responsiveness
CSS Basics
Add the following CSS to your child theme’s style.css to ensure a clean layout:
.look-items {
    display: flex;
    flex-wrap: wrap;
    gap: 20px;
    list-style: none;
    padding: 0;
}
.look-items li {
    flex: 1 1 200px;
    text-align: center;
}
.look-items img {
    max-width: 100%;
    height: auto;
    border-radius: 4px;
}
Mobile Adjustments
Use a media query to stack items on screens narrower than 600 px:
@media (max-width: 600px) {
    .look-items {
        flex-direction: column;
    }
}
Hover Effects for Hotspots
Enhance user experience by highlighting hotspots on hover:
.image-map-pro .hotspot:hover {
    outline: 2px solid #ff6f61;
    cursor: pointer;
}
5. Testing and Quality Assurance
Functional Checks
- Hotspot links: Click each zone to confirm it opens the correct product page.
- Add‑to‑cart: Verify that the “Add to Cart” button adds the correct SKU without errors.
- Responsive layout: Resize the browser window or use device mode in DevTools to ensure images and product lists adapt correctly.
Performance Optimization
Large hero images can slow page load. Apply these steps:
- Compress images using an online tool (e.g., TinyPNG) before upload.
- Enable lazy loading for the product thumbnails (WordPress 5.5+ does this by default).
- Set an appropriate cache expiration header via WP Rocket or a server‑level configuration.
6. Publishing and Post‑Launch Maintenance
Final Review
Before hitting “Publish,” run through a checklist:
- All product links are up‑to‑date and in stock.
- Alt text for images includes descriptive keywords for accessibility.
- No broken shortcodes or PHP errors in the console.
- Page speed score above 80 on Google PageSpeed Insights (optional but useful).
Schedule Regular Updates
Fashion trends shift quickly. Set a calendar reminder to:
- Refresh the hero image every 4–6 weeks.
- Swap out out‑of‑stock items with similar alternatives.
- Check for price changes and update the displayed price accordingly.
7. Actionable Tips for Ongoing Success
Leverage User‑Generated Content
Encourage customers to share photos of themselves using the “Shop the Look” items. Add a small gallery beneath the product list and tag each image with the relevant SKU. This builds social proof and provides fresh visual assets for future updates.
Offer Bundle Discounts
Use WooCommerce’s built‑in “Product Bundles” extension to create a discount when a shopper purchases three or more items from the look. Highlight the bundle price in the product list to incentivize higher cart values.
Track Interaction Heatmaps
Integrate a heatmap tool (e.g., Hotjar) to see which hotspots attract the most clicks. Use this data to rearrange product placement—high‑interest items should be positioned prominently in the hero image.
Maintain Consistent Branding
Apply the same color palette, typography, and button styles across all “Shop the Look” pages. Consistency reinforces brand identity and reduces cognitive friction for returning shoppers.
Provide a “Save for Later” Option
Install a simple wishlist plugin and add a “Save” icon next to each product. This allows users to revisit the look without immediate purchase, increasing the likelihood of conversion in subsequent sessions.
By following these steps—planning the concept, configuring WordPress, building interactive hotspots, styling for responsiveness, testing thoroughly, and maintaining the content—you’ll create a compelling “Shop the Look” experience that engages visitors and drives sales. The combination of clear visual storytelling and seamless e‑commerce integration turns a single image into a powerful revenue engine.