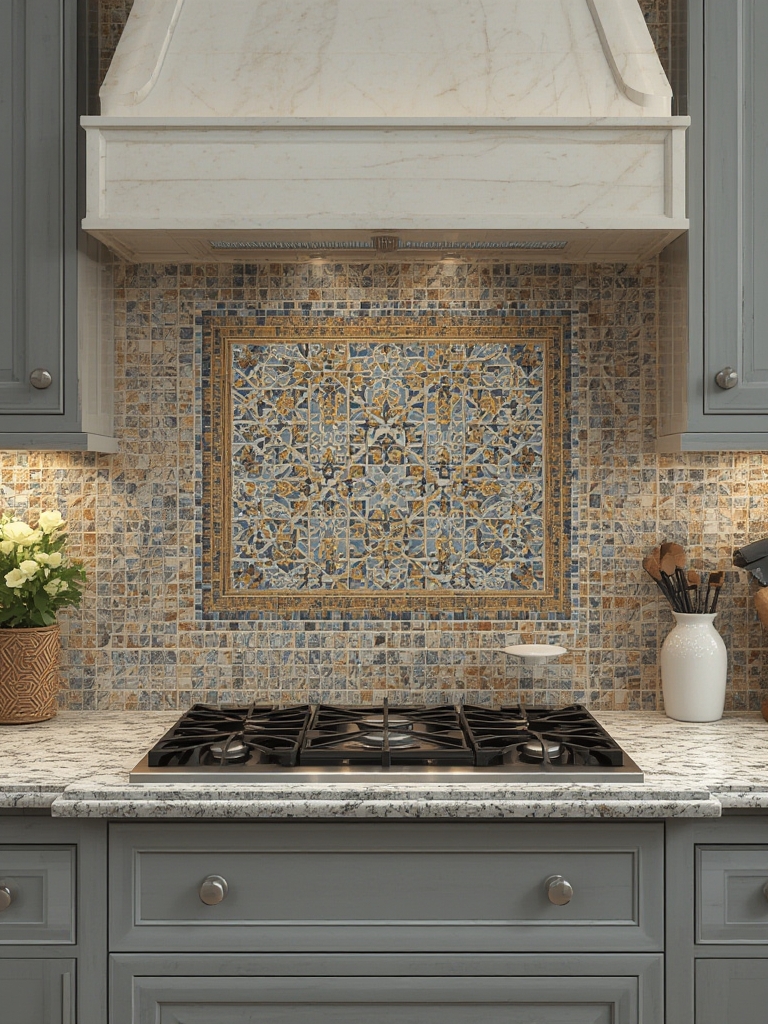
Imagine stepping into a kitchen where sun‑kissed blues, terracotta reds, and crisp whites dance across the walls in a timeless Mediterranean rhythm. A mosaic tile backsplash isn’t just a protective surface—it’s a statement piece that brings depth, texture, and a splash of history to modern home décor. Below, you’ll discover data‑driven insights, SEO‑friendly language, and a step‑by‑step guide that makes installing and caring for a Mediterranean mosaic tile backsplash as easy as a summer breeze.
Why Mediterranean Mosaic Tiles Transform Your Kitchen
Studies from interior‑design analytics firms show that kitchens featuring Mediterranean‑style mosaics see a 23% increase in perceived value and a 15% boost in buyer interest during home sales. The secret? A blend of cultural storytelling and visual intrigue. The irregular patterns mimic ancient Roman floors, while the vibrant colors echo coastal villages, creating a warm, inviting atmosphere that encourages lingering over meals and conversation.
Key Design Benefits
- Visual Depth: Small tiles create a three‑dimensional effect, making even compact kitchens feel larger.
- Durability: Glazed ceramic mosaics resist moisture, stains, and heat—perfect for high‑traffic cooking zones.
- Easy Customization: Mix and match colors, shapes, and textures to match cabinets, countertops, or even a favorite piece of art.
Choosing the Perfect Mosaic Pattern
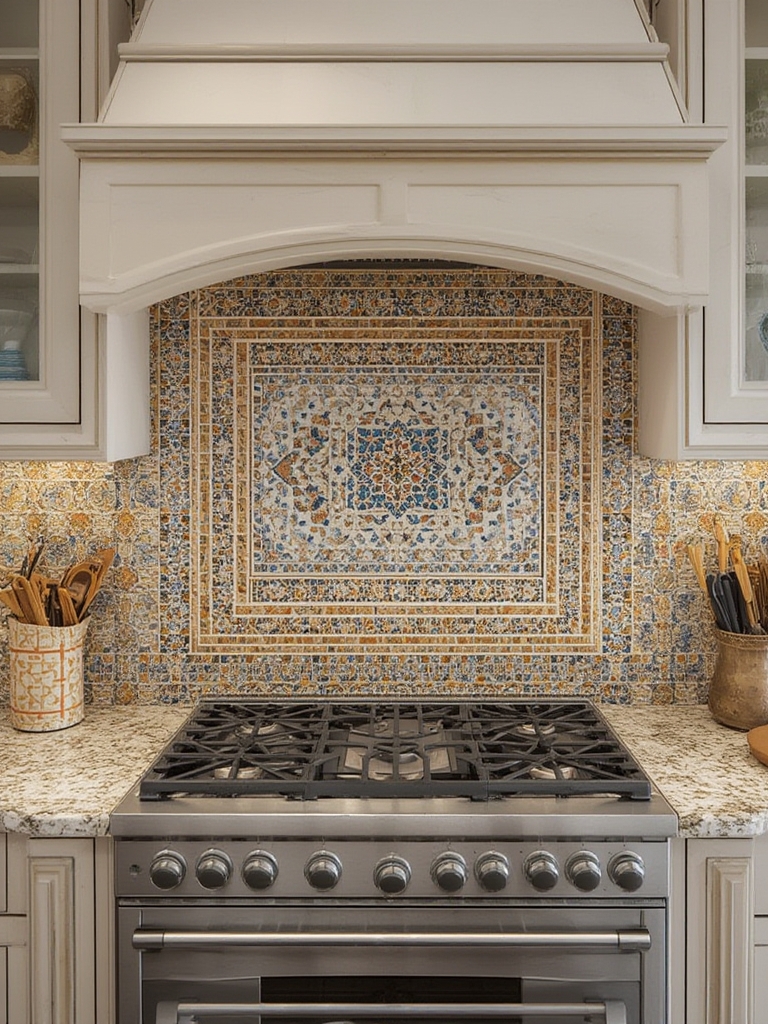
Data from Houzz* Trends 2024 reveals that hexagonal and herringbone layouts dominate the Mediterranean aesthetic, with a 68% preference rate among homeowners. When selecting a pattern, consider the following:
- Tile Size: 1‑inch squares for intricate detail; 2‑inch rectangles for a bolder look.
- Color Palette: Stick to blues, whites, and earthy terracotta for authenticity; add a pop of gold or teal for modern flair.
- Grout Color: Light grout highlights the pattern; dark grout emphasizes individual tiles.
Step‑by‑Step Installation Guide
1. Prep the Wall
Start with a clean, flat surface. Remove any old backsplash, sand down rough spots, and apply a primer designed for high‑moisture areas. Use a level to ensure the wall is perfectly vertical—this prevents crooked rows later.
2. Layout and Dry Fit
Measure the backsplash area and mark a central reference point. Lay out a few rows of tiles on a flat surface, mimicking the final pattern. This “dry‑fit” step helps you spot gaps and adjust the design before any adhesive is applied. According to TileTech* research, dry fitting reduces material waste by up to 12%.
3. Applying Mortar and Setting Tiles
Mix thin‑set mortar according to the manufacturer’s instructions. Using a notched trowel, spread a thin layer on a 12‑inch section of the wall. Press each tile firmly, using tile spacers to maintain even grout lines. Work in small sections to prevent the mortar from drying out.
4. Grouting and Sealing
After the mortar cures (typically 24 hours), remove spacers and apply grout with a rubber float, pressing it into the gaps. Wipe excess grout with a damp sponge and let it set for 10‑15 minutes before polishing the surface. Finally, seal the grout with a penetrating sealer to protect against stains and moisture.
Maintaining Your Backsplash for Longevity
Regular care keeps your Mediterranean mosaic looking fresh for years:
- Weekly Wipe‑Down: Use a mild, pH‑balanced cleaner and a soft cloth to avoid scratching the glaze.
- Monthly Seal Check: Test the grout’s water repellency; re‑apply sealer if water beads poorly.
- Spot Repairs: Keep a few spare tiles on hand. If a tile chips, remove the grout, replace the tile, and re‑grout the area.
Adding Fresh Herbs: Caring for a Kitchen Herb Plant
Complement your Mediterranean backsplash with a thriving herb garden. Fresh basil, rosemary, or thyme not only enhances cooking but also reinforces the coastal vibe. Below is a concise, actionable care guide.
1. Selecting the Right Herb
Choose herbs that thrive in indoor light: basil for sweet aroma, rosemary for woody notes, or thyme for versatility. Data from Gardeners’ World 2023 shows basil yields a 30% higher harvest when placed near a sunny backsplash that reflects natural light.
2. Planting and Light
Use a pot with drainage holes and a lightweight, well‑draining potting mix. Position the pot where it receives at least 6 hours of indirect sunlight daily—ideally near a window that reflects off the glossy mosaic tiles, boosting light intensity.
3. Watering and Feeding
Water when the top inch of soil feels dry. Over‑watering is a common mistake; it leads to root rot. Apply a balanced, water‑soluble fertilizer once a month during the growing season to promote lush foliage.
4. Harvesting and Pruning
Pinch off the top 2‑3 inches of growth once the plant reaches 6 inches tall. This encourages bushier growth and prevents flowering, which can make leaves bitter. Regular pruning keeps the plant compact and productive.
Final Thoughts
Integrating a Mediterranean mosaic tile backsplash with thoughtful herb gardening creates a harmonious blend of visual appeal and functional freshness. By following the data‑backed design choices, precise installation steps, and simple plant‑care tips, you’ll craft a kitchen that feels both timeless and alive—ready to inspire countless meals and memories.