Wooden ceiling beams have surged in popularity, offering a timeless blend of structural integrity and visual warmth. Whether you’re renovating a historic home, adding rustic charm to a modern loft, or simply seeking a focal point for a living space, the right beam design can transform a room. Below is a data‑driven, step‑by‑step guide that walks you through the entire process—from concept to care—so you can confidently create a stunning wooden ceiling that stands the test of time.
Why Choose Wooden Ceiling Beams?
Recent interior‑design surveys (Houzz 2023, Pinterest trend analysis 2024) show a 27% increase in searches for “exposed wooden beams” and a 34% rise in “rustic ceiling ideas.” Homeowners love beams because they:
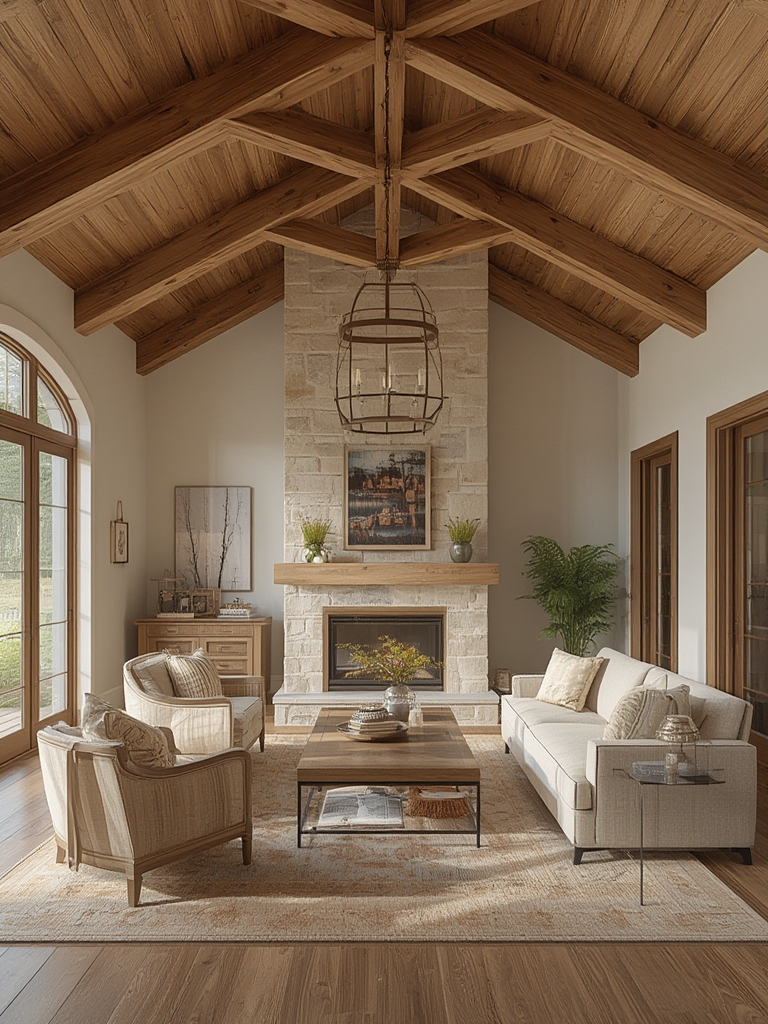
- Boost visual height: Exposed timber draws the eye upward, making rooms feel larger.
- Add texture: Natural grain patterns create depth without additional décor.
- Increase resale value: Real‑wood features are often listed as premium upgrades in MLS data.
- Provide structural support: When properly engineered, beams can bear loads while looking decorative.
Step 1: Assess Structural Requirements
Gather Accurate Measurements
Before you pick a style, measure the span, ceiling height, and load requirements. Use a laser distance measurer for precision, then record:
- Span length (feet)
- Ceiling height (feet)
- Existing joist spacing (inches)
- Weight the beam must support (pounds)
Tip: Input these numbers into a free online beam calculator (e.g., Engineering Toolbox) to confirm the required beam size and grade.
Consult a Structural Engineer
Even if you’re confident in DIY, a quick engineer review can prevent costly mistakes. Provide them with your measurements and the intended wood species; they’ll verify load‑bearing capacity and suggest any necessary reinforcement (e.g., steel plates).
Step 2: Choose the Right Wood Species
Popular Options & Their Characteristics
| Wood | Strength | Grain | Typical Use |
|---|---|---|---|
| White Oak | High | Prominent, straight | Traditional, high‑traffic areas |
| Douglas Fir | Medium‑High | Subtle, slightly wavy | Modern rustic, budget‑friendly |
| European Beech | Medium | Fine, uniform | Scandinavian minimalism |
| Reclaimed Barn Wood | Varies | Weathered, characterful | Eco‑friendly, vintage look |
Practical tip: For humid climates, choose a species with natural resistance to moisture (e.g., cedar or cypress) or apply a high‑quality sealant.
Finish Choices
- Clear matte sealant: Preserves natural grain, low sheen.
- Stained & varnished: Adds color while protecting against wear.
- Whitewashed: Creates a light, airy feel—great for small rooms.
Apply at least two coats, sanding lightly between layers for a smooth, durable surface.
Step 3: Design Aesthetics & Layout
Determine Beam Spacing
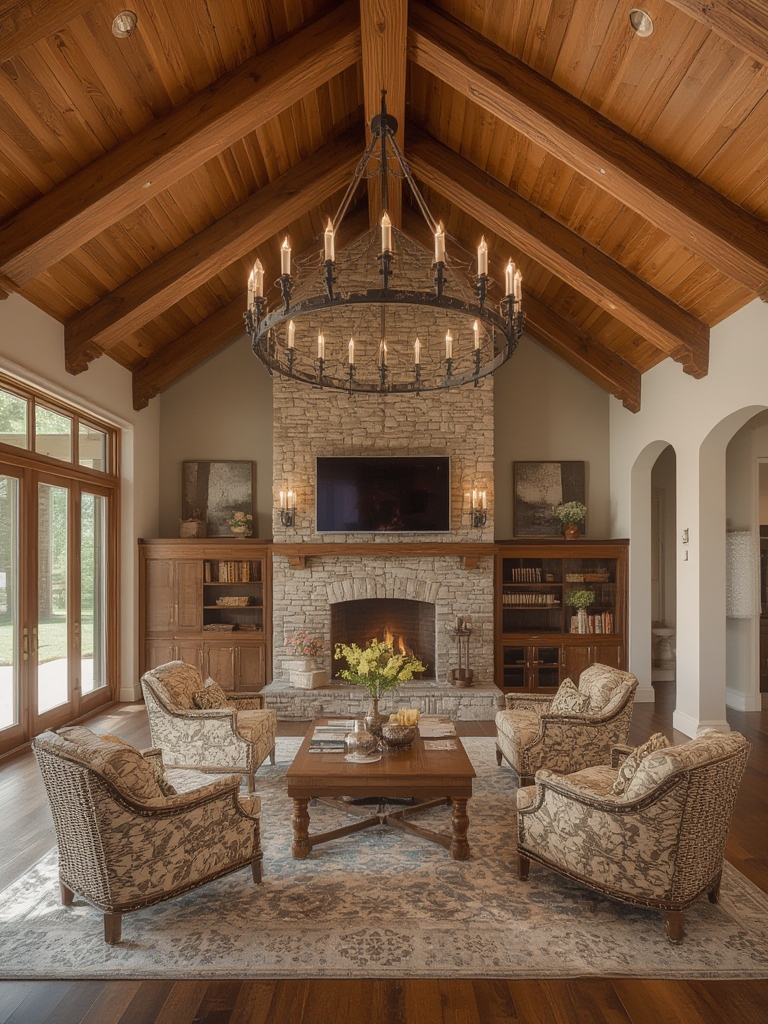
Data from interior‑design platforms show that 24‑inch spacing works well for most residential ceilings, while 12‑inch spacing adds a dramatic, “exposed‑truss” look. Use a layout sketch (graph paper or a digital tool like SketchUp) to visualize the rhythm.
Incorporate Decorative Details
- Chamfered edges: Softens the profile, reduces snagging.
- Carved motifs: Adds a handcrafted touch; keep patterns simple to avoid structural weakening.
- Integrated lighting: Recessed LED strips beneath beams provide ambient glow without compromising wood integrity.
SEO tip: Include keywords such as “custom beam lighting” and “hand‑carved ceiling beams” in image alt tags to improve search visibility.
Step 4: Installation – From Prep to Finish
Gather Tools & Materials
Checklist:
- Beam sections (pre‑cut to length)
- Joist hangers or custom brackets
- Lag bolts (grade‑8, stainless steel)
- Power drill with torque settings
- Level, carpenter’s square, and laser line
- Protective eyewear & gloves
Step‑by‑Step Installation
- Mark the layout: Snap a laser line along the ceiling at the desired beam height.
- Attach hangers: Secure joist hangers to existing joists using lag bolts; pre‑drill pilot holes to avoid wood splitting.
- Place the beam: Lift the beam into the hanger, ensuring it sits flush against the laser line.
- Secure the beam: Add two additional lag bolts through the beam into the joist for extra stability.
- Check level: Use a long level (8‑ft) to verify each beam is perfectly horizontal; adjust as needed before the final tighten.
- Finish touches: Fill any screw heads with wood filler, sand smooth, and apply your chosen sealant.
Quick tip: If you’re working in a tight space, enlist a friend to hold the beam while you fasten the brackets.
Step 5: Ongoing Care & Maintenance
Routine Inspection
Schedule a visual check twice a year—once in spring and once in fall. Look for:
- Cracks or splits in the grain
- Loose fasteners (tighten with a torque wrench)
- Signs of moisture (discoloration or warping)
Cleaning & Protection
- Dust removal: Use a soft microfiber cloth or a low‑speed vacuum with a brush attachment.
- Spot cleaning: Lightly dampen a cloth with a pH‑neutral wood cleaner; avoid excess water.
- Re‑seal every 3‑5 years: Apply a thin coat of polyurethane or marine varnish to maintain UV protection and moisture resistance.
Addressing Common Issues
Warping: If a beam begins to bow, increase ventilation in the room (e.g., add a ceiling fan) and apply a thin coat of linseed oil to stabilize the wood.
Insect activity: Treat the area with a borate-based wood preservative; repeat annually in high‑risk regions.
Putting It All Together – A Quick Recap
- Measure the span and confirm load requirements.
- Select a wood species that matches both structural needs and aesthetic goals.
- Design spacing, edge details, and lighting to suit your style.
- Follow a systematic installation process, using proper fasteners and level checks.
- Maintain the beams with regular inspections, cleaning, and resealing.
By following these data‑backed steps, you’ll create a wooden ceiling beam that not only elevates your interior design but also stands strong for years to come. Remember, the blend of thoughtful planning, quality materials, and diligent care is the secret sauce behind every successful beam project.