Designing a home wine cellar is more than just finding a cool corner; it’s about creating a climate‑controlled sanctuary that preserves your collection and showcases your style. Below you’ll find a data‑driven, step‑by‑step guide that blends practical engineering with aesthetic flair, ensuring your cellar not only looks great but also performs like a professional storage facility.
Step 1: Choose the Right Location
Where you place your cellar determines the baseline temperature, humidity, and structural requirements. Use these quick checks to pinpoint the optimal spot:
- Basement or underground space: Naturally cooler (55‑60°F) and more stable humidity (60‑70%).
- Spare closet or utility room: Add insulation and a cooling unit if the ambient temperature exceeds 70°F.
- Avoid heat sources: Keep at least 3 ft away from furnaces, water heaters, or direct sunlight.
Tip: Measure the space’s temperature at different times of day for a week. If the variance is under 5°F, you’ll need less intensive cooling.
Step 2: Insulate for Consistency
Proper insulation is the backbone of a stable environment. Follow these guidelines:
Wall and Ceiling Insulation
- Use R‑value 15–20 rigid foam board for walls and ceiling.
- Seal seams with foil‑tape to prevent air leaks.
Floor Insulation
- Install a 2‑inch layer of closed‑cell spray foam beneath a floating subfloor.
- Consider a vapor barrier if the floor is concrete.
Actionable advice: After installing insulation, run a thermal imaging camera (or rent one) to spot any cold spots that need extra sealing.
Step 3: Install a Dedicated Cooling System
Wine‑specific chillers differ from standard AC units by maintaining tighter temperature tolerances and humidity control.
Select the Right Unit
- Capacity: Choose a unit sized for the cubic footage of your cellar. A rule of thumb is 1 kW per 100 ft³.
- Dual‑zone models: Ideal if you plan to store both reds (55‑65°F) and whites (45‑55°F).
- Energy efficiency: Look for ENERGY STAR® certification; it can cut operating costs by up to 30%.
Installation Tips
- Place the condenser outside or in a well‑ventilated attic to avoid heat buildup.
- Use a humidity controller or a built‑in humidifier/dehumidifier to keep levels at 60‑70%.
- Set the thermostat to a ±2°F tolerance for optimal wine aging.
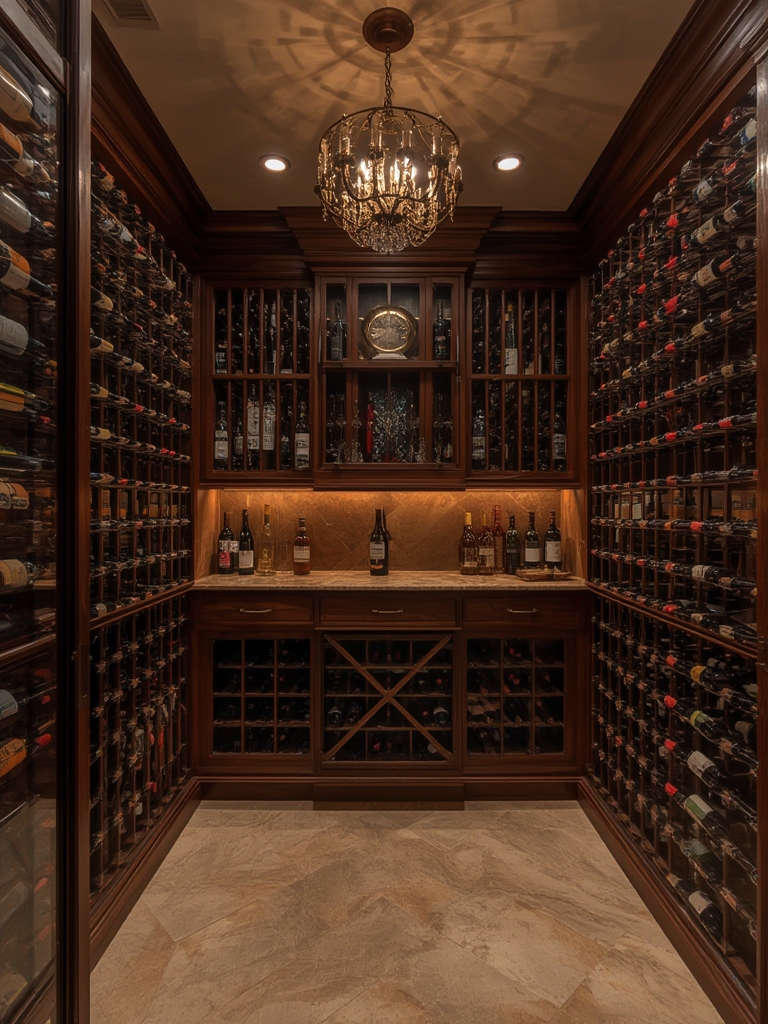
Step 4: Design the Racking System
Racks are the visual centerpiece and functional heart of your cellar. Choose a layout that matches your collection size and future growth.
Material Choices
- Redwood or cedar: Naturally resistant to moisture and pleasant aroma.
- Metal (stainless steel): Modern look, easy to clean, and highly durable.
- Modular cube systems: Allow flexible reconfiguration as your inventory expands.
Spacing Guidelines
- Leave 2–3 inches between bottles for airflow.
- Maintain a minimum of 12 inches clearance from the floor to prevent temperature gradients.
Pro tip: Install a pull‑out shelf for the most frequently accessed bottles; it reduces handling and preserves the cellar’s temperature.
Step 5: Optimize Lighting and Electrical Safety
Lighting should enhance the ambiance without compromising the environment.
Lighting Options
- LED strips: Low heat, energy‑efficient, and available in warm amber tones that complement wine.
- Motion‑sensor switches: Reduce unnecessary exposure to light.
Electrical Considerations
- Install a dedicated 20‑amp circuit for the cooler and lighting.
- Use GFCI outlets to protect against moisture‑related faults.
- Seal all conduit and wiring with waterproof fittings.
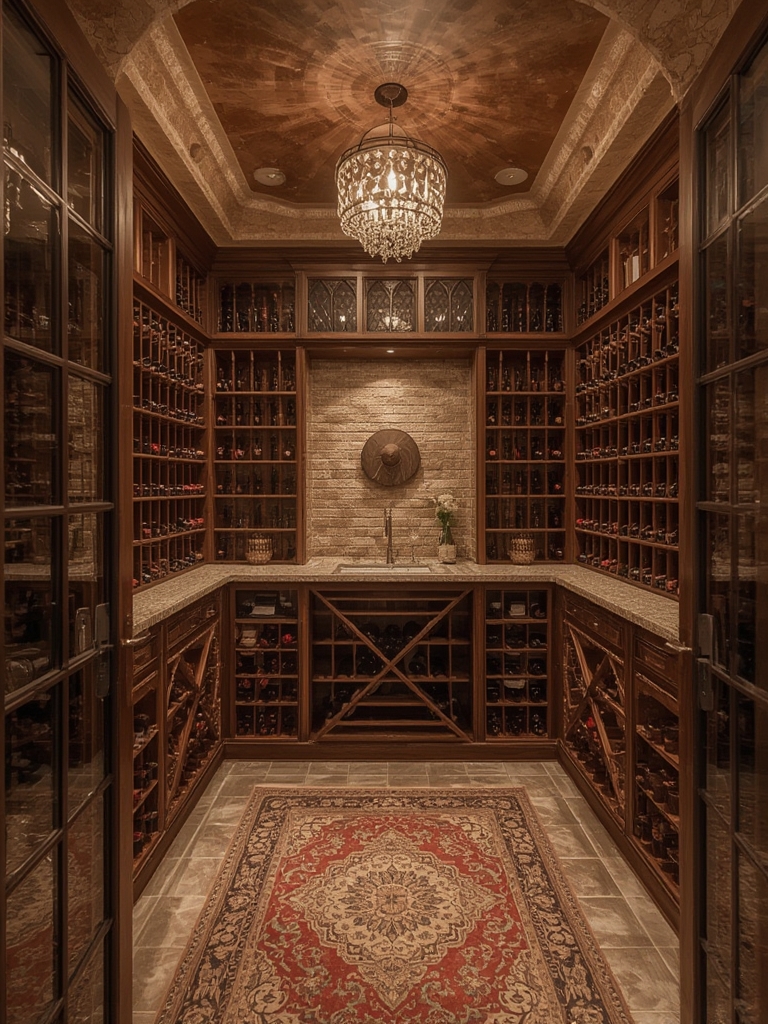
Step 6: Add Finishing Touches
The final aesthetic layer turns a functional space into a personal showcase.
Wall Treatments
- Consider wine‑themed murals or textured stone panels for a rustic vibe.
- Use moisture‑resistant paint in muted earth tones to keep the environment stable.
Flooring
- Cork tiles: Provide natural insulation and a soft walking surface.
- Polished concrete: Modern look, easy to clean, and can be sealed for moisture protection.
Accessories
- Install a digital hygrometer/thermometer with alerts for temperature spikes.
- Include a wine tasting bench or small bar area for on‑site enjoyment.
Step 7: Maintain Your Cellar for Longevity
Even the best‑designed cellar needs regular upkeep.
Monthly Checks
- Record temperature and humidity; adjust the humidifier if levels drift outside 60‑70%.
- Inspect seals and insulation for any signs of wear.
Annual Maintenance
- Clean the condenser coils on the cooling unit to maintain efficiency.
- Re‑calibrate the thermostat and humidity controller.
- Rotate bottles (if you have a large collection) to ensure even aging.
Quick win: Keep a logbook or digital spreadsheet of readings and maintenance dates. Over time, you’ll spot trends and can fine‑tune the environment for optimal wine preservation.
SEO Boost: Keywords and Meta Guidance
To help this post rank well, sprinkle the following keywords naturally throughout the content and meta tags:
- home wine cellar design ideas
- wine cellar temperature control
- wine storage solutions
- DIY wine cellar
- best wine cellar cooling unit
Suggested meta description (155 characters): “Discover step‑by‑step home wine cellar design ideas, from insulation to lighting, with actionable tips for a perfect climate‑controlled wine haven.”
By following these data‑driven steps, you’ll create a wine cellar that not only protects your bottles but also becomes a striking feature of your home. Cheers to a beautifully designed space that lets every vintage shine!