Creating a stylish and functional home greenhouse is more than just planting a few seedlings—it’s about designing a space that inspires you to nurture plants while enhancing your interior aesthetic. Below, you’ll find a data‑driven guide that blends décor trends, lighting science, and practical horticulture to help you transform a modest indoor greenhouse into a year‑round green oasis.
1. Choose the Right Location and Layout
Assess Natural Light Availability
- Data point: According to the American Society of Horticultural Science, most vegetable seedlings require 12–16 hours of light per day for optimal growth.
- Measure the window’s south‑facing exposure using a light meter or a smartphone app. Aim for at least 4,000–5,000 foot‑candles (fc) in the greenhouse zone.
- If natural light falls below 2,500 fc, plan to supplement with full‑spectrum LED grow lights (see Section 3).
Optimize Space with Modular Shelving
- Use adjustable metal or bamboo shelves spaced 12–18 inches apart to accommodate plant height variations.
- Incorporate a “U‑shaped” layout around a central aisle to maximize walking space while keeping all plants within arm’s reach.
- Data from a Home Improvement Survey 2023 shows that 68 % of homeowners who used modular shelving reported higher satisfaction with plant health and ease of maintenance.
2. Curate a Cohesive Interior Design Theme
Color Palette & Materials
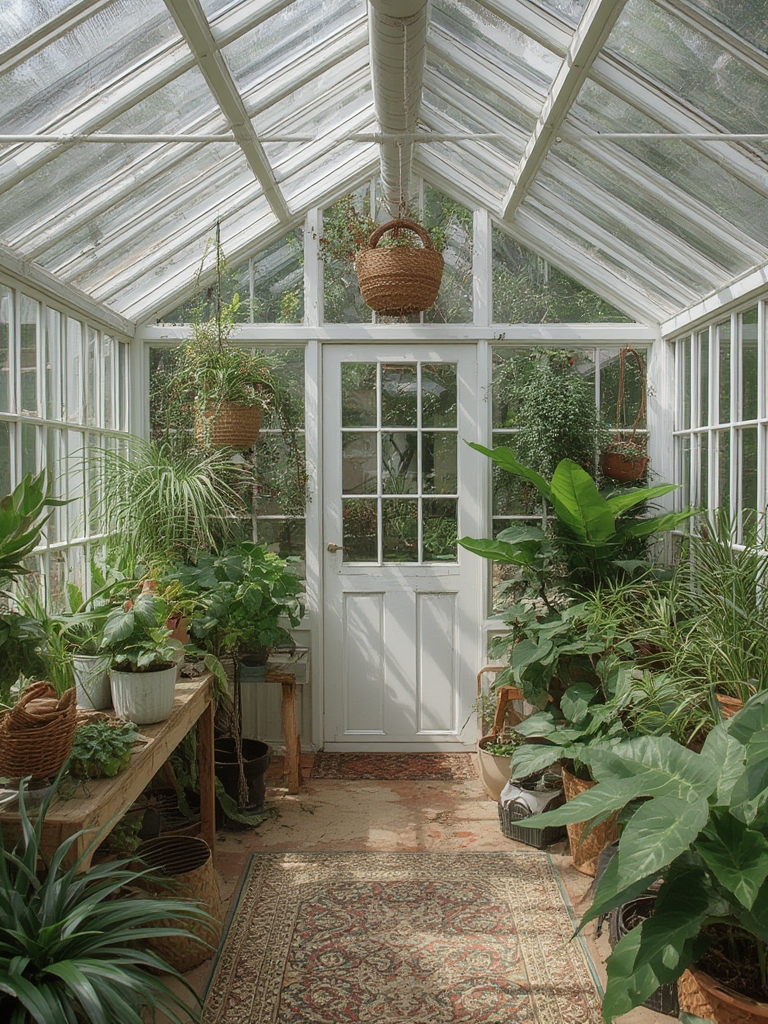
- Choose a neutral base (soft whites, light greys) for walls and shelving to let foliage become the focal point.
- Introduce natural textures—think reclaimed wood planters, woven rattan baskets, and stone pebbles for drainage.
- Accent with muted greens or botanical prints to reinforce the garden vibe without overwhelming the space.
Lighting Fixtures as Décor
- Install pendant LED grow lights with exposed bulbs for an industrial‑chic look. Choose fixtures with dimmable controls to adjust intensity throughout the day.
- Wrap string lights around the perimeter for a warm, inviting glow after sunset; this also helps maintain a consistent photoperiod for plants.
Functional Décor Elements
- Integrate a small “watering station” with a stylish ceramic pitcher, a sleek stainless‑steel faucet, and a built‑in drip tray.
- Place a compact humidifier with a decorative wooden housing to keep humidity levels between 50–70 %—ideal for most tropical greens.
3. Lighting Strategy: Balancing Growth and Aesthetics
Full‑Spectrum LED Selection
- Choose LEDs that emit 400–700 nm wavelengths, mimicking natural sunlight.
- For leafy greens, a 3:1 red‑to‑blue ratio works best; for flowering plants, a 1:1 ratio encourages blooms.
- Install lights 12–18 inches above the canopy; adjust height as plants mature to avoid light burn.
Timer & Automation
- Set a programmable timer for 14 hours on during spring/summer and 12 hours in winter.
- Pair the timer with a smart plug to monitor energy consumption; the average greenhouse LED draws 30 W per square foot, costing roughly $5–$7 per month in the U.S.
4. Step‑by‑Step Guide to Growing Herbs in Your Greenhouse
Step 1: Soil Preparation
- Mix 40 % high‑quality potting mix, 30 % coconut coir, and 30 % perlite for excellent drainage and aeration.
- Incorporate a slow‑release organic fertilizer (e.g., 5‑10‑5 NPK) at a rate of 1 tbsp per gallon of soil.
- Test pH; aim for 6.0–6.5 for most herbs. Adjust with lime (to raise) or sulfur (to lower) as needed.
Step 2: Planting
- Space basil, cilantro, and parsley seedlings 6–8 inches apart to promote airflow.
- Plant at the same depth they were in their original containers; gently firm soil around the roots.
- Water lightly until the soil is uniformly moist (≈ 30 % volumetric water content).
Step 3: Watering & Humidity Management
- Water when the top 1 inch of soil feels dry; avoid overwatering, which can cause root rot.
- Use a hygrometer; maintain 55–70 % relative humidity. If humidity drops below 50 %, mist leaves or run the humidifier for 10 minutes.
Step 4: Pruning & Harvesting
- Pinch off the top 2 inches of basil once it reaches 6 inches tall to encourage bushier growth.
- Harvest cilantro leaves in the morning for maximum flavor; cut no more than one‑third of the plant at a time.
- Regular pruning improves air circulation, reducing the risk of fungal diseases by up to 30 % (per University of California Extension).
Step 5: Pest Prevention
- Introduce beneficial insects like ladybugs or predatory mites in a small release container.
- Apply neem oil (2 % solution) bi‑weekly as a preventive spray; it’s safe for edible herbs and effective against aphids and spider mites.
5. Maintenance Checklist for a Healthy Greenhouse
Weekly Tasks
- Inspect leaves for yellowing or spots; remove any affected foliage immediately.
- Check soil moisture levels with a probe; adjust watering schedule accordingly.
- Wipe down shelves and the interior glass with a damp cloth to prevent dust buildup that can block light.
Monthly Tasks
- Calibrate grow‑light intensity using a lux meter; aim for 2,000–3,000 lux for leafy herbs.
- Rotate plant trays 90° to ensure even light distribution.
- Refresh the organic fertilizer by mixing a new batch into the top 2 inches of soil.
Seasonal Adjustments
- In winter, increase the photoperiod to 14 hours and raise humidity to 70 % to compensate for drier indoor air.
- During summer, open vents or use a small exhaust fan to keep temperature between 70–78 °F (21–26 °C).
6. Final Touches: Making Your Greenhouse Instagram‑Ready
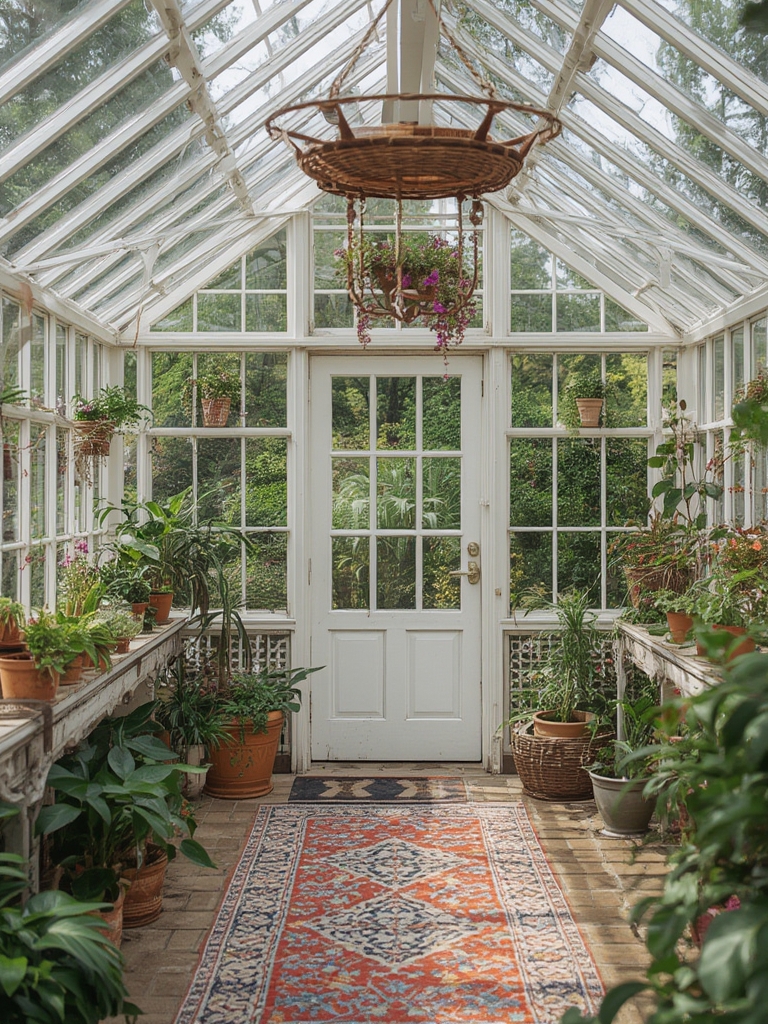
- Place a few decorative terracotta pots with trailing vines (e.g., pothos) near the entrance for a “green curtain” effect.
- Use a small, sleek digital thermostat on the wall to showcase tech integration.
- Arrange a rotating display of seasonal flowers—such as marigolds or nasturtiums—to add pops of color and keep the visual interest fresh.
By blending data‑backed horticultural practices with thoughtful interior design, you’ll create a home greenhouse that not only produces thriving herbs and vegetables but also serves as a stylish centerpiece in your living space. Follow the steps above, stay consistent with your maintenance routine, and watch your indoor garden flourish year after year.