Wall paneling and board‑and‑batten (B&B) have surged in popularity over the past five years, with Google Trends showing a 120 % increase in searches for “board and batten walls” since 2020. Homeowners love the timeless texture, the ability to create visual height, and the relatively low cost compared to full‑wall wallpaper or custom woodwork. This guide walks you through every stage—from choosing the right material to installing and maintaining your panels—so you can achieve a polished, Instagram‑ready look without hiring a contractor.
Why Choose Wall Paneling & Board‑and‑Batten?
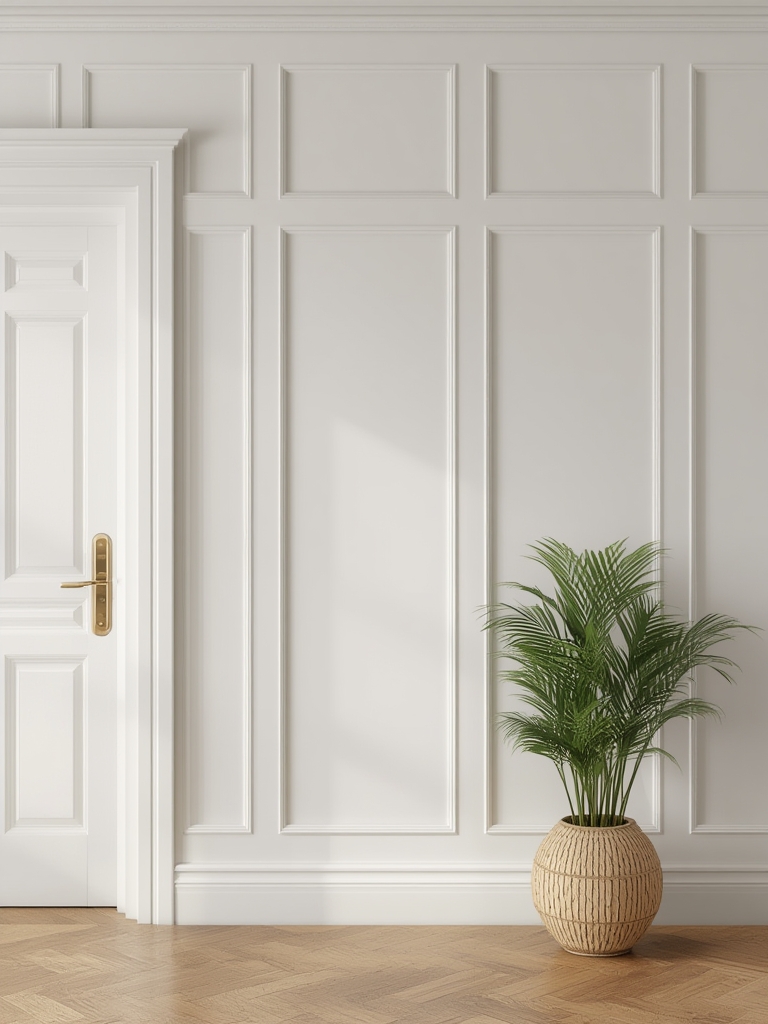
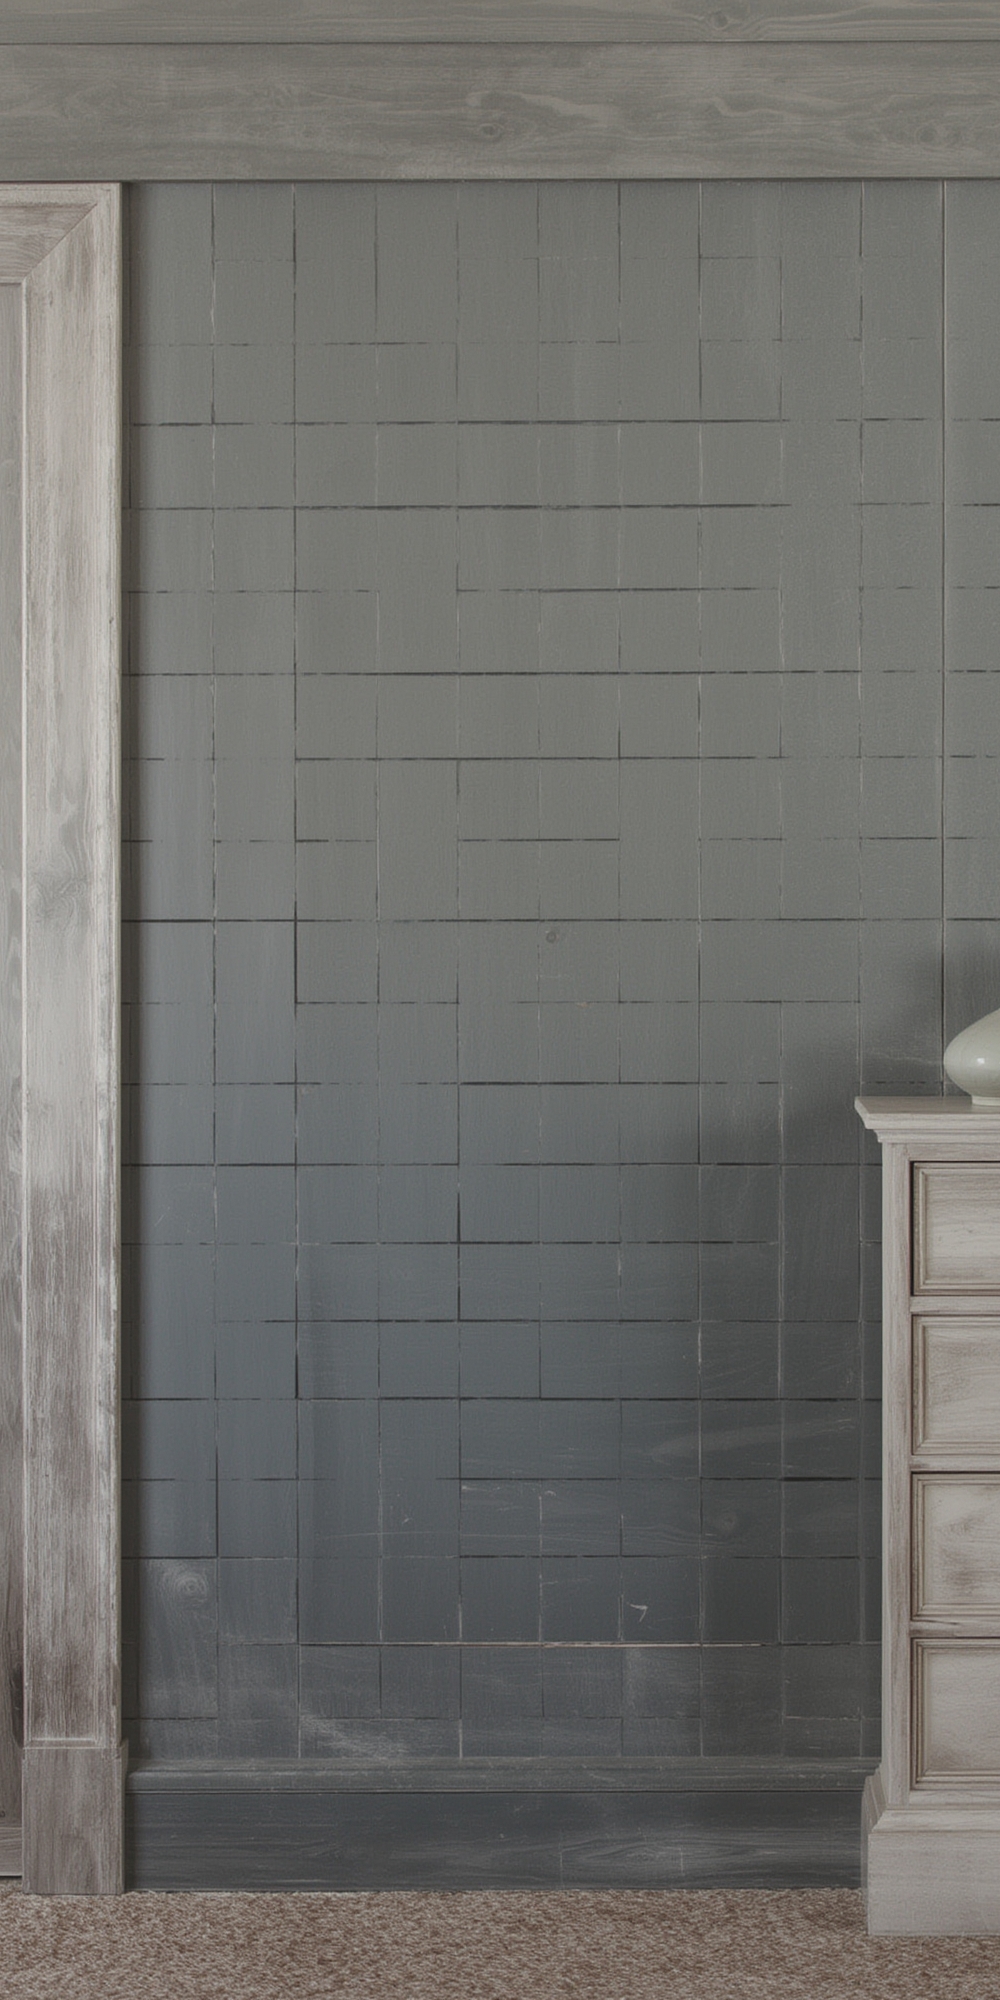
Design Benefits
- Visual depth: Horizontal panels make a room feel wider, while vertical battens add height.
- Style versatility: From rustic reclaimed wood to sleek MDF, B&B adapts to farmhouse, modern, or coastal aesthetics.
- Accent potential: Use paneling on a single wall to create a focal point without overwhelming the space.
Practical Advantages
- Durability: Properly sealed wood or high‑density MDF resists moisture and wear.
- Easy DIY: Most kits come pre‑cut, and installation can be completed in a weekend.
- Value boost: Real estate data from Zillow indicates homes with decorative wall treatments sell for up to 5 % more.
Step‑by‑Step Installation Guide
1. Plan Your Layout
- Measure twice, cut once: Use a laser measure to record wall height, width, and any obstacles (doors, windows, outlets).
- Create a mock‑up: Sketch the panel grid on graph paper or use a free app like SketchUp to visualize spacing.
- Determine batten spacing: Standard spacing is 12‑16 inches; adjust based on ceiling height—higher ceilings can handle wider gaps.
2. Choose the Right Material
- Solid wood: Ideal for rustic looks; ensure it’s kiln‑dried to prevent warping.
- MDF or HDF: Budget‑friendly, smooth surface for paint; choose moisture‑resistant grades for bathrooms.
- PVC or composite: Best for high‑humidity areas; lightweight and easy to cut.
3. Gather Tools & Supplies
- Stud finder
- Level and chalk line
- Power drill with 1‑¼″ wood screws
- Construction adhesive (optional for extra hold)
- Paint or stain (if not pre‑finished)
- Safety gear: goggles, dust mask, ear protection
4. Prepare the Wall
- Clear the area: Remove furniture or cover it with drop cloths.
- Repair imperfections: Fill holes, sand rough spots, and apply a primer if the surface is glossy.
- Mark stud locations: Use a stud finder and mark with a pencil; B&B panels are typically attached to studs for maximum stability.
5. Install the Bottom Rail (Optional)
If you’re using a full‑height B&B system, start with a bottom rail to keep panels level. Secure it with two screws per stud, then double‑check with a level before proceeding.
6. Attach the Panels
- Starting at a corner, hold the first panel against the wall, aligning the top edge with the chalk line.
- Drive two screws into each stud behind the panel (about 12 inches apart).
- Apply a thin bead of construction adhesive along the back edge for added grip (especially on plaster walls).
- Repeat the process, using a spacer to maintain consistent gaps between panels.
7. Install the Battens
- Measure and cut battens to the full wall height, allowing a ¼‑inch overhang at the top and bottom for a finished look.
- Place the first batten over the seam of the first two panels, ensuring it’s perfectly vertical with a level.
- Secure with two screws per stud; pre‑drill pilot holes to avoid splitting the wood.
- Continue across the wall, maintaining the spacing you planned in step 1.
8. Finish & Seal
- Caulk seams: Use paint‑able acrylic caulk to fill any gaps between battens and panels.
- Paint or stain: Apply a high‑quality interior paint (2‑coat recommended) or a clear polyurethane for wood.
- Touch‑up: Inspect for nail heads or screw spots and sand lightly before the final coat.
Maintenance Tips for Longevity
Routine Cleaning
- Dust with a microfiber cloth weekly; for textured surfaces, use a soft‑bristle brush.
- Spot‑clean stains with a mild soap solution; avoid abrasive cleaners that can strip finish.
Seasonal Checks
- Inspect for loose screws or gaps after extreme temperature changes; re‑tighten as needed.
- Re‑apply a thin coat of sealant every 2–3 years in high‑humidity rooms to prevent moisture infiltration.
Quick Fixes
- Minor dents: Fill with wood filler, sand smooth, and touch up with matching paint.
- Scratches on paint: Use a touch‑up pen that matches your wall color; for larger areas, feather the paint with a small brush.
SEO‑Friendly Content Tips for Your Blog Post
- Keyword placement: Include “board and batten wall ideas,” “DIY wall paneling,” and “home décor paneling” in the first 100 words, subheadings, and image alt tags.
- Internal linking: Reference related posts such as “Top 10 Paint Colors for Accent Walls” and “How to Choose Sustainable Wood for Home Projects.”
- Rich media: Add before‑and‑after photos with descriptive captions; embed a short 60‑second video walkthrough to increase dwell time.
- Schema markup: Use
ArticleandHowToschema to help search engines understand the step‑by‑step nature of the guide.
Final Thoughts
Wall paneling and board‑and‑batten offer a high‑impact, cost‑effective way to transform any room. By following the data‑backed steps above—planning your layout, selecting the right material, installing with precision, and maintaining regularly—you’ll enjoy a durable, stylish backdrop that boosts both aesthetic appeal and property value. Ready to start? Grab your tools, set up a workspace, and let the transformation begin.