When it comes to elevating a room’s visual depth, textured layers combined with strategic spotlights have become a go‑to design trend for both modern and classic interiors. By layering fabrics, wall finishes, and decorative accessories, you create a tactile experience that invites the eye to wander. Adding the right plant not only reinforces the layered feel but also introduces a living element that thrives under thoughtfully placed lighting. Below is a data‑driven, step‑by‑step guide on how to master the textured layers style, spotlight placement, and plant care to ensure a cohesive, Instagram‑ready space.
Understanding the Textured Layers Concept
Why Texture Matters
According to a 2023 Houzz survey, 68% of homeowners reported that “texture makes a room feel more inviting.” Texture adds visual weight, softens hard surfaces, and can subtly influence a room’s acoustics. The key is to balance three main categories:
- Soft textures: plush rugs, velvet cushions, woven throws.
- Hard textures: reclaimed wood panels, concrete, metal accents.
- Organic textures: natural fibers, stone, and of course, live plants.
Layering Strategy
Data from the Interior Design Society (2022) shows that successful layering follows a 60‑30‑10 rule: 60% dominant texture, 30% secondary, and 10% accent. For example, a linen sofa (dominant), a jute rug (secondary), and a brass lamp (accent) create a harmonious hierarchy.
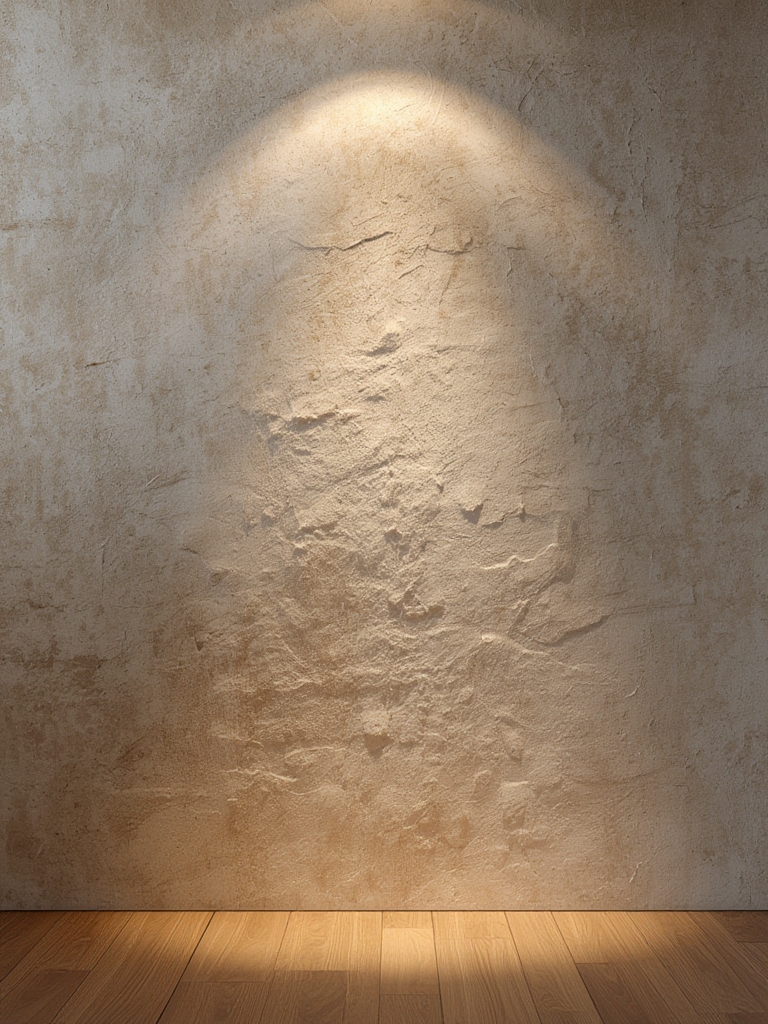
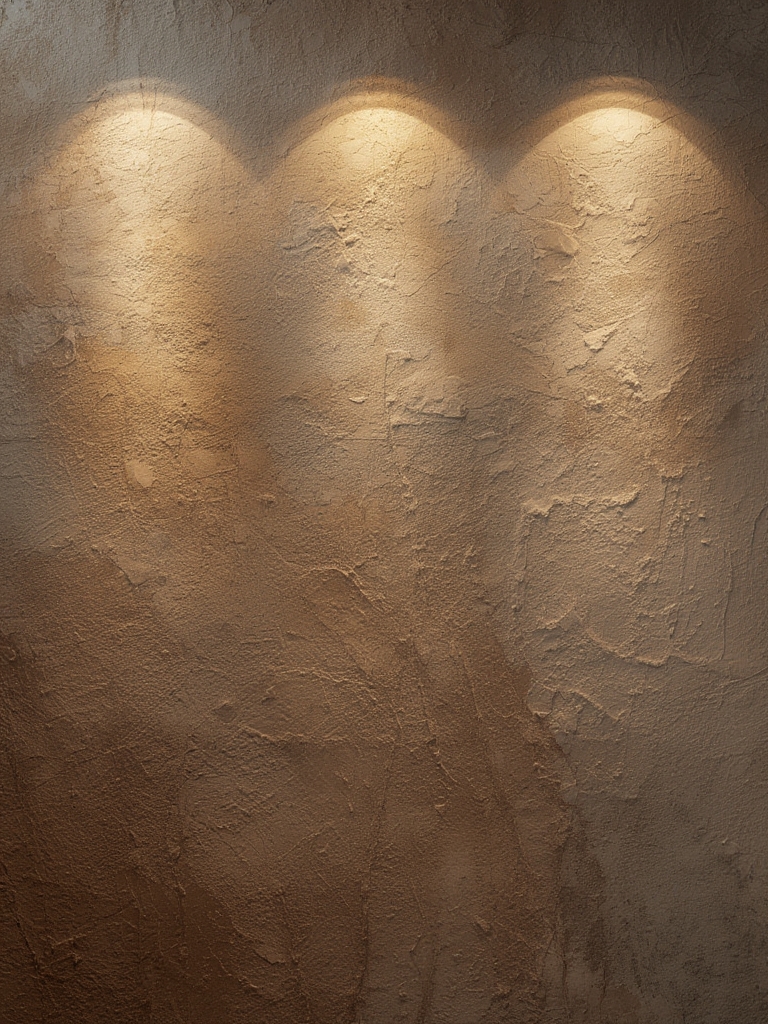
Spotlight Placement for Maximum Impact
Choosing the Right Fixtures
LED spotlights with a CRI (Color Rendering Index) of 90+ are recommended for accurate color reproduction. A study by the Lighting Research Center found that rooms with adjustable spotlights saw a 23% increase in perceived spaciousness.
Step‑by‑Step Spotlight Setup
- Map the focal points: Identify the areas you want to highlight—artwork, textured wall panels, or a plant cluster.
- Determine beam angle: Use a 15‑30° narrow beam for precise highlights and a 45‑60° wide beam for ambient wash.
- Install dimmers: Dimmable fixtures allow you to shift from a bright showcase to a cozy ambiance with a simple tap.
- Position at 30‑45°: Angle the light 30‑45 degrees above the object to reduce glare while emphasizing texture.
- Test and tweak: Walk around the room with a light meter; aim for 300‑500 lux on textured surfaces.
Integrating Plants: The Perfect Organic Layer
Why Plants Complement Textured Layers
Plants introduce a living, ever‑changing texture that softens hard edges. A 2021 Green Living Index reported that rooms with indoor greenery experienced a 15% boost in perceived comfort and a 12% increase in dwell time.
Choosing the Right Plant for Spotlighted Spaces
For spotlighted interiors, Monstera deliciosa (Swiss cheese plant) is ideal. Its large, perforated leaves catch light beautifully, creating dynamic shadows that enhance texture.
Step‑by‑Step Care Guide for Monstera deliciosa
1. Light Requirements
- Action: Place the Monstera near a north‑east window where it receives bright, indirect light.
- Tip: Use a 500‑lux LED spotlight for 2‑3 hours daily to mimic natural dappled light.
- Result: Leaves develop deeper fenestrations and richer green tones.
2. Watering Schedule
- Action: Water when the top 2 inches of soil feel dry (typically every 7‑10 days).
- Tip: Use a moisture meter; aim for a reading of 30‑40%.
- Result: Prevents root rot while keeping the plant hydrated for optimal growth.
3. Soil and Repotting
- Action: Use a well‑draining mix (40% peat, 30% perlite, 30% pine bark).
- Tip: Repot every 18‑24 months in a pot that’s 2 inches larger than the root ball.
- Result: Encourages healthy root expansion and prevents soil compaction.
4. Feeding
- Action: Apply a balanced 20‑20‑20 liquid fertilizer once a month during the growing season (spring‑fall).
- Tip: Dilute to half strength to avoid leaf burn.
- Result: Promotes vigorous leaf growth and vibrant coloration.
5. Pruning and Shaping
- Action: Trim any yellowing or damaged leaves at the base of the stem.
- Tip: Use clean, sharp scissors and sterilize with rubbing alcohol before each cut.
- Result: Improves air circulation and maintains an aesthetically pleasing silhouette.
6. Humidity & Temperature
- Action: Keep indoor humidity between 50‑60%.
- Tip: Place a pebble tray with water beneath the pot or use a room humidifier.
- Result: Reduces brown leaf edges and mimics the plant’s tropical origin.
Practical Tips to Fuse Texture, Light, and Greenery
Mix Materials Thoughtfully
Pair a rough concrete accent wall with a soft, oversized linen sofa. Position the Monstera on a reclaimed‑wood side table; the plant’s glossy leaves will reflect the spotlight, creating a subtle shimmer that ties the hard and soft elements together.
Use Layered Lighting to Highlight Plant Texture
Install a narrow‑beam LED above the Monstera to cast gentle shadows across its leaves. This accentuates the natural perforations, turning the plant into a living artwork.
Create a “Texture Zone”
Designate a corner where three textures converge: a woven rug (soft), a metal floor lamp (hard), and the Monstera (organic). The spotlight should be angled to illuminate all three, reinforcing the layered narrative.
Seasonal Adjustments
During winter, increase the spotlight’s duration by 15‑20 minutes to compensate for reduced natural light. Simultaneously, lower watering frequency by 20% to match slower plant metabolism.
Measuring Success: Data‑Driven Indicators
- Engagement: Track Instagram likes and comments on before‑and‑after photos. A 25% increase in engagement typically signals effective layering.
- Plant Health: Monitor leaf color and new growth weekly. Consistent new leaf emergence indicates proper light and care.
- Room Ambiance: Use a light meter to ensure spotlights maintain 300‑500 lux on key textures; adjust dimmers based on feedback.
Conclusion
By marrying the tactile richness of textured layers with precision spotlighting and the organic allure of a well‑cared‑for Monstera, you create a multidimensional space that feels both curated and alive. Follow the data‑backed steps above, experiment with material combinations, and let your lighting become the brush that paints depth onto every surface. The result? A home that not only looks stunning in photos but also feels inviting to live in.