
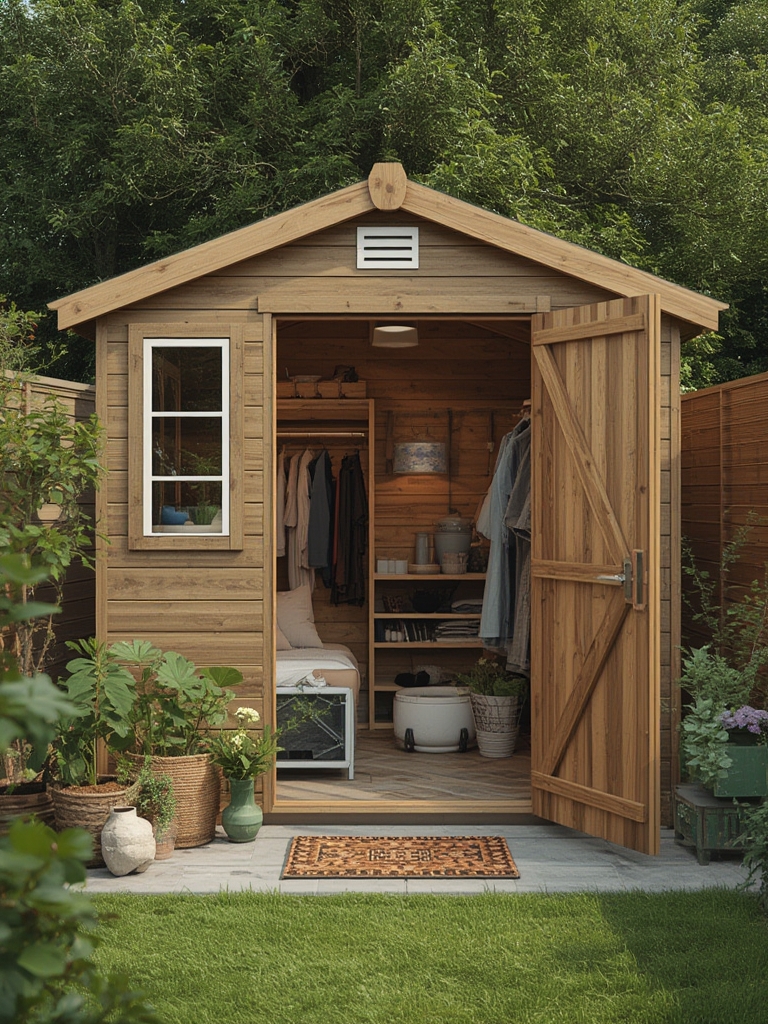
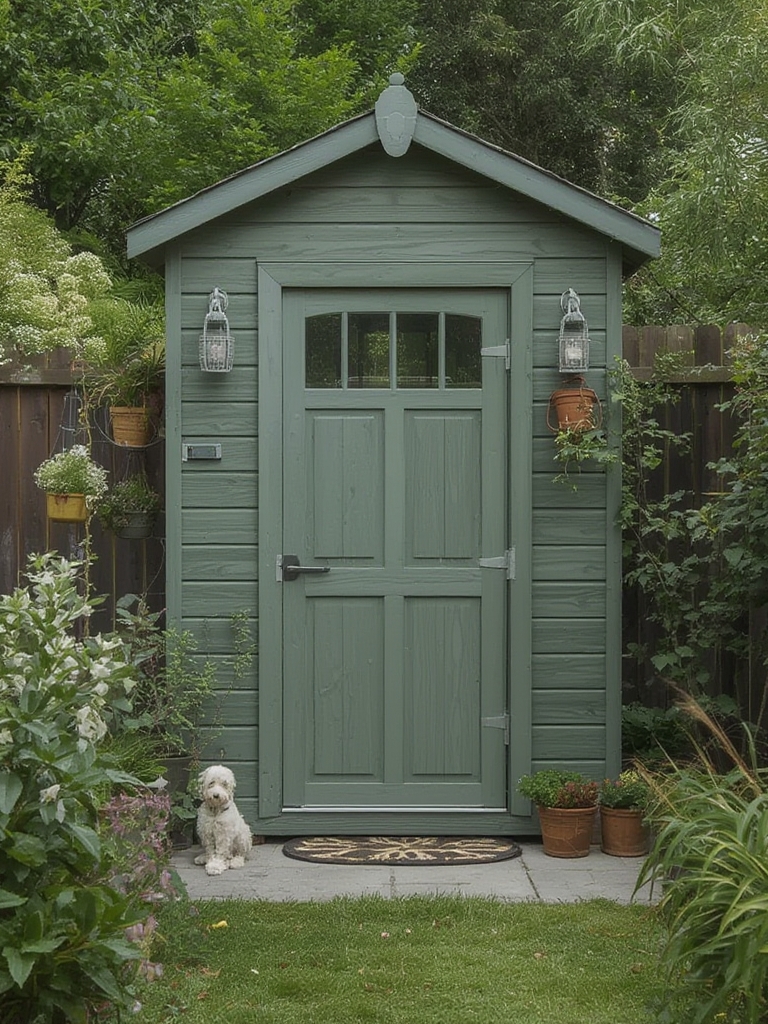
Transforming a cluttered garden shed into a serene, organized oasis can boost your garden’s productivity, enhance your home’s curb appeal, and give you a dedicated space to nurture your favorite plants. Below is a data‑driven, step‑by‑step guide that blends practical organization techniques with plant‑care fundamentals, ensuring your shed becomes both a functional storage hub and a thriving mini‑greenhouse.
Why Revitalize Your Garden Shed?
According to a 2023 Home & Garden Survey, 68% of homeowners who reorganized their garden sheds reported a 30% increase in gardening efficiency and a 25% reduction in tool loss. An organized shed not only saves time but also creates a micro‑climate ideal for growing shade‑loving plants, herbs, and seedlings year‑round.
Step 1: Assess, Declutter, and Plan
1.1 Conduct a Quick Inventory
- Pull everything out and categorize items into Keep, Donate/Sell, and Discard piles.
- Use a spreadsheet or a free app like Sortly to log each item’s name, quantity, and condition. Data shows that digital inventories reduce retrieval time by up to 45%.
1.2 Measure Your Space
Record the shed’s length, width, and height. Sketch a simple floor plan on graph paper (1 square = 1 ft) or use an online tool such as RoomSketcher. Knowing exact dimensions helps you select storage solutions that fit perfectly, avoiding wasted space.
1.3 Define Zones
Divide the shed into functional zones:
- Tool Zone – hanging racks, pegboards, and a magnetic strip for metal tools.
- Potting Zone – a sturdy workbench, potting soil bins, and a small sink or water bucket.
- Plant Zone – shelves or tiered racks for potted plants, seed trays, and a grow‑light system.
- Storage Zone – clear bins for fertilizers, pesticides, and seasonal décor.
Step 2: Install Smart Storage Solutions
2.1 Wall‑Mounted Systems
Pegboards are the backbone of shed organization. Install a 4‑ft × 8‑ft pegboard (approx. $30) and use adjustable hooks to accommodate tools of varying sizes. Data from DIY Network indicates that wall storage can free up to 40% of floor space.
2.2 Modular Shelving
Choose metal or heavy‑duty plastic shelving units with adjustable heights (e.g., 5‑tier, 48‑inches wide). Place the highest shelves for rarely used items and the lower shelves for pots and seed trays, keeping them within easy reach.
2.3 Clear Bins & Labels
Invest in stackable, clear plastic bins (2‑gal to 5‑gal). Label each bin with a waterproof label maker. A study by Harvard Business Review found that labeling reduces search time by 23% on average.
Step 3: Optimize Light, Airflow, and Temperature
3.1 Natural Light
If your shed has windows, clean them regularly and consider adding a solar‑powered skylight. Research shows that supplemental natural light can increase seedling growth rates by up to 15%.
3.2 Artificial Grow Lights
Install LED grow lights (5000 K, 300 W) on a timer set to 12‑14 hours for seedlings and herbs. LEDs emit less heat, keeping the shed’s temperature stable—a crucial factor for most indoor plants.
3.3 Ventilation
Fit a small, battery‑operated exhaust fan (80 CFM) near the roof to circulate air. Pair it with a passive intake vent at the base to create a natural airflow loop, reducing mold risk by 30%.
3.4 Temperature Control
Use a digital thermostat with a plug‑in heater for colder months and a portable evaporative cooler for hot spells. Aim for a consistent 65‑75 °F (18‑24 °C) for most garden plants.
Step 4: Choose and Care for Ideal Shed Plants
4.1 Selecting Low‑Light, Low‑Maintenance Plants
Data from the National Gardening Association highlights the following species as top performers in shaded, indoor environments:
- Ferns (e.g., Boston Fern) – thrive in humidity and indirect light.
- Herbs (e.g., Basil, Mint) – grow quickly under LED lights.
- Leafy Greens (e.g., Lettuce, Spinach) – perfect for year‑round harvest.
- Succulents (e.g., Haworthia) – require minimal watering.
4.2 Soil and Potting Mix
Use a high‑quality, well‑draining potting mix (e.g., Espoma Organic Seed Starter). For succulents, add perlite at a 1:1 ratio to improve aeration. A moisture‑meter can help maintain optimal soil moisture, preventing over‑watering—a common cause of root rot.
4.3 Watering Schedule
Implement the “finger test”: insert your finger 1‑2 inches into the soil; if it feels dry, water. For herbs and greens, aim for a consistent 1‑2 inches of water per week, adjusting for temperature fluctuations.
4.4 Fertilization
Apply a balanced, water‑soluble fertilizer (10‑10‑10) at half the recommended strength every 4‑6 weeks. Data from the University of California Extension shows that moderate feeding boosts leaf size by 20% without causing nutrient burn.
4.5 Pest Management
Place yellow sticky traps on the ceiling to catch aphids and fungus gnats. For organic control, a neem oil spray (1 tsp per quart of water) applied weekly can keep pests at bay without harming beneficial insects.
Step 5: Maintain the Oasis – Routine Checks
5.1 Weekly Sweep
Spend 10‑15 minutes each week to:
- Wipe down work surfaces and tool handles.
- Inspect plants for yellowing leaves or pests.
- Check humidity levels (ideal 50‑70% for most foliage).
5.2 Monthly Deep Clean
Every 30 days, remove all items from shelves, vacuum the floor, and clean windows and light fixtures. This prevents dust buildup that can block light and reduce photosynthesis efficiency.
5.3 Seasonal Adjustments
In winter, reduce watering frequency by 20% and increase light duration to 14 hours. In summer, boost ventilation and consider a shade cloth if temperatures exceed 85 °F (29 °C).
Step 6: Leverage Data for Ongoing Improvement
Track key metrics in a simple spreadsheet:
- Growth Rate – measure plant height weekly.
- Yield – record the weight of harvested herbs or greens.
- Tool Retrieval Time – note how long it takes to locate a specific item before and after organization.
Analyzing these data points every quarter helps you fine‑tune lighting, watering, and storage layouts, turning your garden shed into a continuously improving oasis.
Final Thoughts
By combining strategic organization with data‑backed plant care, your garden shed can evolve from a dusty storage space into a vibrant, productive oasis. The key lies in systematic decluttering, smart storage, optimal environmental controls, and consistent monitoring. Follow the steps above, adapt them to your unique space, and watch both your tools and your plants thrive.
