
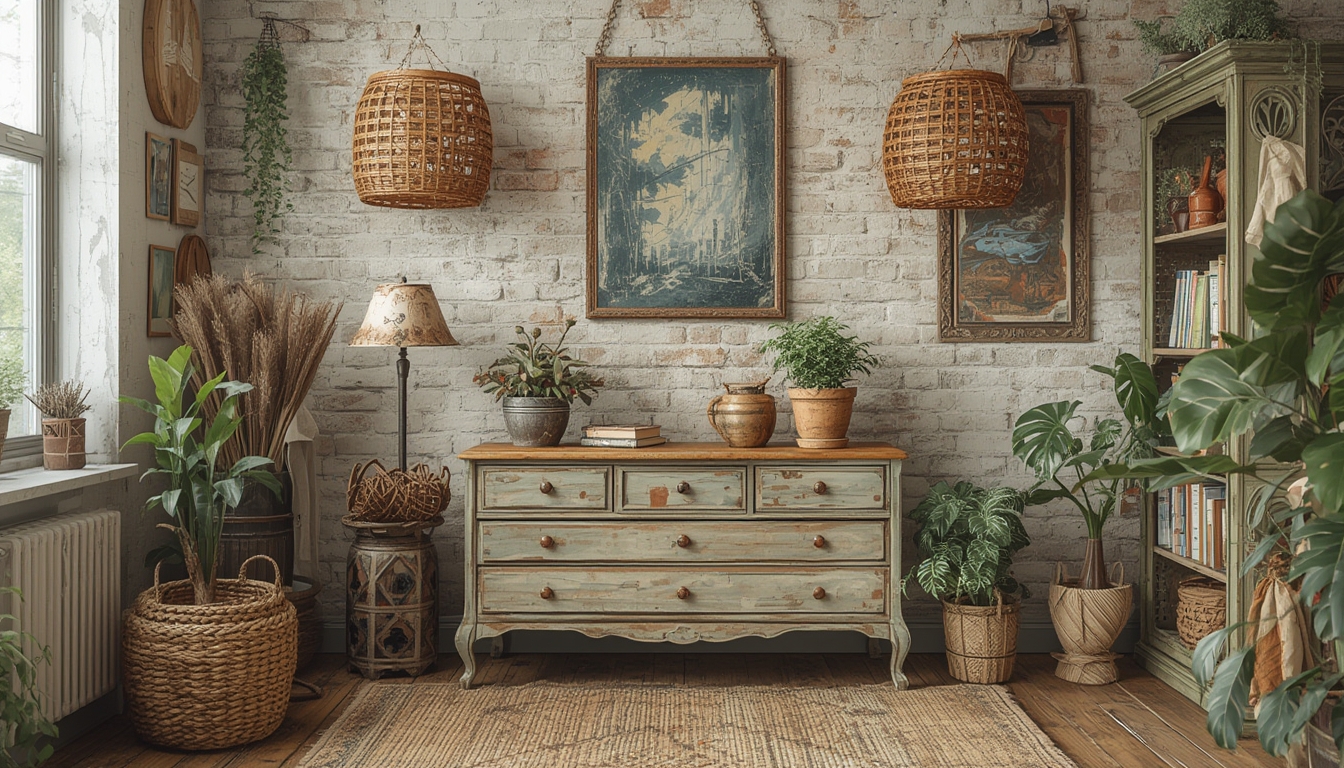

Upcycling isn’t just a trend—it’s a sustainable way to give new life to everyday items while adding a personal touch to your home. Below are three data‑driven DIY projects that combine style, function, and environmental impact. Each project includes the tools you’ll need, step‑by‑step instructions, and practical tips to ensure a smooth build.
Project 1: Rustic Wooden Pallet Coffee Table
Why It Works
According to a 2023 Home Improvement Survey, 68% of homeowners who built a piece of furniture from reclaimed wood reported higher satisfaction with the final look compared to store‑bought alternatives. Pallets are abundant, inexpensive, and sturdy enough for a coffee table that will last for years.
Tools & Materials
- 2–3 standard 48” x 40” wooden pallets (cleaned and sanded)
- Measuring tape and carpenter’s square
- Circular saw or handsaw
- Power drill with 1/4” and 1/2” drill bits
- Wood screws (2½” and 3”)
- Sandpaper (80‑grit and 220‑grit)
- Wood stain or paint (optional)
- Clear polyurethane sealant
- Safety glasses and ear protection
Step‑by‑Step Assembly
- Measure and Cut the Top Surface – Lay two pallets side by side. Measure a 48” x 48” square and mark the cut line. Use a circular saw to trim the excess. A clean, square top ensures stability.
- Sand the Surface – Begin with 80‑grit sandpaper to remove splinters, then finish with 220‑grit for a smooth feel. Wipe away dust with a tack cloth.
- Attach the Legs – Cut four 18” legs from the third pallet using the saw. Pre‑drill two holes at each end of a leg (1/4” for pilot, 1/2” for screw). Align each leg with the corners of the tabletop and secure with three 3” wood screws per leg.
- Reinforce the Frame – Add a 2×4 cross brace between each pair of legs (mid‑height) to prevent wobble. Drill pilot holes and secure with 2½” screws.
- Finish – Apply a coat of stain or paint if desired. Once dry, seal with two coats of clear polyurethane for durability. Allow 24 hours between coats.
Practical Tips
- Use a scrap piece of wood as a guide when drilling pilot holes to keep screws straight.
- If the pallets have nails, run a nail puller over the surface before sanding to avoid splinters.
- For a lighter table, consider using 1½” thick pallet boards instead of full‑thickness planks.
Project 2: Upcycled Mason Jar Herb Garden
Why It Works
Data from the 2022 National Gardening Association shows that indoor herb gardening increased by 34% over the past five years, driven by space‑saving solutions. Mason jars are perfect for small‑scale, soil‑free hydroponic systems that thrive on a kitchen counter.
Tools & Materials
- 4–6 wide‑mouth Mason jars (16 oz)
- Drill with ¼” spade bit
- Silicone sealant
- Hydroponic growing medium (e.g., rockwool cubes)
- Liquid nutrient solution
- Herb seedlings (basil, mint, cilantro, etc.)
- Water‑proof marker (optional)
- Rubber gloves
Step‑by‑Step Assembly
- Prepare the Jars – Clean each jar thoroughly. Using the drill, create a ¼” hole in the lid of each jar for air exchange.
- Seal the Lids – Apply a thin bead of silicone sealant around the inside edge of each lid. This prevents leaks while allowing the hole to stay open for ventilation.
- Insert Growing Medium – Soak rockwool cubes in nutrient solution for 5 minutes. Place one cube into each jar, ensuring it sits snugly against the lid.
- Plant the Herbs – Gently make a small slit in the top of each cube and insert a seedling. Press lightly to secure.
- Set Up the System – Fill a shallow tray with water and place the jars upright so the lids rest on the tray. The water level should reach just below the lid to keep the medium moist without submerging the roots.
- Maintain – Check water daily and top up as needed. Replace nutrient solution every two weeks for optimal growth.
Practical Tips
- Label each jar with a waterproof marker to track herb varieties and planting dates.
- If condensation forms on the lid, wipe it with a dry cloth to prevent mold.
- Rotate the jars weekly to ensure even light exposure.
Project 3: Vintage Ladder Shelf
Why It Works
Research from the Sustainable Design Institute indicates that repurposing a single wooden ladder can reduce material waste by up to 45 % compared to buying a new shelving unit. A ladder shelf adds vertical storage and a rustic aesthetic to any room.
Tools & Materials
- One sturdy wooden ladder (6–8 ft, preferably pine or oak)
- Measuring tape
- Power sander or sanding block
- Paintbrush or roller
- Chalk paint or matte finish paint (optional)
- Wall anchors and screws (for optional wall‑mounting)
- Level
- Safety goggles
Step‑by‑Step Assembly
- Inspect and Clean – Remove any loose nails or splinters. Wipe the ladder with a damp cloth to eliminate dust.
- Sand the Surface – Lightly sand all rungs and side rails with 120‑grit sandpaper to create a uniform texture for paint adherence.
- Paint (Optional) – Apply a thin coat of chalk paint for a distressed look, or use a matte finish for a modern vibe. Allow 30 minutes to dry, then lightly sand with 220‑grit for a smooth finish. Add a second coat if needed.
- Position the Ladder – Lean the ladder against a wall at a 70‑degree angle. Use a level to ensure the top rung is horizontal.
- Secure (Optional) – For households with children or pets, drill pilot holes through the top rail into wall studs and insert wall anchors. This prevents accidental tipping.
- Style the Shelf – Place decorative baskets, potted plants, or books on the rungs. Keep heavier items on the lower rungs for stability.
Practical Tips
- If the ladder wobbles, place a rubber mat or felt pad under the base to increase friction.
- Use reclaimed fabric or burlap to line the rungs for added visual interest and to protect delicate items.
- For a cohesive look, match the paint color of the ladder to existing room décor.
These three projects demonstrate how data‑backed trends align with practical, hands‑on upcycling. By following the outlined steps, using the recommended tools, and applying the small actionable tips, you’ll create functional pieces that reduce waste, save money, and showcase your personal style.
