

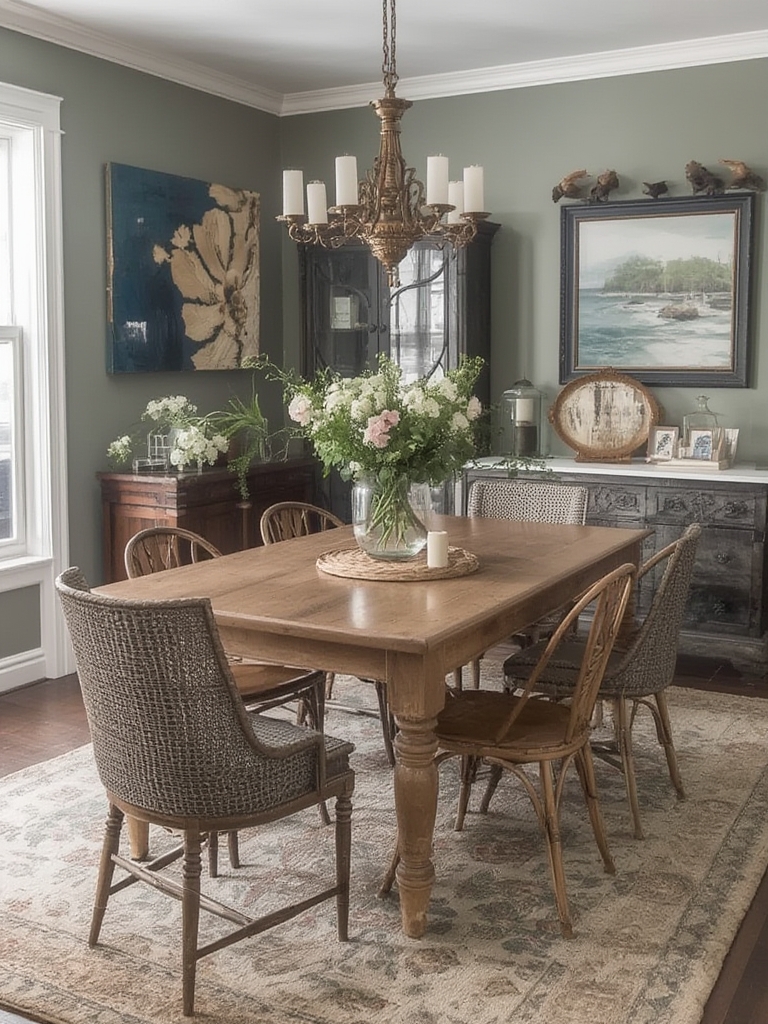
Style Spotlights are versatile lighting fixtures that can instantly elevate the ambience of any room. Whether you’re installing a brand‑new piece, breathing new life into a vintage model, or simply looking to style it for maximum impact, this guide walks you through each step with clear instructions, essential tools, and practical tips to ensure a flawless result.
Understanding Your Style Spotlight
Before you begin, familiarize yourself with the key components of a typical Style Spotlight:
- Base/Bracket: The mounting hardware that secures the spotlight to the ceiling or wall.
- Housing: The outer shell that protects the internal wiring and bulb.
- Adjustable Arm: Allows you to direct light precisely where you need it.
- Bulb Socket & Bulb: The electrical connection and light source (LED, halogen, or incandescent).
- Finishing Trim: Decorative elements that can be swapped for different looks.
Essential Tools and Materials
- Phillips and flat‑head screwdrivers
- Adjustable wrench or pliers
- Voltage tester
- Wire strippers and connectors (wire nuts)
- Safety goggles and gloves
- Dust mask (for restoration work)
- Cleaning supplies: soft cloth, mild soap, and a soft‑bristle brush
- Paint or finish (optional for styling)
- LED replacement bulbs (recommended for energy efficiency)
Step‑by‑Step Assembly Guide
1. Prepare the Installation Area
Turn off power at the circuit breaker to avoid any electrical hazards. Use a voltage tester to confirm the wires are dead before you touch anything.
2. Mount the Base/Bracket
- Position the bracket where you want the spotlight to hang. Use a level to ensure it’s straight.
- Mark the screw holes with a pencil.
- Drill pilot holes (if mounting on drywall, use anchors).
- Secure the bracket with the supplied screws, tightening them with a screwdriver or wrench.
3. Connect the Wiring
- Strip about ½ inch of insulation from each wire (black, white, and ground).
- Match the wires: black (hot) to black, white (neutral) to white, and green/bare (ground) to ground.
- Secure each connection with a wire nut and give a gentle tug to ensure it’s tight.
- Wrap the connections with electrical tape for added safety.
4. Attach the Housing
Slide the housing onto the mounted bracket, aligning the screw holes. Tighten the mounting screws but avoid over‑tightening, which can crack the housing.
5. Install the Bulb and Trim
- Insert the appropriate bulb type (LED is preferred for longevity).
- Secure the bulb by twisting it clockwise until snug.
- Attach the decorative trim, ensuring it snaps or screws into place evenly.
6. Test the Spotlight
Restore power at the breaker and flip the switch. If the light does not turn on, double‑check the wiring connections and ensure the bulb is seated correctly.
Restoration: Reviving a Vintage Style Spotlight
1. Disassembly
Carefully remove the spotlight from its mounting point. Keep screws and small parts in a labeled container to avoid loss.
2. Cleaning the Housing
- Dust off surface grime with a soft brush.
- Mix mild soap with warm water, dampen a cloth, and wipe the exterior. Avoid soaking any electrical components.
- Rinse with a clean, damp cloth and dry thoroughly.
3. Dealing with Tarnish or Paint Wear
If the metal has oxidized, apply a gentle metal polish using a soft cloth. For paint chips, lightly sand the area with fine‑grit sandpaper, then repaint using a spray paint designed for metal surfaces. Allow at least 24 hours to cure before reassembly.
4. Wiring Inspection
Check the internal wiring for frayed insulation or corrosion. Replace any damaged wires with new, appropriately gauged copper wire, and use heat‑shrink tubing for a clean finish.
5. Reassembly
Follow the assembly steps in reverse order, ensuring each component fits snugly. Test the restored spotlight before reinstalling it on the wall or ceiling.
Styling Your Style Spotlight for Different Décor Themes
Modern Minimalist
- Trim: Choose a sleek, brushed steel or matte black trim.
- Bulb: Use a cool‑white LED (4000‑5000K) for crisp illumination.
- Placement: Mount in a line above a kitchen island or workspace for focused task lighting.
Industrial Chic
- Trim: Opt for raw metal or copper finishes.
- Bulb: Exposed filament bulbs add a warm, vintage glow.
- Accent: Pair with reclaimed wood shelves or brick walls for contrast.
Coastal Breeze
- Trim: White or pastel‑colored trims soften the look.
- Bulb: Soft white (2700‑3000K) creates a relaxed ambience.
- Accessories: Add a small driftwood or rope element near the base for a nautical touch.
Art Deco Glam
- Trim: Polished chrome or gold‑leaf finishes.
- Bulb: Warm white LEDs with a slight amber hue.
- Design: Position the spotlight behind a mirrored backdrop to amplify sparkle.
Maintenance Tips for Longevity
- Regular Dusting: Use a microfiber cloth weekly to prevent dust buildup, which can dim the light output.
- Bulb Replacement: Swap out bulbs every 12‑18 months, or sooner if you notice flickering.
- Check Connections: Every six months, turn off power and ensure all screws and wire nuts remain tight.
- Inspect the Trim: Look for cracks or loose pieces; replace or repair promptly to avoid safety hazards.
Final Thoughts
Style Spotlights are more than just functional lighting—they’re a design statement that can be tailored to any aesthetic. By following the assembly, restoration, and styling steps outlined above, you’ll achieve a polished, professional finish without the need for a contractor. Remember to prioritize safety, use the right tools, and enjoy the creative process of making your space truly shine.
