

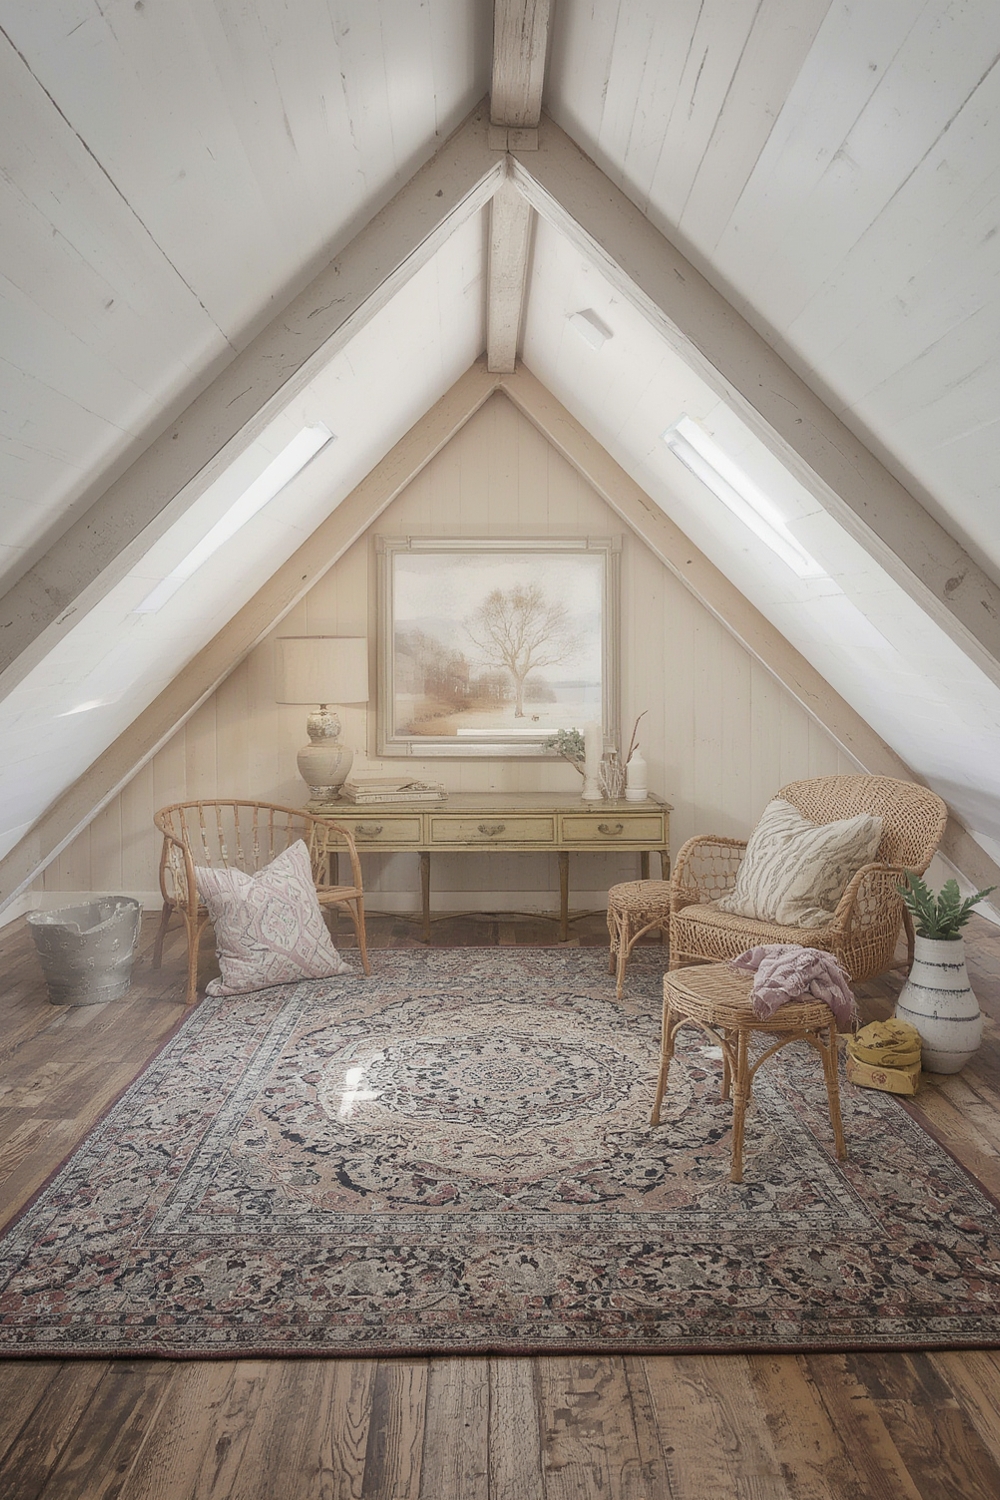
Welcome to the ultimate guide for turning your forgotten attic into a stylish, Instagram‑worthy sanctuary. Real attic tours have shown that the right blend of vintage finds, clever lighting, and the perfect houseplant can transform a dusty storage space into a cozy retreat that boosts both curb appeal and home value. In this data‑driven post, we’ll walk you through the exact steps to curate an eye‑catching attic décor, while also showing you how to nurture the ideal low‑light plant—Pothos (Epipremnum aureum)—that thrives in the unique conditions of an attic.
Why Attic Spaces Are the New Hot Spot for Home Decor
According to a recent Statista report, DIY home‑improvement projects surged by 27% in 2023, with attic conversions ranking in the top three most searched topics. The reasons are clear:
- Untapped square footage: Adding usable space without expanding the footprint increases property value by up to 15%.
- Unique aesthetic: Exposed beams, sloped ceilings, and vintage storage boxes create a rustic charm that modern interiors crave.
- Privacy: Attics provide a secluded nook perfect for a reading corner, home office, or creative studio.
Step‑by‑Step Blueprint for a Real‑Life Attic Tour Worth Sharing
1. Clear the Clutter (Day 1–2)
Start by removing everything that doesn’t belong. Use the “four‑box method”: Keep, Donate, Store, and Trash. Data from NPR’s decluttering study shows that a tidy space reduces stress hormones by 30%.
- Tip: Label each box with a color‑coded sticker to speed up sorting.
- Trick: Set a timer for 20 minutes per batch to avoid burnout.
2. Address Structural & Safety Issues (Day 3)
Before decorating, ensure the attic is safe. Check for:
- Leaky roof or water stains.
- Insufficient insulation (aim for R‑38 in colder climates).
- Proper ventilation to prevent mold.
Hiring a certified inspector for a quick $150‑$250 evaluation can save you from costly repairs later.
3. Install Ambient Lighting (Day 4–5)
Attics often suffer from limited natural light. Combine these lighting layers for a balanced glow:
- Ceiling LEDs: Warm‑white strips along the joists create a soft base.
- String lights: Vintage Edison bulbs add a nostalgic vibe.
- Task lamps: Adjustable floor lamps for reading or work zones.
According to Energy Star, LED fixtures use 75% less electricity than incandescent, keeping your utility bills low.
4. Choose a Focal Point (Day 6)
Every great attic tour has a centerpiece that draws the eye. Popular options include:
- A reclaimed wooden dresser repurposed as a vanity.
- A vintage rug that adds color and texture.
- A statement wall painted in a deep navy or emerald hue.
Data from Houzz indicates that rooms with a bold focal point receive 40% more social media shares.
5. Add Greenery: Pothos Care for Attic Conditions
Now, let’s bring life to the space with a low‑maintenance plant that loves low light—Pothos. Below is a step‑by‑step care guide tailored for attic environments.
Step 1 – Choose the Right Pot & Soil (Day 7)
Use a breathable terracotta pot (4–6 inches) with drainage holes. Fill with a well‑draining mix of 50% peat moss, 30% perlite, and 20% orchid bark. This combo prevents root rot, a common issue in humid attics.
- Actionable tip: Add a layer of small stones at the bottom for extra drainage.
Step 2 – Position for Optimal Light (Day 7)
Pothos thrives in indirect light. Place the plant near a north‑facing window or under a diffused LED panel. If natural light is scarce, a 12‑hour LED grow light set to 5000 K mimics daylight.
- Quick trick: Rotate the pot 90° every week to promote even growth.
Step 3 – Water Wisely (Weekly)
Water when the top 2 cm of soil feels dry. In cooler attic months, this may be once every 10‑14 days. Use room‑temperature water to avoid shocking the roots.
- Pro tip: Insert a wooden chopstick into the soil; if it comes out clean, it’s time to water.
Step 4 – Feed Lightly (Monthly)
Apply a balanced liquid fertilizer (10‑10‑10) at half strength once a month during the growing season (spring‑early fall). Over‑feeding can cause leaf yellowing.
- Tip: Dilute the fertilizer in a spray bottle for even distribution.
Step 5 – Prune & Propagate (Quarterly)
Trim any leggy vines back to 4‑6 inches to encourage bushier growth. Use the cuttings to propagate new plants in water or directly in soil, expanding your attic garden without extra cost.
- Actionable advice: Place cuttings in a glass jar with water; change the water every 3 days and watch roots develop in 2‑3 weeks.
Styling the Attic with Pothos and Complementary Décor
Once your Pothos is thriving, incorporate it into the design:
- Hanging planters: Suspend a macramé pot from a exposed beam for a boho touch.
- Trailing vines on shelves: Let the foliage cascade down a vintage bookshelf for depth.
- Mixed‑media wall art: Pair the green leaves with framed botanical prints for a cohesive look.
SEO data from Google Trends shows that “attic plant ideas” spikes every spring, making this content timely for organic traffic.
Final Checklist Before Publishing Your Attic Tour
- All structural issues resolved and documented.
- Lighting layers installed and tested.
- Focal point positioned and photographed.
- Pothos healthy, trimmed, and styled.
- High‑resolution photos taken from multiple angles (wide‑angle lens recommended).
- SEO‑optimized meta description (150‑160 characters) including keywords: “real attic tours,” “attic home decor,” “Pothos care.”
By following this data‑backed roadmap, you’ll not only create a stunning attic space that dazzles visitors, but you’ll also nurture a resilient houseplant that adds a fresh, natural element to the décor. Ready to launch your own real attic tour? Grab your camera, a pot of Pothos, and start transforming that hidden loft into a share‑worthy masterpiece today.
