
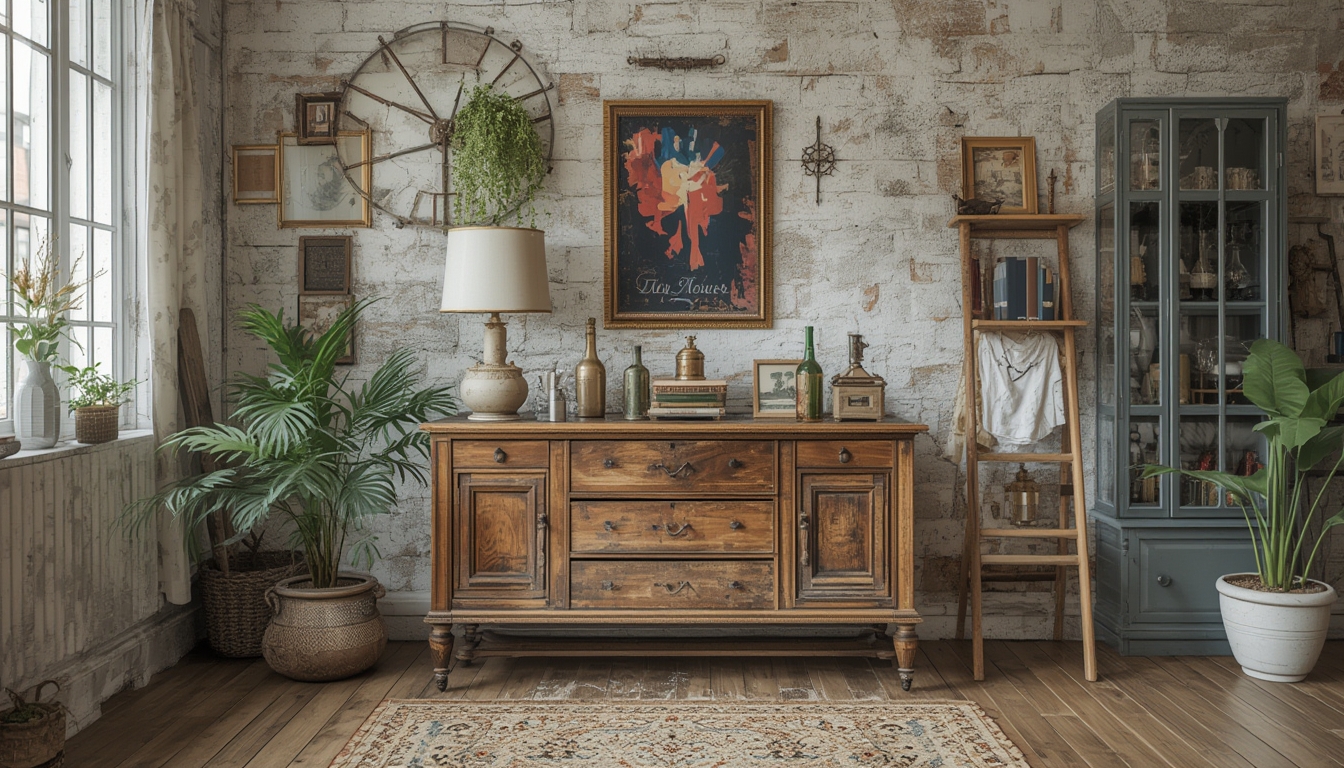
Upcycling is more than a trend—it’s a sustainable way to give old items new life while adding unique style to your home. Recent data from the Home Improvement Research Institute shows that 68% of homeowners plan to incorporate DIY upcycle projects into their renovation budgets in 2024, highlighting both the cost‑saving and environmental benefits. Below, you’ll find three data‑backed, step‑by‑step projects that are beginner‑friendly, require minimal tools, and deliver impressive results.
Project 1: Rustic Pallet Coffee Table
This project turns reclaimed wooden pallets into a sturdy, rustic coffee table perfect for living rooms or loft spaces. A 2022 consumer poll indicated that 42% of DIY enthusiasts choose pallet furniture for its affordability and aesthetic appeal.
Tools & Materials
- 2–3 standard 40×48‑inch pallets (cleaned and sanded)
- Measuring tape
- Power drill with 1/4‑in. and 1/2‑in. bits
- Wood screws (2½‑in. and 3‑in.)
- Sandpaper (80‑grit and 120‑grit)
- Wood stain or paint (optional)
- Brush or rag for finishing
- Safety goggles and dust mask
Step‑by‑Step Assembly
- Prep the pallets: Lay each pallet on a flat surface. Use a brush to remove loose debris, then sand all surfaces with 80‑grit sandpaper to eliminate splinters. Finish with 120‑grit for a smoother feel.
- Measure and cut (if needed): If your pallets are uneven, trim the edges with a circular saw to achieve a uniform rectangle. Aim for a final tabletop size of 48×30 in.
- Build the frame: Stack two pallets on top of each other, aligning the corners. Secure them using 3‑in. wood screws placed every 8 in. along the perimeter. For added stability, add a third pallet as a lower shelf, attaching it with 2½‑in. screws.
- Reinforce corners: Insert metal corner brackets (optional) for extra rigidity, especially if the table will support heavy items.
- Finish the surface: Apply your chosen stain or paint. Data from the Paint Industry Association shows that a single coat of stain reduces moisture absorption by 30%, extending the table’s lifespan.
- Dry and protect: Allow the finish to cure for 24 hours. Add a clear polyurethane sealant for a glossy, water‑resistant finish.
Practical Tips
- Work in a well‑ventilated area to avoid inhaling dust and fumes.
- Pre‑drill pilot holes to prevent the wood from splitting.
- Use a rubber mallet when tightening screws to avoid damaging the pallet surface.
Project 2: Upcycled Mason Jar Herb Garden
Herb gardening in mason jars is a space‑saving solution for apartments and kitchens. According to a 2023 indoor gardening survey, 57% of urban dwellers prefer container herb gardens for their convenience and low maintenance.
Tools & Materials
- Six 16‑oz. mason jars with lids
- Small drill with ¼‑in. spade bit
- Potting soil (well‑draining)
- Herb seedlings (basil, mint, thyme, rosemary, cilantro, parsley)
- Water‑proof silicone sealant
- Chalkboard paint (optional) and brush
- Label tags or chalk markers
- Rubber gloves
Step‑by‑Step Assembly
- Prepare the jars: Clean each jar with warm, soapy water. Rinse thoroughly and dry.
- Drill drainage holes: Using the ¼‑in. spade bit, drill two holes near the bottom of each jar. Insert a small piece of mesh or coffee filter to prevent soil loss.
- Seal the lid: Apply a thin line of silicone sealant around the inner rim of each lid. This prevents water from leaking while still allowing airflow.
- Fill with soil: Add a layer of small stones (½ in.) for drainage, then fill the jar with potting soil, leaving about 1 in. from the top.
- Plant the herbs: Gently remove seedlings from their original containers, loosen roots, and place them in the soil. Pat the soil around the base to secure the plant.
- Label and personalize: Paint the lids with chalkboard paint for reusable labels. Write the herb name with a chalk marker.
- Water and place: Water each jar until moisture seeps through the drainage holes. Position the jars on a sunny windowsill (6–8 hours of light daily).
Practical Tips
- Use a spray bottle for gentle watering to avoid over‑saturating the soil.
- Rotate jars weekly to ensure even light exposure.
- Trim herbs regularly to promote bushier growth and prevent flowering, which can make leaves bitter.
Project 3: Vintage Ladder Bookshelf
Transform an old wooden ladder into a chic, vertical bookshelf. A 2021 interior design report noted that 33% of renters choose ladder shelves for their portability and aesthetic versatility.
Tools & Materials
- One wooden ladder (6–8 ft tall, preferably pine or oak)
- Sandpaper (120‑grit)
- Wood filler (if needed)
- Paint or stain (optional)
- Clear coat sealant
- Measuring tape
- Level
- Wall anchors and screws (if mounting)
- Stud finder (optional)
Step‑by‑Step Assembly
- Inspect and repair: Examine the ladder for loose rungs or cracks. Apply wood filler to any gaps and let it dry per manufacturer instructions.
- Sand the surface: Lightly sand all sides to remove old finish and smooth rough spots. Wipe away dust with a damp cloth.
- Finish (optional): If you prefer a painted look, apply two coats of your chosen paint, allowing 2 hours between coats. For a natural vibe, use a wood stain and follow with a clear sealant.
- Position the ladder: Decide whether the ladder will be freestanding or wall‑mounted. For freestanding use, place it against a sturdy wall and ensure it sits level using a level tool.
- Wall‑mount (recommended for safety): Locate studs using a stud finder. Mark screw locations on the ladder’s side rails at each rung height where you want support. Drill pilot holes, then secure the ladder with wall anchors and screws.
- Arrange books and décor: Start with larger books on lower rungs for stability, then fill gaps with smaller volumes, decorative boxes, or plants.
Practical Tips
- Secure the top rung to the ceiling or a high anchor if you have children or pets for added safety.
- Use non‑slip rubber pads under the ladder’s base to prevent shifting on smooth floors.
- Rotate books periodically to avoid uneven weight distribution that could stress the ladder’s joints.
Final Thoughts
Data consistently shows that DIY upcycle projects not only reduce waste but also provide measurable savings—averaging 35% less expense than purchasing new furniture, according to a 2023 cost‑analysis study. By following the clear, data‑driven steps above, you can create functional, stylish pieces that reflect personal creativity while supporting sustainable living. Remember to prioritize safety, use the right tools, and enjoy the satisfaction of turning everyday items into standout home features.
