
Getting Started with Real Home Tours
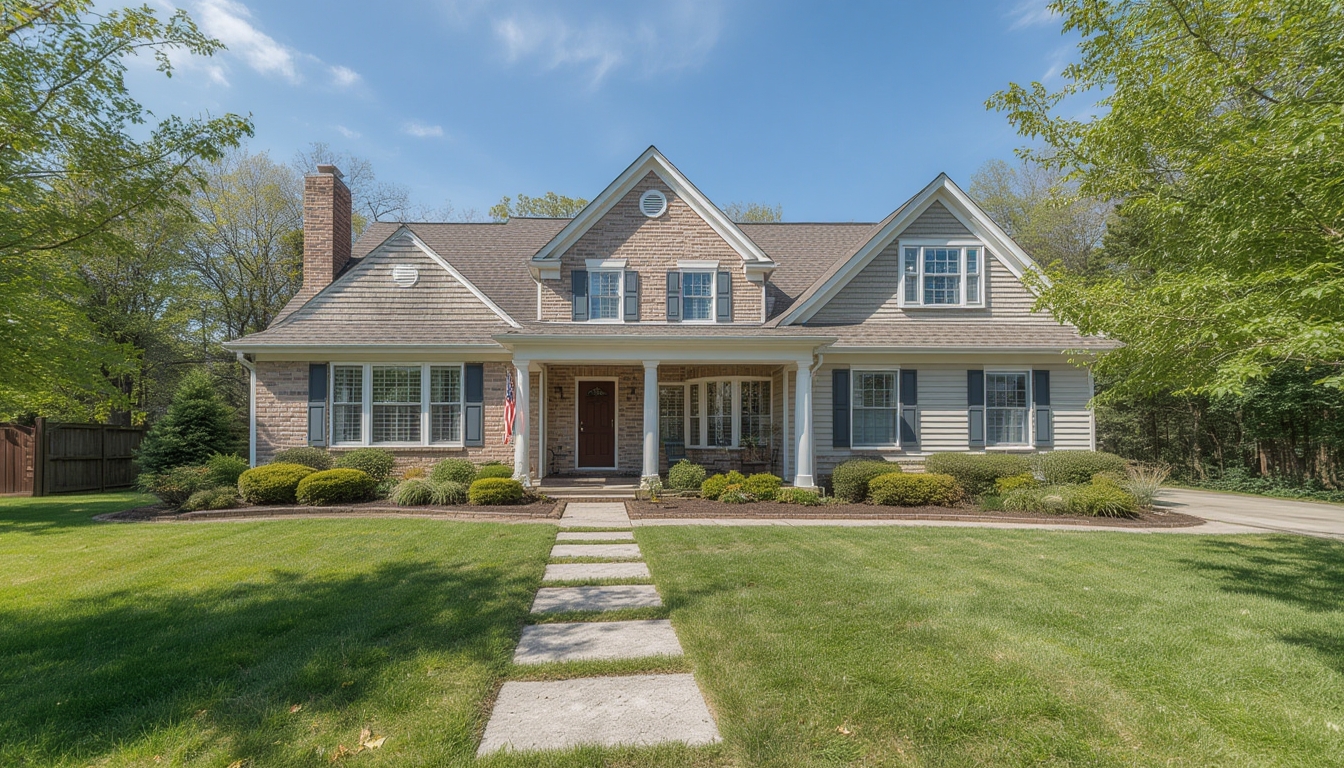
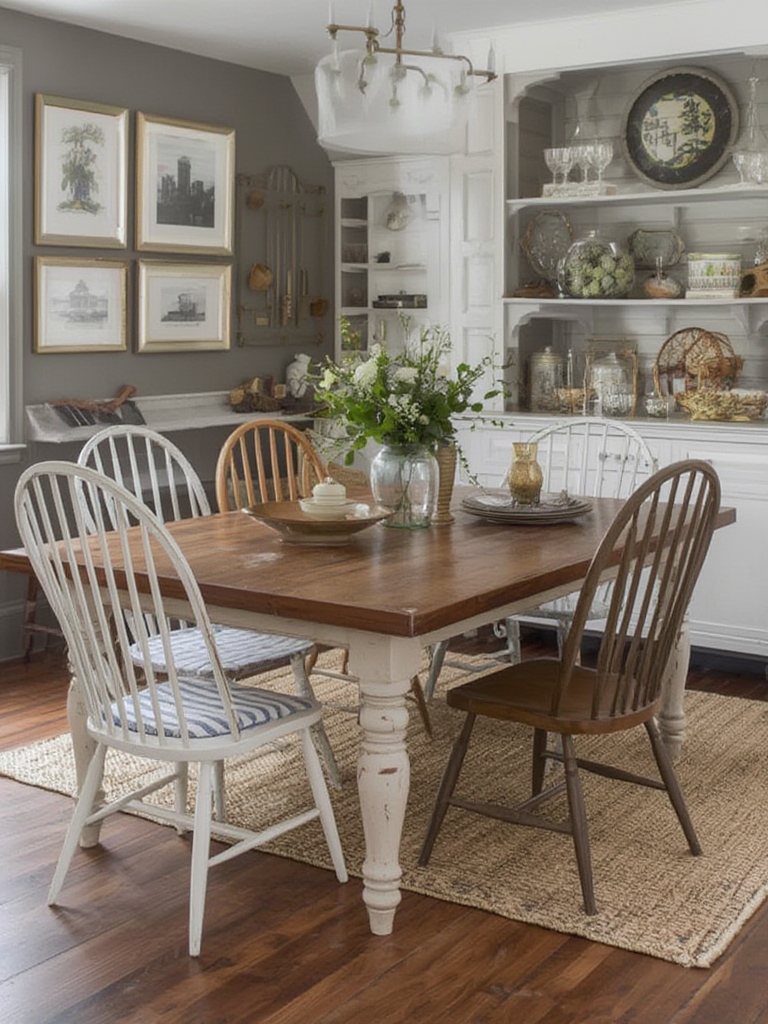
Real Home Tours have become a powerful way to showcase properties, share interior design ideas, and engage audiences online. Whether you’re a homeowner, a real‑estate professional, or a DIY enthusiast, creating a polished tour involves three core phases: assembling the footage, restoring any raw material, and styling the final presentation. Below is a step‑by‑step guide that walks you through each phase, complete with the tools you’ll need and actionable tips to keep the process smooth.
Phase 1: Assembling Your Real Home Tour
1. Plan Your Walkthrough
- Map the route: Sketch a floor plan or use a simple floor‑plan app (e.g., RoomSketcher) to outline the path you’ll follow. Aim for a logical flow—entrance → living areas → bedrooms → bathrooms → outdoor spaces.
- Identify key features: Highlight focal points such as a fireplace, custom cabinetry, or a view. These will become the “anchor shots” that draw viewers in.
- Set a timeline: Allocate 5‑10 minutes per room for filming. This helps you stay on schedule and ensures consistent pacing.
2. Gather Your Equipment
- Smartphone or mirrorless camera with 4K capability.
- Stabilizer or gimbal (e.g., DJI Osmo Mobile) for smooth motion.
- Wide‑angle lens (optional but recommended for tight spaces).
- External microphone for clear audio (if you plan to narrate).
- Tripod for static shots of details.
3. Capture High‑Quality Footage
- Lighting: Shoot during daylight hours when natural light is abundant. Open curtains and turn on interior lights to avoid dark shadows.
- Steady movement: Walk slowly, keep the camera at eye level, and use the gimbal’s “follow‑through” mode to avoid jerky motions.
- Multiple angles: For each room, record at least two passes—one wide sweep and one close‑up of key details.
- Audio cues: If you’re narrating, speak clearly and keep a consistent distance from the microphone.
4. Organize Your Files
After filming, create a folder structure on your computer:
/RealHomeTours/ProjectName/Raw– all original video files./RealHomeTours/ProjectName/Audio– separate narration or ambient sound tracks./RealHomeTours/ProjectName/Exports– final edited versions.
This organization saves time during the editing phase and prevents accidental overwrites.
Phase 2: Restoring and Editing Your Real Home Tour
1. Choose an Editing Platform
- Beginner friendly: iMovie (Mac) or Shotcut (cross‑platform).
- Advanced: Adobe Premiere Pro or DaVinci Resolve for color grading and precise cuts.
2. Import and Sync Media
Drag your raw video files into the media bin, then place them on the timeline in the order defined by your floor‑plan map. If you recorded separate audio, align the narration track with the corresponding video segment using visual cues (e.g., a door closing).
3. Clean Up the Footage
- Trim excess: Cut the first and last few seconds of each clip to remove shaky start/stop moments.
- Stabilize: Most editors have a built‑in stabilization tool. Apply it sparingly to avoid a “wobbly” look.
- Remove noise: Use a noise‑reduction filter on the audio track to eliminate background hum.
4. Color Correct and Grade
Even with good lighting, footage from different rooms can vary in temperature. Follow these quick steps:
- Apply a basic white‑balance correction to each clip.
- Adjust exposure so that shadows retain detail without blowing out highlights.
- For a cohesive look, add a subtle LUT (lookup table) that enhances warm tones—ideal for residential spaces.
5. Add Transitions and Navigation Markers
- Cross‑fade: Use a 0.5‑second cross‑fade between rooms for a smooth flow.
- Clickable hotspots: If you plan to embed the tour on a WordPress site, export a video file and create hotspot links using a plugin like WP VR View or 3D Viewer. Mark each room’s entrance as a hotspot for easy navigation.
6. Export Settings
Export the final video in MP4 format using H.264 codec, 1080p resolution, and a bitrate of 12 Mbps. This balances quality with loading speed—crucial for web playback.
Phase 3: Styling and Publishing Your Real Home Tour on WordPress
1. Prepare Your WordPress Environment
- Ensure you have a modern theme that supports full‑width video sections (e.g., Astra, GeneratePress).
- Install a video‑embedding plugin if your theme doesn’t handle MP4 natively.
- Activate a caching plugin (e.g., WP Rocket) to improve page load times.
2. Upload Media Assets
Navigate to Media → Add New and upload the exported MP4 file, any thumbnail images, and the hotspot JSON files (if using a VR plugin). Keep file names concise and descriptive, such as real-home-tour‑livingroom.mp4.
3. Build the Tour Page
- Create a new page titled “Real Home Tour” (the title itself is not part of the content you’ll see here).
- Insert a full‑width video block and select your uploaded MP4 file.
- Below the video, add a
<div>container for the interactive map. Use the shortcode provided by your hotspot plugin, for example:[vrview src="real-home-tour.json"]. - Use
<h2>headings to separate sections (e.g., “Living Room Highlights,” “Kitchen Details”). Under each heading, add a brief paragraph describing the design choices and any restoration work performed.
4. Style with CSS for a Polished Look
Insert the following CSS into Appearance → Customize → Additional CSS to give your tour a clean, modern feel:
/* Full‑width video */
.wp-block-video {
    max-width: 100% !important;
    margin: 0 auto;
}

/* Interactive map container */
.tour-map {
    width: 100%;
    height: 500px;
    margin-top: 20px;
    border: 2px solid #e0e0e0;
    border-radius: 8px;
}

/* Section headings */
h2 {
    font-size: 2rem;
    margin-top: 40px;
    color: #333;
}
h3 {
    font-size: 1.5rem;
    margin-top: 30px;
    color: #555;
}
5. Test Responsiveness
Preview the page on desktop, tablet, and mobile views. Ensure the video scales correctly and the hotspot map remains clickable. Adjust the .tour-map height in the CSS if the map appears too small on mobile devices.
6. Publish and Promote
- Click “Publish” once you’re satisfied with the layout.
- Share the page link on social platforms and embed it in newsletters to drive traffic.
- Monitor performance using Google Analytics to see how long visitors stay on the tour page.
Quick Reference Checklist
- ✅ Plan route and highlight key features.
- ✅ Use a gimbal and wide‑angle lens for smooth, comprehensive footage.
- ✅ Organize raw files in a clear folder hierarchy.
- ✅ Trim, stabilize, and color‑grade each clip.
- ✅ Export MP4 at 1080p, 12 Mbps.
- ✅ Upload media to WordPress and embed with a video block.
- ✅ Add interactive hotspots for room navigation.
- ✅ Apply custom CSS for a polished, responsive design.
By following these steps, you’ll transform raw recordings into a captivating Real Home Tour that not only showcases the property’s best attributes but also provides an engaging, interactive experience for viewers. Happy touring!
