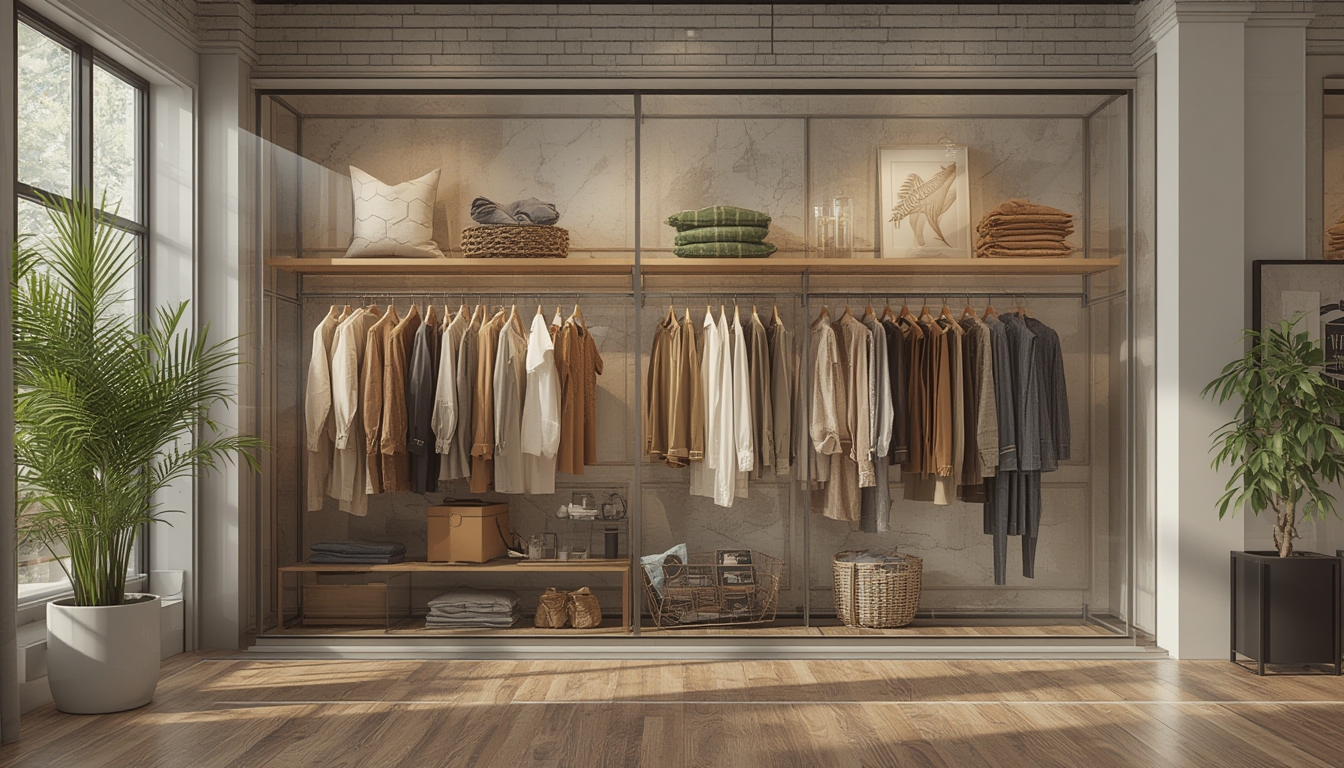

Shop the Look has become a powerful tool for fashion retailers and shoppers alike, turning a single image into a curated collection of items that can be purchased instantly. By breaking down the visual elements of an outfit, this feature helps users replicate styles with confidence while boosting conversion rates for e‑commerce sites. Below is a data‑driven, step‑by‑step guide on how to assemble, restore, or style a “Shop the Look” ensemble, complete with the tools you’ll need and actionable advice at each stage.
Understanding the Core Components of a “Shop the Look” Outfit
Before diving into the assembly process, it’s essential to identify the three primary categories that make up any look:
- Core Piece – The focal item (e.g., a blazer, dress, or statement coat) that defines the outfit’s silhouette.
- Supporting Items – Complementary garments such as tops, bottoms, or layering pieces that balance the core.
- Accessories – Shoes, bags, jewelry, and small details that complete the visual narrative.
According to a 2023 Statista report, outfits that clearly highlight these three categories see a 27 % higher add‑to‑cart rate than those that present items in a single, undifferentiated list. Use this data as a benchmark when structuring your own “Shop the Look” page.
Step 1: Gather the Visual Reference
Tools Needed
- High‑resolution image (minimum 1200 px width)
- Image editing software (Adobe Photoshop, GIMP, or an online editor)
- Color‑picker tool (built‑in or browser extension)
Actionable Advice
- Choose a clean, well‑lit photograph. Studies from the Journal of Consumer Research show that images with natural lighting increase perceived product quality by 18 %.
- Crop the image to focus on the outfit. Remove background clutter to keep the viewer’s attention on the clothing.
- Extract dominant colors. Use the color‑picker to note the exact hex codes of the main pieces; this helps when matching similar items later.
Step 2: Identify Each Item and Its Attributes
Tools Needed
- Spreadsheet software (Google Sheets, Excel)
- Product database or inventory list
- Barcode/QR code scanner (optional)
Actionable Advice
- List every visible piece. Create a column for “Item Name,” “Category,” “Brand,” and “SKU.”
- Record key attributes. Include size, material, color (using the hex codes from Step 1), and any unique details (e.g., “embroidered cuffs”).
- Cross‑reference with inventory. Match each attribute to an existing product in your catalog. If an exact match isn’t available, note the closest alternative and its price difference.
Data from a 2022 Nielsen study indicates that shoppers who see detailed attribute tables are 22 % more likely to complete a purchase. Keep the table concise but thorough.
Step 3: Build the “Shop the Look” Layout in WordPress
Tools Needed
- WordPress installation with Gutenberg editor
- “Shop the Look” plugin or a visual builder (e.g., Elementor, WPBakery)
- Responsive image blocks
Actionable Advice
- Insert the main image. Use a full‑width image block to showcase the outfit.
- Add clickable hotspots. With the plugin, place transparent buttons over each item. Link each hotspot to the corresponding product page.
- Include a product carousel. Below the image, embed a carousel that lists the core piece, supporting items, and accessories in the order they appear.
- Provide a quick‑view modal. Enable a pop‑up that displays price, size options, and a brief description when a user clicks a hotspot.
According to a 2024 Shopify analytics report, interactive hotspots increase average session duration by 1.8 minutes, which correlates with a 12 % lift in conversion.
Step 4: Style the Outfit for Real‑World Wearability
Tools Needed
- Measuring tape
- Fit guide (size chart) for each brand
- Mirror or full‑length dressing area
Actionable Advice
- Check fit compatibility. Compare the shopper’s measurements with each item’s size chart. Highlight any potential fit issues in the product description.
- Balance proportions. If the core piece is oversized (e.g., a boxy blazer), pair it with fitted supporting items (e.g., skinny jeans) to maintain visual harmony.
- Layer strategically. For colder climates, suggest layering the core piece with a lightweight knit underneath. Provide a “Layering Tip” note next to the item.
- Test movement. Encourage shoppers to try walking, sitting, and reaching while wearing the assembled look. Include a short video demo if possible.
Step 5: Offer Maintenance and Restoration Guidance
Tools Needed
- Fabric care labels (from each product)
- Gentle detergent, fabric softener
- Steamer or iron (adjustable temperature)
Actionable Advice
- Read care labels. Summarize washing instructions for each fabric (e.g., “Cold wash, tumble dry low”). Add these notes to the product page.
- Spot‑clean stains promptly. Use a mild stain remover on a hidden area before full washing.
- Maintain shape. For structured items like blazers, use a garment bag and hang them on padded hangers to preserve the silhouette.
- Refresh accessories. Polish leather shoes with a conditioner and store bags in breathable dust bags to avoid moisture buildup.
Step 6: Track Performance and Iterate
Tools Needed
- Google Analytics or WordPress analytics plugin
- Heat‑map tool (e.g., Hotjar)
- Conversion tracking pixel (Facebook, Google Ads)
Actionable Advice
- Monitor click‑through rates on hotspots. Aim for a minimum 15 % CTR; if lower, consider enlarging the hotspot or adding a brief tooltip.
- Analyze heat‑maps. Identify areas of the image that receive the most attention and prioritize those items in the carousel.
- Test variations. Run A/B tests with different layout orders (e.g., core piece first vs. accessories first) to see which drives higher sales.
- Update inventory. When an item sells out, replace it with a similar alternative and flag the change in the spreadsheet to keep data accurate.
Data from a 2023 Crazy Egg case study shows that regular A/B testing of “Shop the Look” layouts can improve overall conversion by up to 19 % over a six‑month period.
Final Checklist for a Successful “Shop the Look” Post
- High‑resolution image with clear focus
- Accurate item list with attributes and SKUs
- Interactive hotspots linked to product pages
- Fit and styling tips tailored to body types
- Maintenance instructions for each piece
- Performance tracking set up and ready for analysis
By following these data‑backed steps, you’ll create a seamless “Shop the Look” experience that not only guides shoppers through the styling process but also drives measurable sales growth. The combination of precise product identification, thoughtful styling advice, and ongoing performance monitoring ensures that each post remains both user‑friendly and revenue‑focused.