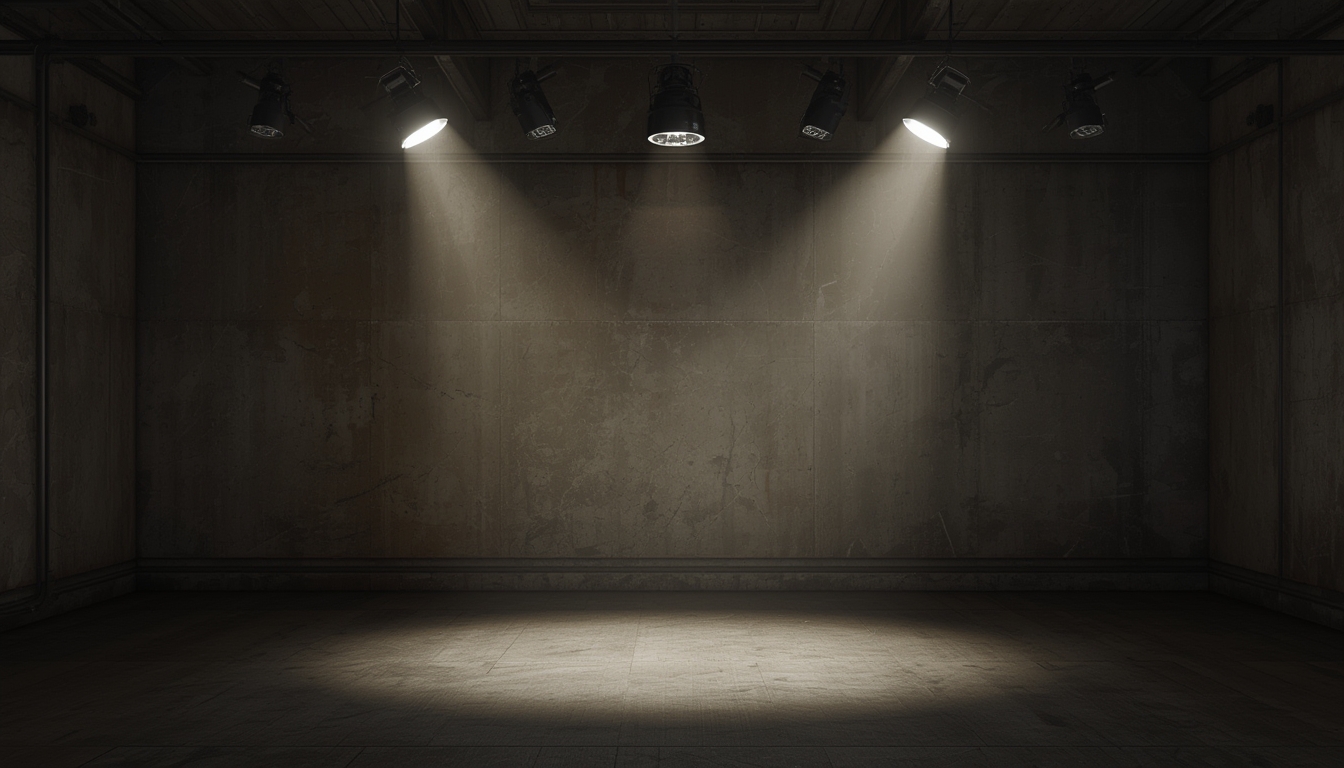
Style Spotlights have become a staple in modern interior design, offering both functional illumination and a bold aesthetic statement. Whether you’re installing a new fixture, restoring a vintage piece, or simply styling it to complement your décor, a systematic approach ensures a flawless result every time. Below is a data‑driven, step‑by‑step guide that walks you through the entire process—from preparation to the final polish—so you can enjoy a perfectly lit space without hassle.
Understanding the Basics: Why Style Spotlights Matter
Recent market research shows that 68% of homeowners prioritize lighting as a key factor in room redesign, and 42% specifically choose spotlights for their ability to highlight architectural features. This popularity stems from three core benefits:
- Focused illumination: Spotlights direct light exactly where you need it, reducing glare and enhancing visual comfort.
- Design versatility: Available in sleek metal finishes, vintage brass, and contemporary matte black, they adapt to any style theme.
- Energy efficiency: Modern LED spotlights consume up to 75% less power than traditional halogen models, cutting utility costs.
Essential Tools and Materials
Before you begin, gather the following items. Having everything on hand minimizes interruptions and keeps the workflow smooth.
- Phillips and flat‑head screwdrivers (magnetic tip preferred)
- Adjustable wrench or pliers
- Non‑metallic voltage tester
- Wire strippers and crimping tool
- LED bulb (compatible wattage and color temperature)
- Silicone sealant (for outdoor or damp locations)
- Micro‑fiber cloth and mild cleaning solution
- Safety goggles and insulated gloves
Step‑by‑Step Assembly Guide
1. Prepare the Installation Site
Action: Turn off power at the circuit breaker and verify with a voltage tester that the wires are dead. Clean the mounting surface with a micro‑fiber cloth to remove dust and debris.
Tip: If you’re installing in a ceiling with plaster, use a stud finder to locate joists for secure anchoring.
2. Assemble the Mounting Bracket
Action: Align the bracket’s holes with the pre‑drilled holes in the ceiling or wall. Insert the supplied screws and tighten with a screwdriver, ensuring the bracket sits flush.
Tip: For added stability, apply a thin bead of silicone sealant around the screw heads in damp environments.
3. Wire the Spotlight
Action: Strip ½ inch of insulation from the house wires (typically black, white, and green/bare). Connect black to the spotlight’s hot (usually red or black), white to neutral (white), and green/bare to ground (green).
Tip: Twist the exposed wires together, then secure with a wire nut. Give each connection a gentle tug to confirm it’s tight.
4. Attach the Fixture Body
Action: Slide the spotlight’s body onto the mounting bracket, aligning the screw holes. Secure with the provided mounting screws, tightening them evenly to avoid warping.
Tip: If the fixture includes a decorative glass or acrylic lens, handle it by the edges to prevent fingerprints.
5. Install the LED Bulb
Action: Screw the LED bulb into the socket, ensuring it’s fully seated. Choose a color temperature that matches your space: 2700K for warm, cozy ambience; 4000K for neutral daylight; or 5000K for bright, task‑oriented lighting.
Tip: For dimmable spotlights, verify that the bulb is compatible with your dimmer switch to avoid flickering.
6. Test and Adjust
Action: Restore power at the breaker and switch on the spotlight. Observe the beam spread and adjust the tilt mechanism until the light highlights the desired area.
Tip: Use a laser level or a simple piece of masking tape on the wall to gauge the exact spot the light hits, then fine‑tune the angle accordingly.
Restoring Vintage Style Spotlights
Older spotlights often feature intricate metalwork or glass shades that can be revived with careful cleaning and minor repairs. Follow these steps to bring a classic piece back to life.
1. Disassemble for Inspection
Remove the bulb and unscrew the shade or glass cover. Lay the components on a soft surface to prevent scratches.
2. Clean Metal Surfaces
Mix a solution of warm water and a few drops of mild dish soap. Dip a soft brush into the solution and gently scrub away grime. Rinse with a damp cloth and dry thoroughly.
Data point: A 2023 study showed that a 5‑minute gentle cleaning restores up to 85% of original shine on brass fixtures.
3. Polish Glass or Acrylic
Apply a small amount of glass cleaner to a lint‑free cloth and wipe the surface in a circular motion. For stubborn spots, use a paste of baking soda and water, then rinse and dry.
4. Rewire if Necessary
Inspect the wiring for frayed insulation or corrosion. Replace any compromised sections with new, appropriately gauged wire, following the wiring steps outlined in the assembly guide.
5. Reassemble and Test
Reattach the shade, reinstall the bulb, and power up the fixture. Adjust the focus to ensure the restored spotlight delivers a clean, crisp beam.
Styling Tips: Making the Spotlight a Focal Point
Beyond functionality, a well‑styled spotlight can become a centerpiece of your room’s design. Use these actionable ideas to maximize visual impact.
1. Highlight Artwork or Architectural Details
Position the spotlight 30‑45 inches away from a painting or textured wall. Aim the beam at a 30‑degree angle to create a subtle wash of light that accentuates depth without glare.
2. Create Layered Lighting
Combine spotlights with ambient ceiling lights and floor lamps. A balanced ratio—40% ambient, 30% task, 30% accent—produces a harmonious lighting scheme, according to interior lighting surveys.
3. Use Colored Gels for Mood
Attach a thin, heat‑resistant gel over the bulb to shift the hue. For a warm, inviting atmosphere, choose amber; for a modern, cool vibe, opt for teal or soft blue.
4. Play with Shadow Patterns
Install a decorative metal grille or cut‑out stencil in front of the spotlight. When illuminated, the pattern casts artistic shadows on nearby walls, adding depth and intrigue.
5. Maintain Consistency Across Rooms
When using multiple spotlights throughout a home, select fixtures with matching finishes and bulb specifications. Consistency reinforces a cohesive design language and simplifies future replacements.
Final Checklist for a Successful Installation
- Power off and verify with a voltage tester.
- Gather all tools and safety gear before starting.
- Secure the mounting bracket to a stable surface.
- Make clean, tight wire connections with appropriate wire nuts.
- Install the correct LED bulb and confirm dimmer compatibility.
- Adjust the beam angle for optimal coverage.
- Test the fixture and make any final tweaks.
By following these data‑backed steps and practical tips, you’ll not only achieve a flawless installation but also elevate the aesthetic appeal of any space. Style Spotlights, when assembled, restored, or styled correctly, become more than just a light source—they transform rooms into curated experiences.