Welcome to your next creative adventure! In this guide we’ll walk through three popular DIY & upcycle projects that transform everyday items into stylish, functional pieces for your home. Each project is broken down into clear, actionable steps, complete with the tools you’ll need and practical tips to keep the process smooth and rewarding. Whether you’re a seasoned maker or just getting started, these projects are designed to be approachable, cost‑effective, and highly customizable.
Project 1: Upcycled Pallet Coffee Table
Materials & Tools
- 2–3 reclaimed wooden pallets (cleaned and sanded)
- Measuring tape and carpenter’s square
- Circular saw or hand saw
- Power drill with 1/4‑inch and 3/8‑inch bits
- Wood screws (2½‑inch) and wood glue
- Sandpaper (80‑, 120‑, and 220‑grit) or orbital sander
- Stain or paint of your choice + brush or rag
- Protective gloves and safety glasses
Step‑by‑Step Assembly
- Measure and Cut the Pallet Slats. Lay the pallets flat and decide on the table dimensions (a common size is 36″ × 24″). Use the measuring tape and carpenter’s square to mark the desired length on each slat, then cut with the circular saw. Aim for uniform lengths to ensure a stable surface.
- Sand All Surfaces. Begin with 80‑grit sandpaper to remove rough spots, then progress to 120‑ and finish with 220‑grit for a smooth finish. This step reduces splinters and prepares the wood for staining or painting.
- Assemble the Table Top. Arrange the slats side‑by‑side, leaving a ¼‑inch gap for expansion. Apply a thin bead of wood glue along each joint, then clamp the slats together. Drill pilot holes through the top slats into the bottom ones and secure with 2½‑inch wood screws, spacing screws every 12 inches.
- Build the Base. Cut four pallet legs to 18‑inch length. Attach each leg to the underside of the table top using two screws per leg, angled outward for extra stability. Reinforce the corners with diagonal braces cut from leftover pallet pieces.
- Finish the Surface. Wipe the table with a tack cloth, then apply your chosen stain or paint. For a rustic look, use a dark stain and lightly sand the edges after drying. Seal with a clear polyurethane coat for durability.
- Final Touches. Add felt pads to the bottom of the legs to protect flooring. Place a decorative tray or coasters, and your upcycled pallet coffee table is ready for use.
Practical Tips
- Inspect pallets for nails or splinters before cutting; use a nail puller or pliers to remove any hidden fasteners.
- Allow the wood to acclimate to your workshop’s humidity for at least 24 hours before gluing to prevent warping.
- If you prefer a lighter look, paint the slats a matte white and distress the edges with sandpaper for a shabby‑chic vibe.
Project 2: Restored Vintage Ladder Shelf
Materials & Tools
- Old wooden ladder (metal ladders work too, but this guide focuses on wood)
- Wood filler and putty knife
- Medium‑grit sandpaper (150‑grit)
- Paintbrushes or foam rollers
- Matte black or white paint (chalk paint works well)
- Wall anchors and screws
- Level and stud finder
- Optional: decorative brackets or rope for added flair
Step‑by‑Step Restoration
- Clean the Ladder. Wipe down the ladder with a damp cloth to remove dust. For greasy residues, use a mild detergent solution and let it dry completely.
- Repair Damaged Areas. Fill cracks or missing wood with wood filler, smoothing with a putty knife. Let the filler cure according to the manufacturer’s instructions (usually 30‑45 minutes).
- Sand the Surface. Lightly sand the entire ladder using 150‑grit sandpaper. Focus on rough spots and the filler patches to ensure an even surface for painting.
- Prime (Optional) and Paint. If the ladder has a glossy finish, apply a thin coat of primer. Once dry, paint the ladder in your chosen color. Two thin coats yield a smoother finish than one thick coat.
- Mount the Ladder. Use a stud finder to locate wall studs at the desired height. Mark screw locations, drill pilot holes, then insert wall anchors if needed. Secure the ladder with screws, checking with a level after each screw to keep it straight.
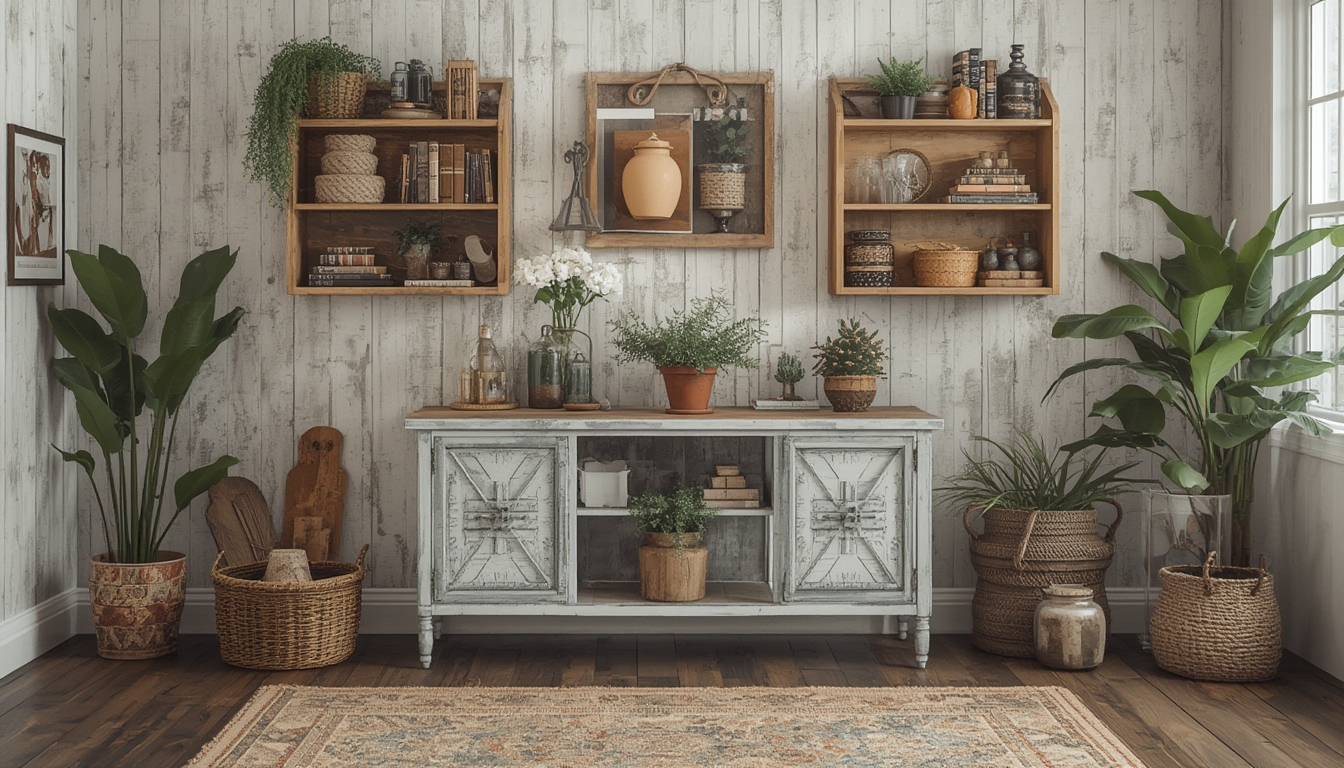
- Style and Use. Add decorative brackets for a mid‑century modern look, or drape a rope along the rungs for a nautical feel. Place books, plants, or woven baskets on the rungs to create functional storage.
Practical Tips
- When painting, work in a well‑ventilated area and wear a mask to avoid inhaling fumes.
- If the ladder is metal, replace sanding with a wire brush and use a rust‑inhibiting primer before painting.
- For a floating effect, install hidden brackets on the wall and attach the ladder to them, keeping the visible hardware minimal.
Project 3: Painted Mason Jar Lanterns
Materials & Tools
- 12‑oz. Mason jars (clear or amber)
- Acrylic paint or spray paint (any color)
- Paintbrushes or stencil kit
- Tea lights or LED tealight candles
- Twine, burlap, or decorative ribbon
- Hot glue gun and glue sticks
- Protective gloves and newspaper for workspace
Step‑by‑Step Creation
- Prepare the Workspace. Lay down newspaper or a drop cloth. Wear gloves to keep paint off your hands.
- Paint the Jars. If using acrylic paint, dip a brush into the paint and swirl it around the outside of the jar, allowing the color to pool in the bottom for a gradient effect. For a solid color, apply an even coat and let dry for 15‑20 minutes. If you prefer a patterned look, use stencils or tape to create designs before painting.
- Seal the Paint. Once the paint is fully dry, apply a clear acrylic sealer to protect the finish from moisture and handling.
- Add Decorative Accents. Cut a length of twine or burlap, wrap it around the jar’s neck, and secure with a hot‑glue dot. For a softer look, tie a ribbon and add a small dried flower or sprig.
- Insert the Light Source. Place a tea light or LED tealight inside the jar. LED lights are safer for unattended use and last longer.
- Display Your Lanterns. Arrange the lanterns on a mantel, windowsill, or outdoor patio. Grouping three to five lanterns at varying heights creates visual interest.
Practical Tips
- When using spray paint, work outdoors or in a well‑ventilated area, and keep the jars rotating to avoid drips.
- For a rustic finish, sand the painted surface lightly with fine‑grit sandpaper after it dries, then apply a matte sealer.
- LED tealights with remote controls let you dim the light without touching the jars, preserving the paint.
Final Thoughts & Next Steps
These three DIY & upcycle projects demonstrate how everyday items—pallets, ladders, and mason jars—can be transformed into eye‑catching home décor with minimal investment. By following the step‑by‑step instructions, using the recommended tools, and applying the practical tips, you’ll achieve professional‑looking results while honing your crafting skills.
Ready to expand your upcycling repertoire? Consider pairing these projects with seasonal variations—paint the pallet coffee table in pastel shades for spring, swap the ladder’s color palette for deep jewel tones in winter, or add festive ribbons to the mason jar lanterns for holidays. The possibilities are endless, and each new iteration adds a personal touch to your living space.
Remember, the core of successful DIY is preparation: gather all materials, set up a clean workspace, and work methodically through each step. With patience and creativity, you’ll turn discarded or ordinary objects into cherished, functional art pieces that reflect your style and commitment to sustainable living.