
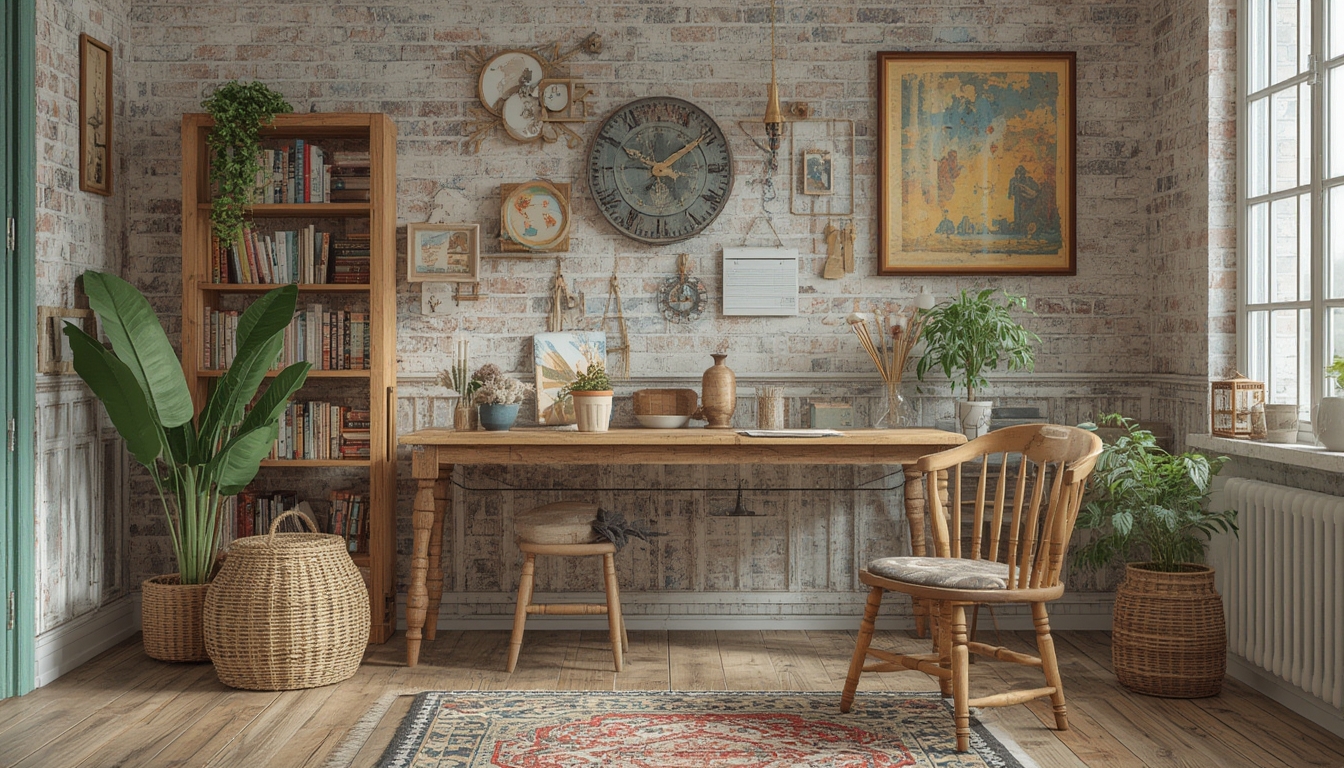
Upcycling is a rewarding way to breathe new life into forgotten items while reducing waste and adding a personal touch to your home décor. In this guide, we’ll walk you through a complete DIY project: transforming an old wooden pallet into a stylish, functional coffee table. The process combines basic carpentry, creative finishing, and a few clever tricks that even beginners can master. By the end of the tutorial you’ll have a sturdy, custom‑finished piece that showcases your craftsmanship and fits perfectly into any living space.
Project Overview
This project repurposes a standard 40 × 48 inch pallet into a modern coffee table with a clean, minimalist look. The design features a single‑sheet tabletop, hidden storage beneath, and optional metal legs for an industrial vibe. The final dimensions are approximately 42 × 24 × 16 inches, making it ideal for small apartments or larger living rooms alike. The steps include pallet preparation, cutting and sanding, assembling the frame, adding storage, and finishing with a protective coat.
Materials and Tools Required
- 1 solid wood pallet (heat‑treated preferred)
- 1 sheet of plywood (½‑inch thick, 42 × 24 inches)
- 4 metal hairpin legs (adjustable height, 12‑inch)
- 2 × 4 lumber (for storage frame, 8 feet total)
- Wood screws (1½‑inch and 2‑inch)
- Wood glue
- Sandpaper (80, 120, and 220 grit)
- Orbital sander or sanding block
- Circular saw or handsaw
- Drill/driver with drill bits
- Measuring tape and carpenter’s square
- Clamps
- Paintbrush or lint‑free cloth
- Clear polyurethane or matte chalk paint (optional)
Step‑by‑Step Guide
1. Prepare the Pallet
Start by inspecting the pallet for nails, splinters, or damaged boards. Use a hammer or nail puller to remove all protruding nails. Lay the pallet flat on a workbench and give it a thorough cleaning with a mild detergent; let it dry completely. This ensures a smooth surface and prevents dust from interfering with the finish.
2. Disassemble and Cut the Boards
Using a circular saw, carefully cut the pallet into individual boards. Aim for lengths of 42 inches to match the tabletop width. Trim each board to a uniform width of 6 inches; this will create a consistent slatted look. If any board has cracks, set it aside and use a solid piece of reclaimed lumber as a replacement.
3. Sand the Boards
Begin with 80‑grit sandpaper to remove rough edges and any remaining paint or stain. Progress to 120‑grit for smoothing, and finish with 220‑grit for a polished surface. An orbital sander speeds up the process, but a sanding block works just as well for smaller pieces. Wipe each board with a tack cloth to eliminate dust.
4. Assemble the Tabletop Frame
Lay the slatted boards side by side on a flat surface, leaving a ¼‑inch gap between each for wood expansion. Position two 2‑by‑4 crosspieces underneath—one near the front edge and one near the back—perpendicular to the slats. Apply wood glue to the contact points, then secure with 1½‑inch screws, pre‑drilling holes to avoid splitting. Use clamps to hold the assembly tight while the glue sets (about 30 minutes).
5. Build the Hidden Storage Box
Measure the interior dimensions of the tabletop frame (approximately 38 × 20 inches). Cut four 2‑by‑4 pieces to create the box’s sides, leaving a ½‑inch clearance on all sides for easy insertion. Assemble the box using 2‑inch screws and wood glue, reinforcing each corner with a metal corner brace for extra durability. Sand the box edges smooth and wipe clean.
6. Attach the Plywood Top
Place the ½‑inch plywood sheet on top of the slatted frame, ensuring it overhangs the edges by about ½‑inch for a clean finish. Secure the plywood with 2‑inch screws driven through the slats into the plywood, spacing them every 6 inches. This creates a solid surface while still showcasing the reclaimed slats underneath.
7. Install the Hairpin Legs
Flip the table upside down and position each hairpin leg at the corners of the plywood top, aligning them with the pre‑drilled holes in the slats. Use a drill to create pilot holes, then attach the legs with the supplied bolts. Tighten securely, but avoid over‑tightening to prevent stripping the wood.
8. Finish and Protect the Surface
Choose a finish that matches your décor. For a natural look, apply a clear polyurethane with a brush, sanding lightly with 220‑grit sandpaper between coats. For a vintage vibe, use matte chalk paint, wiping off excess with a lint‑free cloth. Apply at least two coats, allowing each to dry for 4‑6 hours. The finish not only enhances aesthetics but also protects the wood from spills and scratches.
Finishing Touches and Styling Ideas
Once the table is dry, add a few personal details to make it truly yours. Consider placing a reclaimed leather coaster set, a small potted succulent, or a stack of vintage books on the surface. If you opted for an open‑frame design, a woven basket underneath can store magazines while keeping the look airy. Lighting a nearby floor lamp will highlight the natural grain and bring warmth to the room.
Maintenance and Care
To keep your upcycled coffee table looking fresh, dust it weekly with a soft cloth. For spills, wipe immediately with a damp cloth; avoid harsh chemicals that can damage the finish. Reapply a thin coat of polyurethane every 12‑18 months, especially if the table sees heavy use. Check the leg bolts quarterly and tighten as needed to maintain stability.
Final Thoughts
Upcycling a simple pallet into a functional coffee table demonstrates how creativity and a few basic tools can transform everyday objects into statement pieces. This project not only saves money but also reduces waste, aligning with sustainable living principles. By following the step‑by‑step instructions and practical tips provided, you’ll finish a beautiful, durable table that reflects your personal style and craftsmanship. Happy building, and enjoy the satisfaction of turning reclaimed wood into a centerpiece for your home!
