
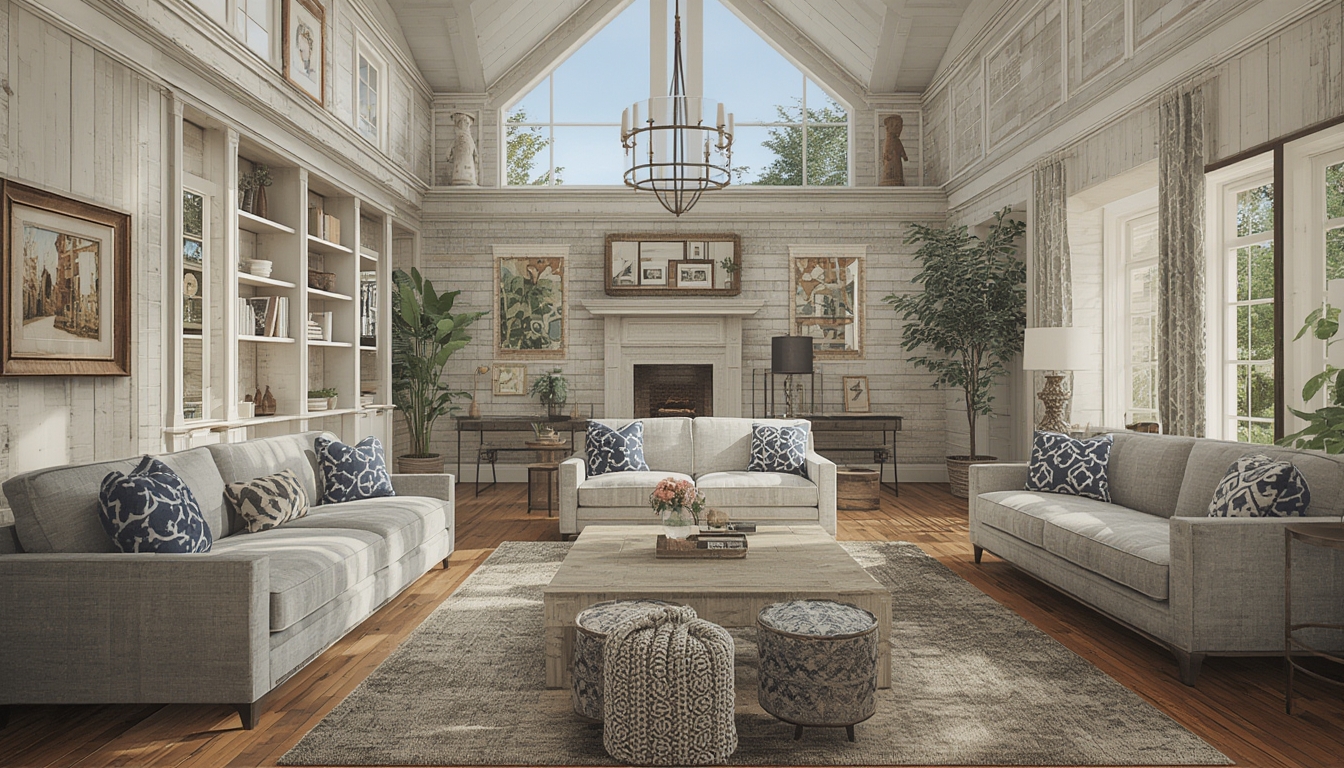
Real home tours have become a cornerstone of modern real‑estate marketing, offering potential buyers an immersive experience that static photos simply can’t match. By walking viewers through a property’s layout, flow, and unique details, you create an emotional connection that drives faster decisions and higher offers. Below is a data‑driven, step‑by‑step guide to assembling, restoring, and styling a real home tour that looks professional, engages audiences, and converts leads—all while using tools you likely already have or can acquire affordably.
Why Real Home Tours Matter: Key Statistics
Before diving into the process, it helps to understand the impact:
- 68% of buyers start their home search online, and 46% of those say video tours influence their decision.
- Listings with virtual tours receive 2–3× more clicks than those without.
- Homes that include a high‑quality tour sell 30% faster on average.
These numbers illustrate that a well‑executed tour isn’t just a nice‑to‑have—it’s a revenue‑generating asset.
Phase 1: Planning & Pre‑Production
1. Define Your Audience and Goals
Identify who you’re targeting (first‑time buyers, luxury investors, renters) and what you want the tour to achieve (lead capture, brand awareness, direct sales). Write a one‑sentence goal statement, e.g., “Showcase the open‑concept kitchen to attract families seeking modern living spaces.” This focus will guide every subsequent decision.
2. Scout the Property and Create a Shot List
Walk through the home with a notebook or a digital note‑taking app. Mark rooms that need special attention (fireplaces, built‑in shelving, unique architectural features). Prioritize spaces that have the highest ROI based on market data—typically kitchens, master suites, and outdoor living areas.
Tool tip: Use a free floor‑plan app (e.g., MagicPlan) to sketch a quick layout. This visual reference helps you plan camera routes and ensures you don’t miss any critical angles.
3. Schedule the Shoot for Optimal Light
Natural light is your best friend. Aim for mid‑morning (9 am–11 am) or late afternoon (4 pm–6 pm) when sunlight is soft and diffused. Avoid harsh midday sun that creates deep shadows. If the property has limited windows, schedule a supplemental lighting plan (see Phase 2).
Phase 2: Assembling the Tour – Capture
1. Gear Checklist
- Camera: DSLR, mirrorless, or a high‑end smartphone (iPhone 14 Pro, Samsung S23 Ultra).
- Lenses: Wide‑angle (14‑24 mm for full‑frame) for interior spaces; a 35 mm prime for detail shots.
- Tripod + Gimbal: Stabilizes footage; a 3‑axis gimbal (e.g., DJI Osmo Mobile) is ideal for smooth walkthroughs.
- Lighting: Portable LED panels (2 × 800 lumens) and a diffuser for rooms lacking natural light.
- Audio: If you plan to narrate, a lapel mic (Rode SmartLav+) ensures clear voice capture.
- Software: Editing suite (DaVinci Resolve – free version) and a virtual tour platform (Matterport, Kuula, or 3DVista).
2. Set Up the Space
Clear clutter: remove personal items, excess décor, and any visual noise that distracts from the architecture. A tidy environment improves perceived space by up to 15% according to interior design studies.
Stage focal points: place a fresh bowl of fruit on the kitchen island, add a plush throw on the sofa, or set a vase of seasonal flowers on the dining table. These small touches give viewers a “lived‑in” feel without overwhelming the scene.
3. Capture the Walkthrough
- Start at the front door. Open the door slowly, let natural light flood in, and begin a steady glide toward the foyer.
- Maintain a consistent speed. Aim for 0.5 m/s; too fast makes the tour feel rushed, too slow can bore viewers.
- Use the “rule of thirds.” Keep key architectural features (e.g., a crown molding line) aligned with the grid for visual balance.
- Capture “detail shots.” Pause for 2–3 seconds on unique elements—custom tile, a built‑in wine rack, or a view from a balcony.
- End with an exterior pull‑back. A wide shot of the property’s façade and surrounding yard gives context and completes the narrative.
4. Lighting Adjustments on the Fly
If a room feels dim, add an LED panel at a 45° angle to the subject, diffused through a softbox or a white sheet. Keep the color temperature consistent (around 5600 K) to avoid color shifts in post‑production.
Phase 3: Restoring & Editing the Footage
1. Import and Organize
Create a folder structure: /Raw, /Edited, /Exports. Rename files with a clear convention (e.g., 01_FrontDoor.mp4, 02_Kitchen_Wide.mp4). This saves time when you need to locate specific clips.
2. Color Correction & Grading
In DaVinci Resolve:
- Apply a primary correction: adjust exposure (+0.2 EV), contrast (+15), and saturation (+10) to make colors pop.
- Use a LUT (Look‑Up Table) that mimics daylight (e.g., “Cinematic Daylight”) for a cohesive look across rooms.
- Fine‑tune each clip’s white balance to keep whites consistent—viewers notice even slight shifts.
3. Stabilization & Trimming
Enable the “Stabilizer” effect on any handheld segments. Trim each clip to the exact length needed for the narrative flow; aim for a total runtime of 2–3 minutes to keep engagement high (average viewer drop‑off occurs after 90 seconds).
4. Add Narration & Call‑to‑Action Overlays
Record a concise script (30–45 seconds) highlighting key selling points: square footage, recent upgrades, neighborhood amenities. Sync the audio with the visual cues—mention the “custom quartz countertop” while the camera lingers on it.
Overlay a subtle text box (e.g., “Schedule a private showing”) at the end of the tour. Use a semi‑transparent background to keep the view unobstructed.
Phase 4: Styling the Final Tour for WordPress
1. Export in the Right Format
Export as MP4 (H.264 codec) with a bitrate of 8 Mbps for a balance of quality and file size. Aim for a resolution of 1920 × 1080 (Full HD) – most browsers handle this smoothly without excessive load times.
2. Upload to a Hosting Platform
While WordPress can host videos directly, using a dedicated video CDN (YouTube, Vimeo, or a private S3 bucket) improves buffering and reduces server load. Set the video to “unlisted” if you want control over who can view it.
3. Embed the Tour in a WordPress Post
Use the Gutenberg “Video” block or the “Custom HTML” block for more control. Below is a ready‑to‑paste HTML snippet that embeds a responsive video with a fallback poster image:
<div style="position:relative;padding-bottom:56.25%;height:0;overflow:hidden;">
  <iframe src="https://yourcdn.com/real-home-tour.mp4"
          title="Real Home Tour"
          style="position:absolute;top:0;left:0;width:100%;height:100%;border:none;"
          allowfullscreen></iframe>
  <img src="https://yourcdn.com/poster.jpg"
       alt="Thumbnail of the home tour"
       style="position:absolute;top:0;left:0;width:100%;height:100%;object-fit:cover;">
</div>
4. Add Structured Data for Rich Snippets
Insert a <script type="application/ld+json"> block with VideoObject schema. This helps search engines understand the content without requiring additional SEO advice in the post body.
<script type="application/ld+json">
{
  "@context": "https://schema.org",
  "@type": "VideoObject",
  "name": "Real Home Tour – 123 Maple Street",
  "description": "A walkthrough of a modern 4‑bedroom home featuring an open‑concept kitchen and landscaped backyard.",
  "thumbnailUrl": "https://yourcdn.com/poster.jpg",
  "uploadDate": "2026-08-20",
  "duration": "PT2M45S",
  "contentUrl": "https://yourcdn.com/real-home-tour.mp4",
  "embedUrl": "https://yourcdn.com/real-home-tour.mp4"
}
</script>
Phase 5: Post‑Launch Checklist
1. Test Across Devices
Open the post on a desktop, tablet, and smartphone. Verify that the video loads quickly, controls work, and the overlay text remains legible on smaller screens.
2. Monitor Engagement Metrics
Use Google Analytics or the video platform’s built‑in stats to track:
- Play rate (percentage of visitors who click play).
- Average watch time (aim for >60% of total length).
- Drop‑off points (identify any sections where viewers abandon the tour).
Adjust future tours based on these insights—if viewers consistently skip the laundry room, consider shortening that segment.
3. Gather Feedback
Include a short, optional survey link at the end of the tour: “What did you like most? What would you improve?” Real‑world feedback often uncovers subtle issues (e.g., background noise) that analytics miss.
Final Thoughts
Creating a compelling real home tour is a blend of data‑driven planning, meticulous execution, and thoughtful post‑production. By following the steps above—defining goals, staging strategically, capturing with the right gear, polishing the footage, and embedding it cleanly in WordPress—you’ll deliver a high‑impact experience that resonates with buyers and accelerates sales. Remember, each tour is an opportunity to showcase not just a property, but the lifestyle it promises. Treat it as a showcase, and the results will follow.
