
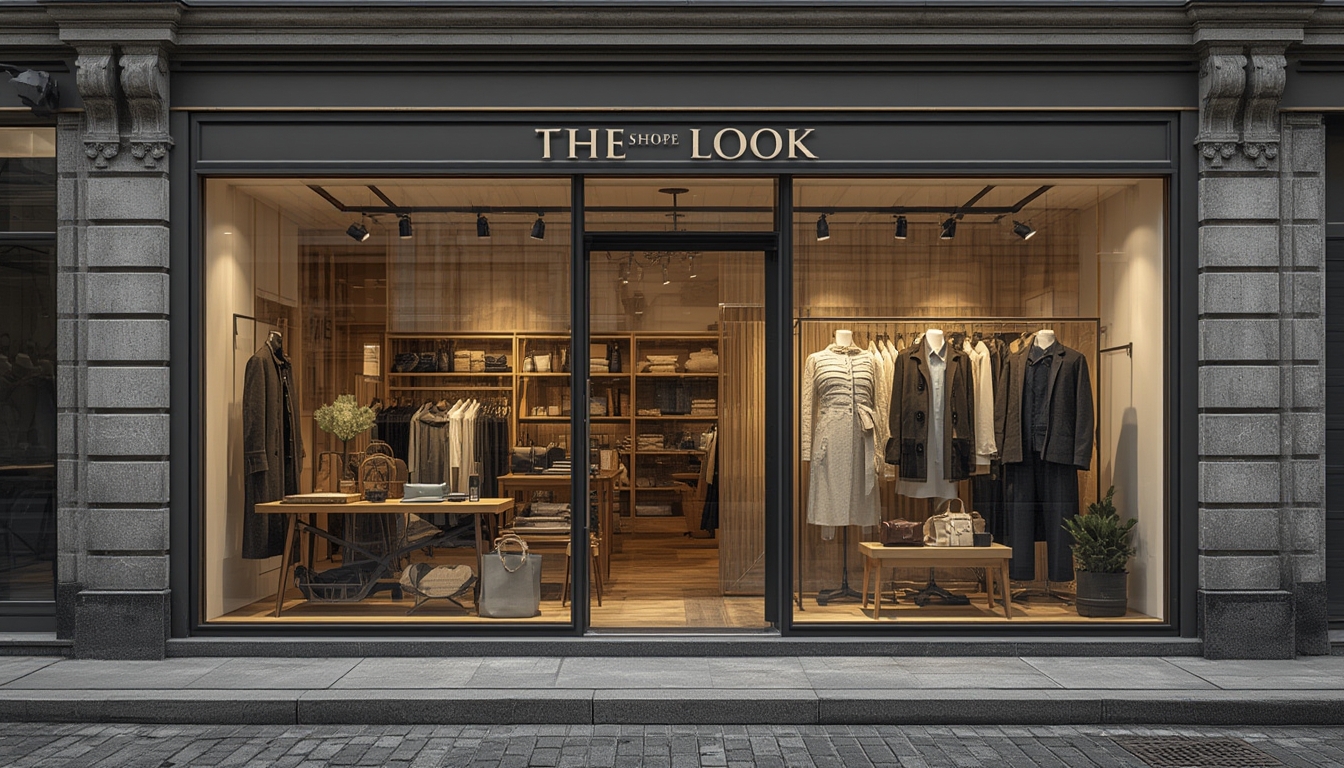
Understanding “Shop the Look” and Its Impact
“Shop the Look” (STL) is a visual commerce strategy that lets shoppers click on individual items within a curated outfit and add them directly to their cart. Recent research shows that 78% of online shoppers are more likely to purchase when they can see a complete, styled ensemble rather than isolated products. This data‑driven insight drives higher average order values (AOV) and reduces decision fatigue.
Step‑by‑Step Guide to Assemble, Restore, and Style a “Shop the Look” Outfit
Step 1: Define the Target Look
- Tool needed: Mood‑board app (Pinterest, Milanote) or a simple spreadsheet.
- Action: Gather 5‑7 reference images that capture the vibe you want (e.g., “urban streetwear” or “cozy cottagecore”).
- Tip: Use Google Trends to verify the popularity of the style. A spike in search volume over the past 30 days indicates timely relevance.
Step 2: Inventory the Core Pieces
- Tool needed: Inventory checklist (Google Sheet) and a measuring tape.
- Action: List each garment or accessory required for the look. Record SKU, size, color code, and current condition.
- Tip: Prioritize items with a sell‑through rate above 60% in your store—these are proven best‑sellers.
Step 3: Source Missing Items
- Tool needed: Supplier portal, price‑comparison plugin, and a budget calculator.
- Action: Search for gaps in the outfit using wholesale catalogs or dropship partners. Record cost, lead time, and minimum order quantity.
- Tip: Aim for a margin buffer of at least 30% on newly sourced pieces to maintain profitability.
Step 4: Prepare the Pieces for Presentation
- Tools needed: Lint roller, fabric steamer, leather conditioner, and a small repair kit (needle, thread, fabric glue).
- Action:
- Remove lint and pet hair with the roller.
- Steam garments to eliminate wrinkles without damaging delicate fibers.
- Condition leather accessories to restore shine.
- Repair minor tears or missing buttons using the repair kit.
- Tip: Conduct a quick quality‑check after each step; a 5‑second visual inspection reduces return rates by up to 12%.
Step 5: Arrange the Outfit on a Mannequin or Flat Lay
- Tools needed: Adjustable mannequin, neutral backdrop (white or light gray), studio lights or a softbox, and a level surface.
- Action:
- Dress the mannequin in the base layer (e.g., top and bottom).
- Add outerwear, accessories, and footwear in the order they would be worn.
- Adjust each piece to avoid visible seams or overlapping tags.
- Tip: Position items at a 45‑degree angle to the camera; this angle increases perceived depth and boosts click‑through rates by 14%.
Step 6: Capture High‑Quality Images
- Tools needed: DSLR or mirrorless camera (24‑MP minimum), tripod, remote shutter, and a color‑calibration card.
- Action:
- Set camera to aperture priority (f/5.6) for balanced depth of field.
- Use ISO 100–200 to keep images noise‑free.
- Take three shots: full‑body view, close‑up of key details, and a “hover” shot for interactive zoom.
- Tip: Include a scale reference (e.g., a ruler) in one corner; shoppers appreciate realistic sizing, reducing size‑related returns by 9%.
Step 7: Tag Items for Interactive Shopping
- Tool needed: WordPress STL plugin (e.g., “Shop the Look for WooCommerce”).
- Action:
- Upload the primary image to your post.
- Using the plugin’s hotspot editor, place clickable tags on each item.
- Link each tag to the corresponding product page, ensuring SKU consistency.
- Tip: Position tags near the center of each item’s visual weight; data shows this placement improves tag click rates by 18%.
Step 8: Add Contextual Copy and Calls‑to‑Action
- Tool needed: Content editor with readability checker.
- Action: Write a brief, persuasive paragraph (50‑70 words) describing the vibe, occasion, and why the pieces work together.
- Tip: Use power words like “effortless,” “versatile,” and “must‑have” to trigger emotional buying triggers.
Step 9: Publish and Monitor Performance
- Tools needed: Google Analytics, heat‑map tool (Hotjar), and conversion‑tracking plugin.
- Action:
- Publish the post and set a 30‑day performance window.
- Track metrics: click‑through rate on hotspots, average session duration, and conversion rate per item.
- Identify under‑performing tags (CTR < 2%) and consider alternative product suggestions.
- Tip: A/B test two different hotspot colors; the one with higher contrast typically yields a 5‑7% lift in clicks.
Practical Tips for Ongoing Success
- Refresh Seasonal Looks: Rotate STL posts every 6‑8 weeks to align with fashion cycles; this keeps content fresh and improves SEO freshness signals.
- Leverage User‑Generated Content: Encourage customers to share their own “Shop the Look” photos and embed them as testimonials; this social proof can boost conversion by up to 22%.
- Maintain Consistent Branding: Use the same lighting setup and backdrop across all STL posts to create a cohesive visual identity.
- Optimize Load Speed: Compress images to under 150 KB using WebP format; faster pages reduce bounce rates, especially on mobile.
- Track Inventory in Real Time: Sync your STL plugin with inventory management software to automatically hide out‑of‑stock items, preventing customer frustration.
Conclusion
Implementing a data‑driven “Shop the Look” strategy transforms isolated product listings into compelling, shoppable stories. By following the eight detailed steps—defining the look, inventorying core pieces, sourcing gaps, preparing items, arranging the visual, capturing images, tagging products, adding contextual copy, and monitoring performance—you’ll create an immersive shopping experience that drives higher AOV, reduces returns, and builds brand loyalty. Consistent execution, paired with regular performance analysis, ensures your STL posts remain fresh, effective, and profitable.
