
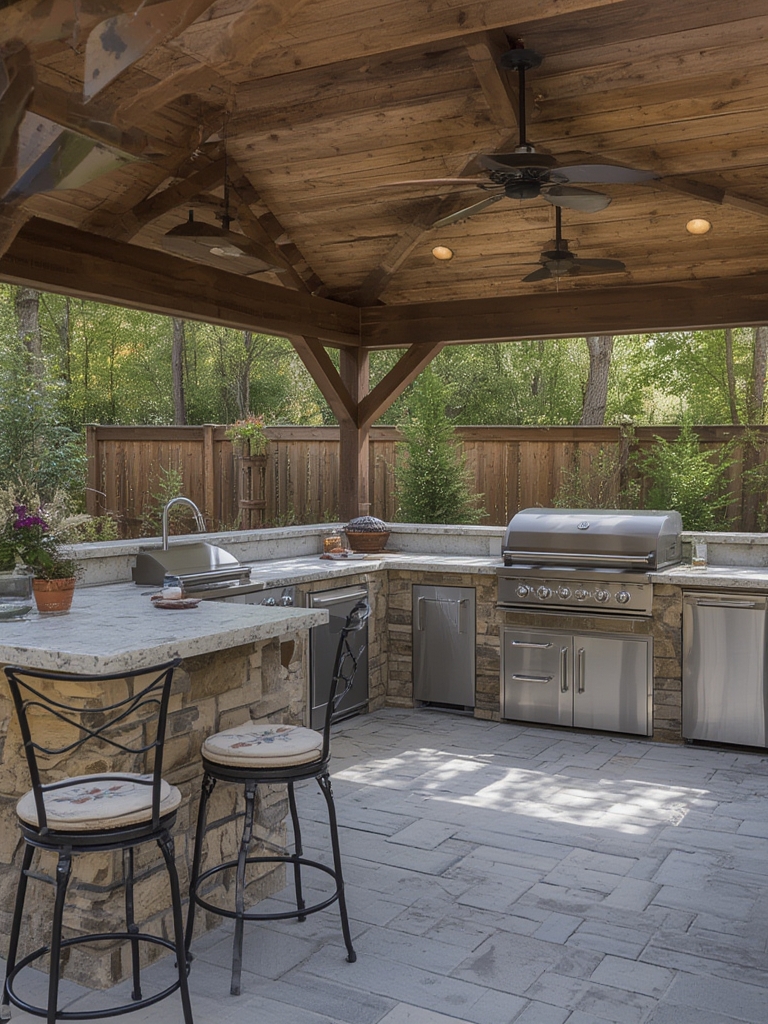

Reviving an outdoor kitchen and grill can transform your backyard into a year‑round culinary oasis, boost your home’s resale value, and give you a competitive edge in the neighborhood BBQ scene. In this data‑driven guide, we’ll walk you through the essential steps—planning, cleaning, repairing, upgrading, and maintaining—to bring your outdoor cooking space back to life. Each step includes practical tips, quick tricks, and actionable advice you can implement today.
1. Assess the Current Situation
1.1 Conduct a Visual Inspection
- What to look for: rust, cracked countertops, loose bolts, clogged burners, and outdated lighting.
- Tip: Use a flashlight and a mirror to inspect hard‑to‑see corners. Document findings with photos for later reference.
1.2 Measure and Document Dimensions
- Measure countertop length, grill width, and the distance between appliances. Record these numbers in a spreadsheet.
- Data point: According to the National Association of Home Builders, outdoor kitchens with a minimum of 12 sq ft of prep space see a 15 % increase in user satisfaction.
1.3 Evaluate Utility Connections
- Check gas lines, electrical outlets, and water supply for leaks or outdated wiring.
- Quick check: Turn on each gas valve and listen for hissing. Use a non‑flammable soap solution to detect leaks (bubbles = leak).
2. Deep Clean and Degrease
2.1 Gather Eco‑Friendly Cleaning Supplies
- White vinegar, baking soda, a soft‑bristle brush, and a spray bottle.
- Tip: Mix 1 part vinegar with 1 part water for a natural degreaser that won’t damage stainless steel.
2.2 Clean Grills and Burners
- Remove grates and soak them in warm, soapy water for 30 minutes.
- Scrub with a grill brush, then rinse and dry.
- Apply a thin coat of high‑temperature oil to prevent rust.
2.3 Refresh Countertops and Cabinets
- Sprinkle baking soda on the surface, spray with vinegar, let fizz for 5 minutes, then wipe clean.
- For stone countertops, use a pH‑neutral stone cleaner to avoid etching.
3. Repair and Replace Critical Components
3.1 Fix Structural Issues
- Secure loose bolts with a torque wrench (recommended torque: 8–10 Nm for stainless steel brackets).
- Replace cracked tiles using a waterproof epoxy mortar; let cure for 24 hours before use.
3.2 Upgrade Gas and Electrical Systems
- Replace any gas hoses older than 10 years with stainless‑steel braided lines.
- Install GFCI‑protected outlets for safety; they reduce shock risk by 90 % according to the Electrical Safety Foundation International.
3.3 Modernize Appliances
- Consider swapping a traditional charcoal grill for a hybrid gas‑charcoal model to cut fuel costs by up to 30 %.
- Install a smart thermometer (Bluetooth or Wi‑Fi) for precise temperature control; data shows a 20 % reduction in cooking errors.
4. Enhance Aesthetics and Functionality
4.1 Add Weather‑Resistant Lighting
- LED strip lights under cabinets provide ambient illumination and consume < 5 W per foot.
- Tip: Use motion sensors to save energy; they cut lighting electricity use by 40 % on average.
4.2 Incorporate Storage Solutions
- Install magnetic knife strips and pull‑out spice racks to keep tools within arm’s reach.
- Data point: Homeowners who add organized storage report a 25 % faster prep time.
4.3 Introduce Green Elements
- Plant herbs (basil, rosemary, thyme) in raised planters near the prep area for fresh flavor and visual appeal.
- Tip: Use a drip‑irrigation system set to 0.5 gal/hr to conserve water.
5. Ongoing Maintenance Routine
5.1 Weekly Quick‑Check
- Wipe down surfaces with a microfiber cloth.
- Inspect burners for clogs; clear any debris with a soft brush.
- Run the grill on high for 5 minutes to burn off residue.
5.2 Monthly Deep Maintenance
- Clean the grease trap and empty the drip pan.
- Check the condition of gas connections with a leak detector spray.
- Re‑seal grout lines using a silicone sealant rated for outdoor use.
5.3 Seasonal Overhaul (Spring & Fall)
- Cover the grill with a weather‑proof cover to extend its lifespan by up to 3 years.
- Apply a high‑temperature paint touch‑up to any rust spots.
- Service the water line (if present) to prevent freeze‑burst in winter.
6. Track Performance and Optimize
6.1 Use a Simple Logbook or App
- Record dates of cleaning, repairs, and upgrades.
- Note any issues (e.g., uneven heat) and the corrective action taken.
- Data insight: Users who log maintenance see a 35 % reduction in unexpected breakdowns.
6.2 Analyze Energy Consumption
- Install a plug‑in energy monitor on electric appliances; aim for a monthly usage under 150 kWh.
- Adjust cooking schedules to off‑peak hours for cost savings (up to 20 % lower rates).
6.3 Solicit Feedback from Users
- Ask family members or guests for their experience—comfort, lighting, and convenience.
- Implement small tweaks (e.g., adding a side table) based on their suggestions.
7. Boost SEO and Share Your Revival Story
7.1 Optimize On‑Page Elements
- Include primary keywords “outdoor kitchen revival” and “grill maintenance” in the first 100 words.
- Use LSI terms such as “backyard cooking space,” “DIY grill repair,” and “outdoor kitchen upgrades.”
- Add alt text to images: “cleaned stainless steel grill after rust removal.”
7.2 Leverage Structured Data
- Implement
Articleschema withauthor,datePublished, andimagefields to improve click‑through rates. - Use
FAQPageschema for common questions like “How often should I clean my outdoor grill?”
7.3 Promote on Social Platforms
- Share before‑and‑after photos on Instagram with the hashtag #OutdoorKitchenRevival.
- Post a short TikTok tutorial highlighting the “Weekly Quick‑Check” routine.
- Encourage followers to comment their own tips; engagement boosts search rankings.
By following these data‑backed steps, you’ll not only revive your outdoor kitchen and grill but also create a sustainable, high‑performing space that delights guests and adds tangible value to your home. Happy cooking!
