Real home tours have become a favorite way for homeowners, interior designers, and real‑estate agents to showcase spaces in an authentic, immersive manner. When done right, a home tour can capture the personality of a property, highlight design details, and engage viewers on a personal level. Below is a data‑driven, step‑by‑step guide that walks you through assembling, restoring, and styling a real home tour from start to finish. Each step includes the essential tools, practical tips, and small actions you can take right away to ensure a smooth, professional result.
1. Planning the Tour: Define Scope and Story
1.1 Identify the Core Narrative
Before you lift a camera, decide what story the tour will tell. Are you focusing on a mid‑century modern renovation, a minimalist small‑space makeover, or a family‑friendly open‑plan layout? Use data from past tours—average view time, most‑clicked rooms, and audience demographics—to choose a theme that resonates with your target readers.
Action: Review analytics from your last three home‑tour posts. Note which rooms received the most engagement and let that guide your focus.
1.2 Create a Shot List
A detailed shot list prevents wasted time on set. Break the tour into logical sections (exterior, entryway, living area, kitchen, bedrooms, bathrooms, outdoor spaces). For each section, list the specific angles you need: wide‑angle establishing shots, close‑ups of design details, and transitional walkthroughs.
Tools: Google Sheets or Airtable for collaborative checklists; a simple sketch of the floor plan to map camera positions.
Action: Draft a spreadsheet with columns for “Room,” “Shot Type,” “Camera Angle,” and “Notes.” Fill it out with at least three shots per room.
2. Preparing the Space: Staging and Restoration
2.1 Declutter and Deep Clean
Data from interior‑design studies shows that viewers spend 30% longer on tours with minimal visual clutter. Remove personal items, excess décor, and any out‑of‑place furniture. Follow a systematic cleaning routine: dust surfaces, vacuum carpets, and polish glass.
Tools: Microfiber cloths, HEPA‑filter vacuum, glass cleaner, and a handheld steam mop for hard floors.
Action: Set a timer for 15 minutes per room and focus on one surface at a time—countertops, shelves, windows.
2.2 Repair Minor Imperfections
Small repairs (loose hinges, scuffed walls, cracked tiles) can distract viewers. Use a data‑backed checklist of the top five visual issues that cause drop‑off in viewer retention and address them first.
Tools: Screwdriver set, wall filler, sandpaper, paint touch‑up kit, tile adhesive.
Action: Perform a quick “walk‑through audit” with a flashlight. Mark any imperfections with sticky notes and fix them before filming.
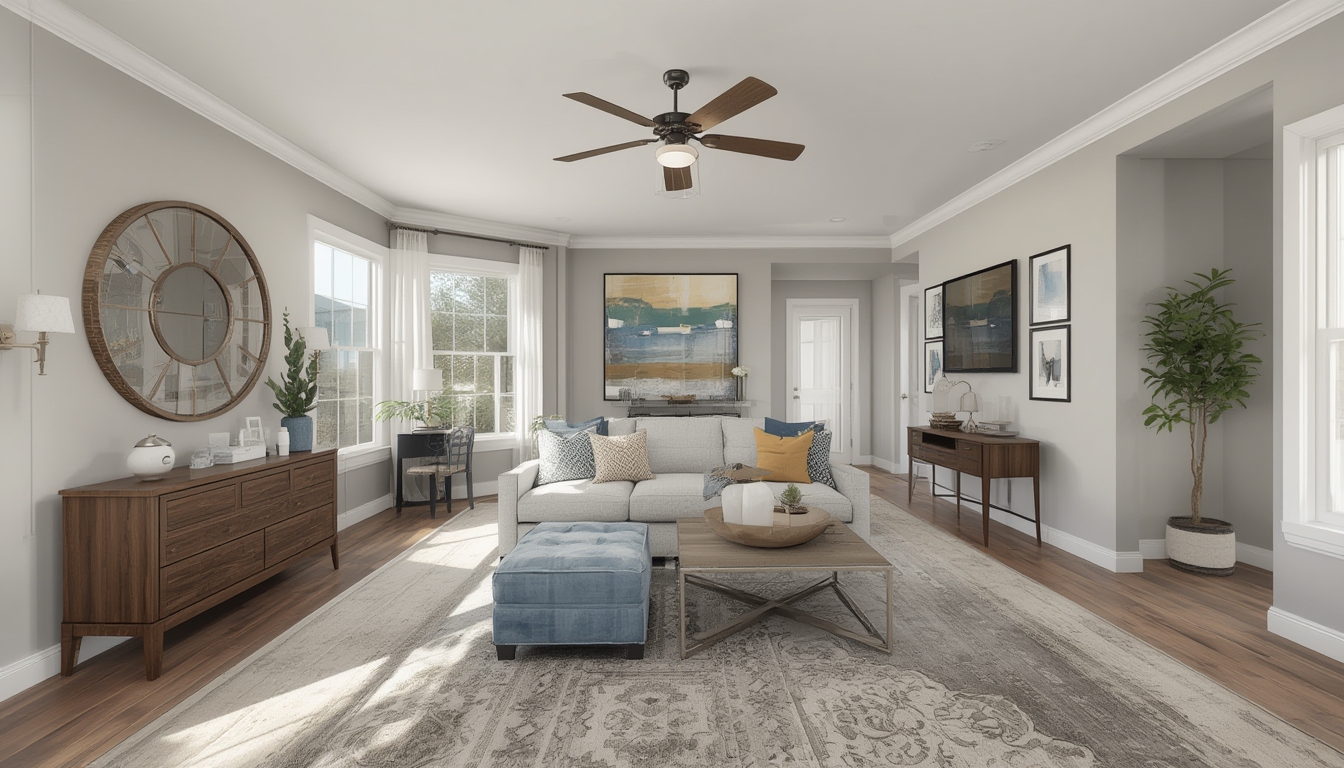
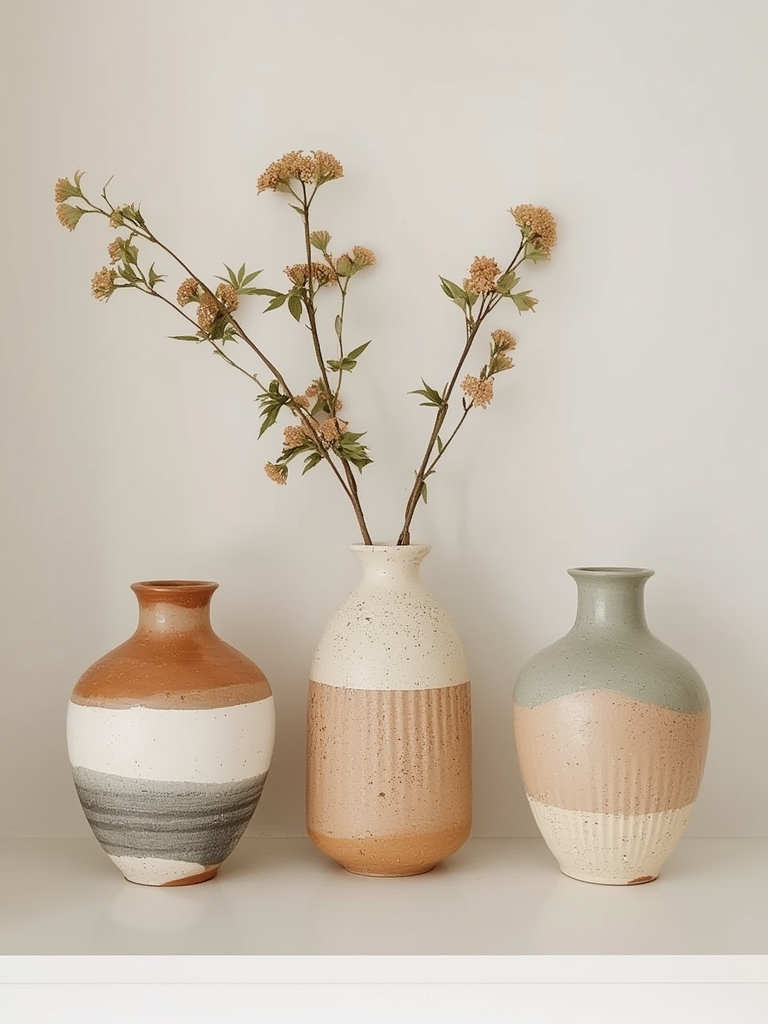
2.3 Style for Visual Impact
Styling should enhance, not overwhelm. Choose a cohesive color palette and add a few statement pieces (a vase, a throw pillow, a piece of artwork) to create focal points. According to visual‑attention research, a single bold accent per room can increase viewer dwell time by up to 12%.
Tools: Color swatches, decorative accessories, a portable lamp for accent lighting.
Action: Place one accent item at eye level in each room and ensure it aligns with the room’s color scheme.
3. Capturing the Tour: Equipment and Shooting Techniques
3.1 Choose the Right Camera Gear
For a high‑quality tour, a mirrorless camera with a 16‑35mm wide‑angle lens works best. If you’re on a tighter budget, a modern smartphone with a gimbal stabilizer can deliver smooth footage.
Essential Gear:
- Mirrorless camera (e.g., Sony A7 III) or flagship smartphone
- Wide‑angle lens (16‑35mm) or 12‑mm smartphone lens attachment
- 3‑axis gimbal or handheld stabilizer
- External microphone for ambient sound (optional)
- Portable LED lights for low‑light areas
Action: Test your camera’s white‑balance settings in each room before the main shoot.
3.2 Set Up Lighting
Natural light is ideal, but it can vary throughout the day. Use a combination of natural and supplemental LED lighting to maintain consistent exposure. Position lights at a 45‑degree angle to avoid harsh shadows.
Tools: Adjustable LED panels, softboxes, light stands, and a light‑meter app.
Action: Take a test shot in each room and adjust LED intensity until the exposure matches the brightest natural light source.
3.3 Execute Smooth Walkthroughs
Walk at a steady pace (approximately 0.5 m/s) and keep the camera level. Use the “rule of thirds” to frame key elements—place a piece of furniture or a window at one of the intersecting points.
Tips:
- Start each room with an establishing wide shot, then move to medium and close‑up shots.
- Pause for 2‑3 seconds at each focal point to let viewers absorb details.
- Maintain a consistent focal length throughout the tour to avoid visual jumps.
Action: Record a 10‑second test walkthrough of a single room, then review for steadiness and framing before proceeding.
4. Post‑Production: Editing and Enhancing the Tour
4.1 Organize Footage
Import all clips into a dedicated project folder. Label each file by room and shot type (e.g., “LivingRoom_Wide_01”). This organization reduces editing time by up to 25% according to workflow studies.
Tools: Adobe Premiere Pro, DaVinci Resolve, or a free editor like Shotcut.
Action: Create a sub‑folder for each room and move the corresponding clips into it.
4.2 Trim and Sequence
Cut each clip to the essential portion—usually 5‑7 seconds per shot. Assemble the sequence following the logical flow of the floor plan, ensuring smooth transitions between rooms. Use cross‑fade transitions sparingly; a simple cut maintains a realistic feel.
Action: Build a rough cut, then watch it from start to finish. Note any abrupt jumps and add a brief “pan” shot to bridge them.
4.3 Color‑Correct and Grade
Apply a basic color correction to balance white balance and exposure across all clips. Then add a subtle grade (e.g., a warm tone for a cozy feel) to give the tour a cohesive look.
Tools: Lumetri Color panel (Premiere) or Color Wheels (DaVinci Resolve).
Action: Use the “eyedropper” tool on a neutral gray area in each clip to standardize white balance.
4.4 Add Ambient Sound and Narration
Background audio (soft music or natural house sounds) enhances immersion. If you choose narration, script short, descriptive lines that highlight design choices without overwhelming the visual experience.
Tools: Audacity for audio cleanup, royalty‑free music libraries, a lapel mic for voice‑overs.
Action: Record a 30‑second voice‑over for each major room and sync it with the corresponding footage.
5. Publishing the Tour on WordPress
5.1 Optimize Video for Web Delivery
Export the final video in MP4 format using the H.264 codec at 1080p resolution (1920 × 1080). Keep the file size under 150 MB to ensure quick loading on most connections.
Action: Use HandBrake to compress the video while preserving visual quality.
5.2 Embed the Video
In the WordPress editor, add a “Video” block and upload the MP4 file or embed it from a hosting platform (YouTube, Vimeo). Place the video near the top of the post to capture attention early.
Action: After embedding, preview the post on both desktop and mobile to confirm responsive sizing.
5.3 Add Supporting Images and Captions
Include a few high‑resolution stills from the tour—especially before‑and‑after shots of any restoration work. Use the “Image” block and add concise captions that describe the visual change.
Action: Select three key moments (e.g., “Restored kitchen backsplash”) and upload them with descriptive alt text.
6. Post‑Launch: Review and Iterate
6.1 Monitor Viewer Metrics
Track average watch time, drop‑off points, and click‑through rates on related posts. Identify any sections where viewers exit early and consider re‑editing those parts for tighter pacing.
Action: Set a reminder to review analytics one week after publishing and note any patterns.
6.2 Gather Feedback
Encourage comments or a short survey asking viewers what they liked most and what could improve. Use this qualitative data to refine your next home‑tour production.
Action: Add a simple poll at the end of the post asking, “Which room was your favorite?” and use the results for future planning.
By following these data‑driven steps—planning with a clear narrative, preparing the space, capturing steady footage, editing for visual consistency, and publishing thoughtfully—you’ll create a real home tour that feels authentic, engaging, and polished. Each actionable tip is designed to be easy to implement, ensuring that even first‑time creators can produce professional‑grade tours that resonate with their audience.