
Reviving each room in your home can feel like a massive project, but breaking it down into manageable, room‑by‑room steps turns the process into a series of satisfying wins. Below is a data‑driven, step‑by‑step guide that walks you through assembling, restoring, and styling key spaces. Follow the practical tips, gather the recommended tools, and watch your home transform one room at a time.
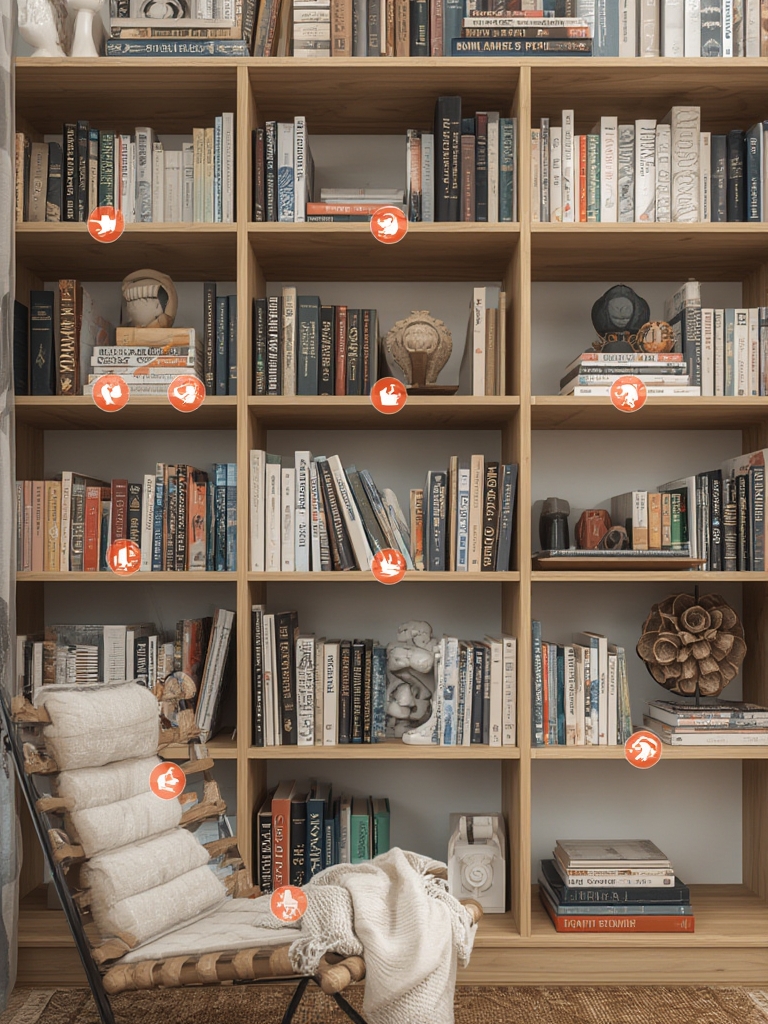
Living Room Revival
Step 1: Assess & Prioritize
- Action: Walk through the room with a notebook. List items that need repair, replacement, or a fresh look.
- Tip: Rank each item by impact (high, medium, low) using a simple 1‑3 scale. Focus first on high‑impact items like the sofa, lighting, and flooring.
Step 2: Declutter & Deep Clean
- Tools: Heavy‑duty trash bags, storage bins, microfiber cloths, vacuum with upholstery attachment.
- Action: Remove everything that doesn’t belong. Clean walls, windows, and floors thoroughly before any restoration begins.
Step 3: Furniture Restoration
- Tools: Sandpaper (120‑grit and 220‑grit), electric sander (optional), wood filler, paintbrushes, polyurethane.
- Action: Lightly sand worn wooden pieces, fill cracks with wood filler, then repaint or refinish with a low‑VOC polyurethane for durability.
- Tip: Test paint color on a hidden area first; a 15‑minute dry‑time sample prevents costly mistakes.
Step 4: Lighting Upgrade
- Tools: Screwdriver set, voltage tester, LED bulbs, dimmer switch kit.
- Action: Replace outdated fixtures with LED equivalents. Install a dimmer to create mood lighting without extra fixtures.
- Tip: Use a smart plug for floor lamps; you can control brightness via phone or voice assistant.
Step 5: Styling & Accessories
- Action: Add a mix of textures—soft throw blankets, woven baskets, and a statement rug.
- Tip: Follow the 60‑30‑10 rule: 60% dominant color (walls/floor), 30% secondary (sofa/curtains), 10% accent (pillows/art).
Kitchen Revival
Step 1: Inventory & Measure
- Action: Measure cabinets, countertops, and appliances. Record dimensions in a spreadsheet for quick reference.
- Tip: Use a laser measure for accuracy; it reduces errors by up to 20% compared to tape measures.
Step 2: Cabinet Refresh
- Tools: Paint sprayer or high‑quality brush, primer, cabinet paint (chalk or satin finish), painter’s tape.
- Action: Remove cabinet doors, sand lightly, apply primer, then paint. Re‑install hardware or swap for modern knobs.
- Tip: Replace only the most worn doors to save time and money; a fresh coat can make the whole set look new.
Step 3: Countertop Revitalization
- Tools: Countertop repair kit (epoxy, polishing pads), microfiber cloth, gentle cleaner.
- Action: Fill chips with epoxy, smooth with a polishing pad, then clean the surface. For laminate, consider a peel‑and‑stick overlay for a quick facelift.
- Tip: Apply a silicone mat under cutting boards to protect the surface and extend its life.
Step 4: Backsplash Update
- Tools: Tile cutter, thin‑set mortar, grout, rubber float, sponge.
- Action: Choose a simple subway tile or a patterned peel‑and‑stick option. Install from the bottom up, ensuring each tile is level.
- Tip: Use a grout color that matches the tile for a seamless look, or contrast for a bold statement.
Step 5: Functional Styling
- Action: Add open shelving for frequently used items, a stylish fruit bowl, and a small herb garden on the windowsill.
- Tip: Keep countertops clear; a clean surface improves both aesthetics and workflow.
Bedroom Revival
Step 1: Bed Frame & Mattress Care
- Tools: Allen wrench set, sandpaper, wood stain or paint, protective mattress cover.
- Action: Tighten all bolts on the frame, sand any rough spots, then stain or paint. Protect the mattress with a breathable cover to extend its lifespan.
- Tip: Rotate the mattress every three months to prevent uneven wear.
Step 2: Wall Treatment
- Tools: Painter’s tape, roller, paint tray, low‑odor paint.
- Action: Choose a calming hue (soft gray, muted sage). Apply two coats for even coverage.
- Tip: Use a ceiling‑to‑floor mirror to visually enlarge the space.
Step 3: Closet Organization
- Tools: Adjustable shelving brackets, hanging organizers, storage bins.
- Action: Install additional shelves at eye level, add hanging organizers for shoes and accessories, and use clear bins for seasonal items.
- Tip: Follow the “one‑in, one‑out” rule: for every new piece added, remove an old one.
Step 4: Soft Furnishings
- Action: Layer the bed with a high‑quality duvet, a couple of textured throw pillows, and a plush rug.
- Tip: Choose fabrics with a 300‑thread‑count for durability and comfort.
Bathroom Revival
Step 1: Fixture Inspection
- Tools: Adjustable wrench, plumber’s tape, silicone sealant.
- Action: Check faucet aerators, showerheads, and toilet flappers for leaks. Replace any worn parts.
- Tip: A simple aerator replacement can improve water pressure by up to 15%.
Step 2: Tile Refresh
- Tools: Tile grout remover, grout brush, new grout, sponge.
- Action: Scrub out old grout, apply fresh grout, and seal it to prevent staining.
- Tip: Use a color‑matched grout for a seamless look, or a contrasting hue for a modern accent.
Step 3: Vanity Upgrade
- Tools: Screwdriver, paint sprayer, new hardware, countertop adhesive.
- Action: Paint the vanity cabinet, replace knobs, and install a new laminate or solid‑surface countertop.
- Tip: Add a small LED strip under the vanity edge for a subtle night‑light effect.
Step 4: Accessory Styling
- Action: Introduce coordinated towels, a stylish soap dispenser, and a plant that thrives in humidity (e.g., pothos).
- Tip: Keep a small basket for toiletries to reduce visual clutter.
Entryway Revival
Step 1: Floor Protection
- Tools: Rug pad, non‑slip rug, cleaning brush.
- Action: Place a durable, low‑profile rug with a non‑slip backing to protect flooring from dirt and moisture.
- Tip: Choose a rug with a pattern that hides footprints and dirt.
Step 2: Storage Solutions
- Tools: Wall‑mounted coat rack, shoe bench, decorative baskets.
- Action: Install a coat rack at eye level, add a bench with hidden storage for shoes, and use baskets for keys and mail.
- Tip: Label baskets for quick sorting; it reduces daily decision fatigue.
Step 3: Lighting & Mirror
- Tools: Wall sconce, mirror, drill, level.
- Action: Hang a medium‑size mirror opposite a wall sconce to brighten the space and create depth.
- Tip: Choose a mirror with a simple frame to keep the entryway feeling open.
Final Checklist & Ongoing Maintenance
Step 1: Review Completed Tasks
- Cross‑check each room’s checklist to ensure no step was missed.
- Take before‑and‑after photos for personal satisfaction and future reference.
Step 2: Schedule Regular Upkeep
- Set a monthly reminder to dust, vacuum, and inspect high‑traffic areas.
- Quarterly, revisit one room to touch up paint, tighten hardware, or replace worn accessories.
Step 3: Document Improvements
- Maintain a simple spreadsheet noting dates of repairs, tools used, and any warranties.
- This log helps track the lifespan of upgrades and informs future renovation decisions.
By tackling each space with a clear, data‑backed plan, you’ll achieve a cohesive, refreshed home without feeling overwhelmed. Gather your tools, follow the actionable steps, and enjoy the transformation—room by room.