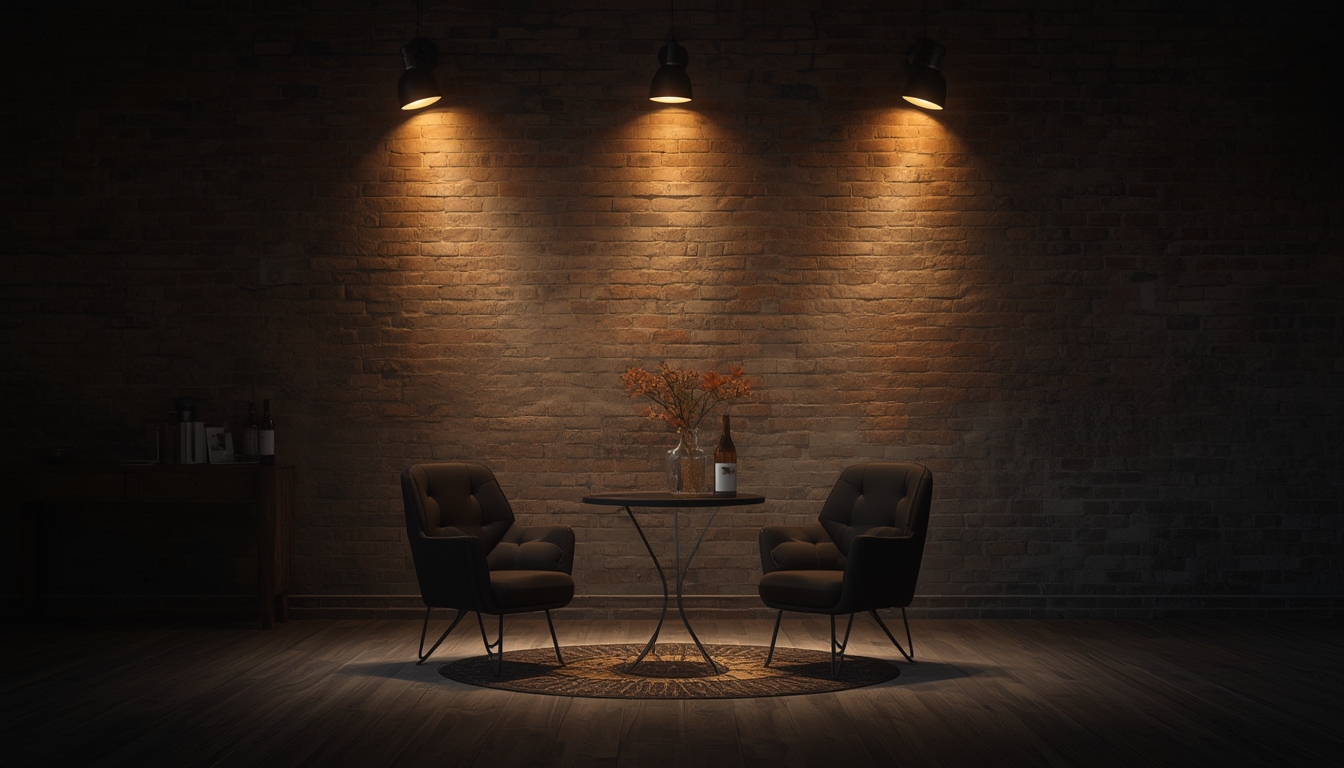
Style Spotlights are versatile decorative fixtures that can instantly transform a room’s ambiance. Whether you’re installing a brand‑new piece, breathing new life into a vintage model, or simply styling it for maximum visual impact, a systematic approach ensures a flawless result. Below is a data‑driven, step‑by‑step guide that walks you through assembly, restoration, and styling, complete with the tools you’ll need and actionable tips for each phase.
1. Preparing Your Workspace
Tools & Materials Checklist
- Phillips and flat‑head screwdrivers (medium size)
- Adjustable wrench or socket set
- Non‑magnetic drill with assorted bits (including a 3 mm and 5 mm)
- Level and measuring tape
- Stud finder (for wall mounting)
- Protective gloves and safety glasses
- Microfiber cloths and mild cleaning solution
- Fine‑grain sandpaper (120‑220 grit)
- Touch‑up paint or metal finish spray (matched to your spotlight’s color)
- Heat‑shrink tubing and electrical tape (for wiring repairs)
- LED bulbs or compatible halogen bulbs (as specified by the manufacturer)
Workspace Setup
Clear a 3‑foot radius around the installation area. Lay down a drop cloth to protect flooring and keep small parts from rolling away. Position a sturdy ladder or step stool if the spotlight will be mounted above eye level. Verify that the power is turned off at the circuit breaker before handling any wiring.
2. Assembling a New Style Spotlight
Step 1 – Unbox and Inventory
Open the package and lay out each component on the drop cloth. Cross‑check against the manufacturer’s parts list. Typical pieces include the base plate, mounting bracket, arm or housing, decorative diffuser, and hardware (screws, washers, anchors).
Step 2 – Attach the Mounting Bracket
1. Align the bracket’s pre‑drilled holes with the corresponding holes on the base plate.
2. Insert the supplied screws and tighten with a screwdriver, ensuring the bracket sits flush without wobble.
Tip: Apply a dab of thread‑locking compound to the screws for added stability in high‑traffic areas.
Step 3 – Secure the Arm or Housing
Most Style Spotlights feature a pivoting arm that allows directional lighting. Slide the arm into the bracket’s socket, then lock it in place using the provided set screw. Use a small Allen wrench if the set screw is hex‑shaped.
Step 4 – Install the Diffuser
The diffuser spreads light evenly and reduces glare. Gently snap it onto the housing, ensuring all clips engage. If the diffuser is glass, handle it by the edges and wear gloves to prevent fingerprints.
Step 5 – Wire the Fixture
1. Strip ~½ inch of insulation from the live (black), neutral (white), and ground (green/bare) wires.
2. Twist each stripped end with the corresponding wire from the spotlight’s internal cable.
3. Secure each connection with a wire nut, then wrap with electrical tape for extra insulation.
Safety Note: Double‑check that the ground wire is firmly attached to the metal housing.
Step 6 – Mount to the Wall
1. Use a stud finder to locate a wall stud within the desired mounting height.
2. Mark the screw locations, drill pilot holes, and insert wall anchors if a stud isn’t available.
3. Position the base plate against the wall, align the holes, and drive the mounting screws until the plate is snug.
Tip: Use a level to confirm the base plate is perfectly horizontal; a misaligned fixture can cause uneven lighting.
Step 7 – Power Up and Test
Turn the circuit breaker back on and switch the spotlight to the “on” position. Verify that the bulb illuminates evenly and that the arm pivots smoothly. If the light flickers, re‑inspect the wiring connections.
3. Restoring a Vintage Style Spotlight
Assessing Condition
Before you begin, photograph the fixture from multiple angles. This documentation helps you track progress and identify missing parts. Use a magnifying glass to spot corrosion, cracked glass, or loose wiring.
Step 1 – Disassembly
Carefully remove the diffuser and any decorative elements. Keep screws in labeled containers to avoid mixing sizes. If the fixture is glued together, apply gentle heat with a hair dryer to soften the adhesive before prying apart components.
Step 2 – Cleaning the Metal Body
Mix a solution of warm water and a few drops of mild dish soap. Dampen a microfiber cloth and wipe away dust and grime. For stubborn oxidation, apply a small amount of fine‑grain sandpaper (220 grit) in a circular motion, then wipe clean.
Step 3 – Restoring the Finish
When the original paint is flaking, lightly sand the affected area until smooth. Choose a touch‑up spray that matches the original hue (e.g., brushed nickel, matte black). Apply two thin coats, allowing 10‑15 minutes between coats for proper adhesion.
Step 4 – Re‑wiring
If the internal wiring shows signs of wear, replace it entirely. Use 18‑gauge THHN wire for most residential spotlights. Connect the new wires using wire nuts, then cover each joint with heat‑shrink tubing for a professional finish.
Step 5 – Re‑assembly and Testing
Re‑attach all components in reverse order of disassembly. Replace any missing hardware with equivalents from a hardware store. Once fully assembled, install a new LED bulb (LEDs generate less heat, preserving the restored finish) and test the fixture.
4. Styling Your Style Spotlight for Maximum Impact
Choosing the Right Bulb
Data from lighting studies shows that a 3000 K warm white LED creates a cozy atmosphere, while a 4000‑5000 K neutral white enhances modern aesthetics. For accent lighting, opt for a dimmable LED and pair it with a smart dimmer switch to adjust brightness on demand.
Positioning for Effect
Place the spotlight 6‑8 feet above the focal point (e.g., artwork, a reading nook, or a kitchen island). Angle the arm so the light beam hits the target at a 30‑45° angle; this reduces harsh shadows and highlights textures.
Layering Light
Combine the spotlight with ambient lighting (recessed ceiling lights) and task lighting (under‑cabinet LEDs) to achieve a balanced three‑layer lighting scheme. Use a light meter app on your phone to measure illumination levels; aim for 300‑500 lux for general areas and 500‑800 lux for work zones.
Adding Decorative Elements
Enhance the spotlight’s visual appeal by attaching a decorative glass or fabric shade. Secure the shade with a metal clip or a slip‑on ring, ensuring it does not obstruct the heat sink. If you prefer a minimalist look, leave the diffuser clear for a sleek, modern finish.
Maintenance Routine
Schedule a quick check‑up every six months:
- Wipe the diffuser with a dry microfiber cloth to prevent dust buildup.
- Inspect the wiring for any signs of wear.
- Replace the bulb if it flickers or dims.
Regular maintenance extends the lifespan of the spotlight and keeps its style crisp.
5. Troubleshooting Common Issues
Flickering Light
Cause: Loose wire connection or incompatible dimmer.
Solution: Turn off power, tighten wire nuts, and verify the dimmer is rated for LED loads.
Spotlight Won’t Turn On
Cause: Burnt‑out bulb or tripped circuit breaker.
Solution: Replace the bulb with the correct wattage and reset the breaker.
Uneven Light Distribution
Cause: Diffuser misaligned or dirty.
Solution: Re‑seat the diffuser and clean it with a glass‑cleaning solution.
6. Final Checklist Before Publishing Your Space
- All screws tightened to manufacturer’s torque specifications.
- Wiring connections secure and insulated.
- Bulb type matches fixture rating (voltage and wattage).
- Spotlight angled correctly toward the focal point.
- Room lighting layers balanced for comfort and functionality.
By following this data‑driven roadmap, you’ll not only assemble, restore, or style your Style Spotlight with confidence, but also create a lasting visual statement that elevates any interior. Happy lighting!