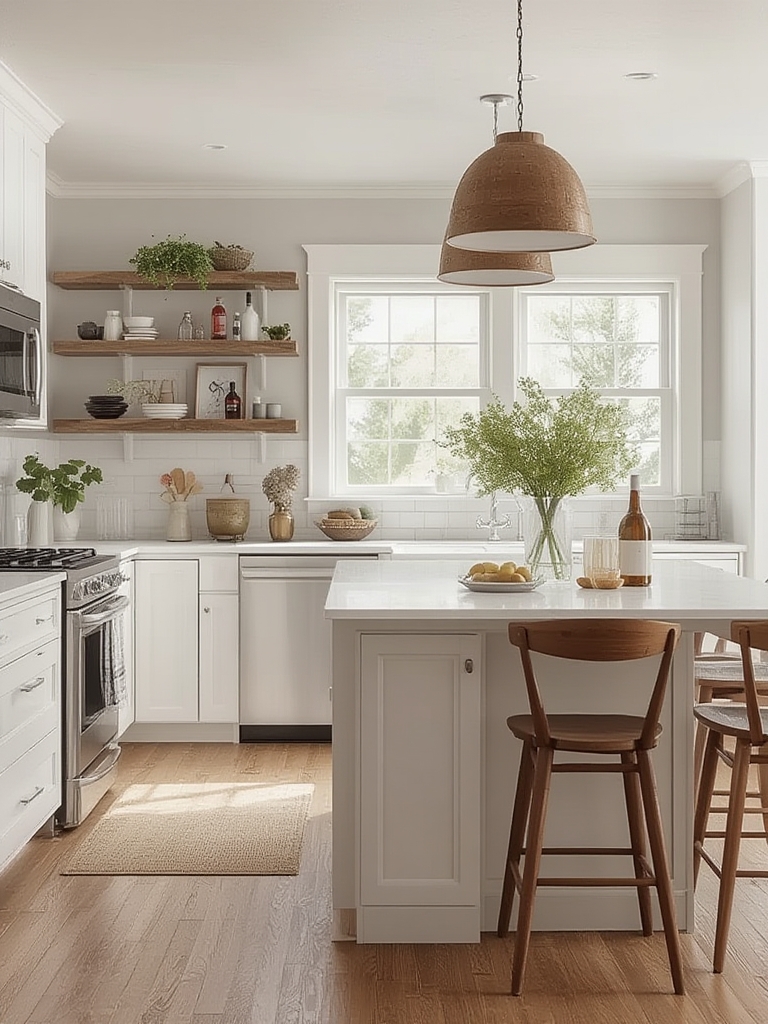
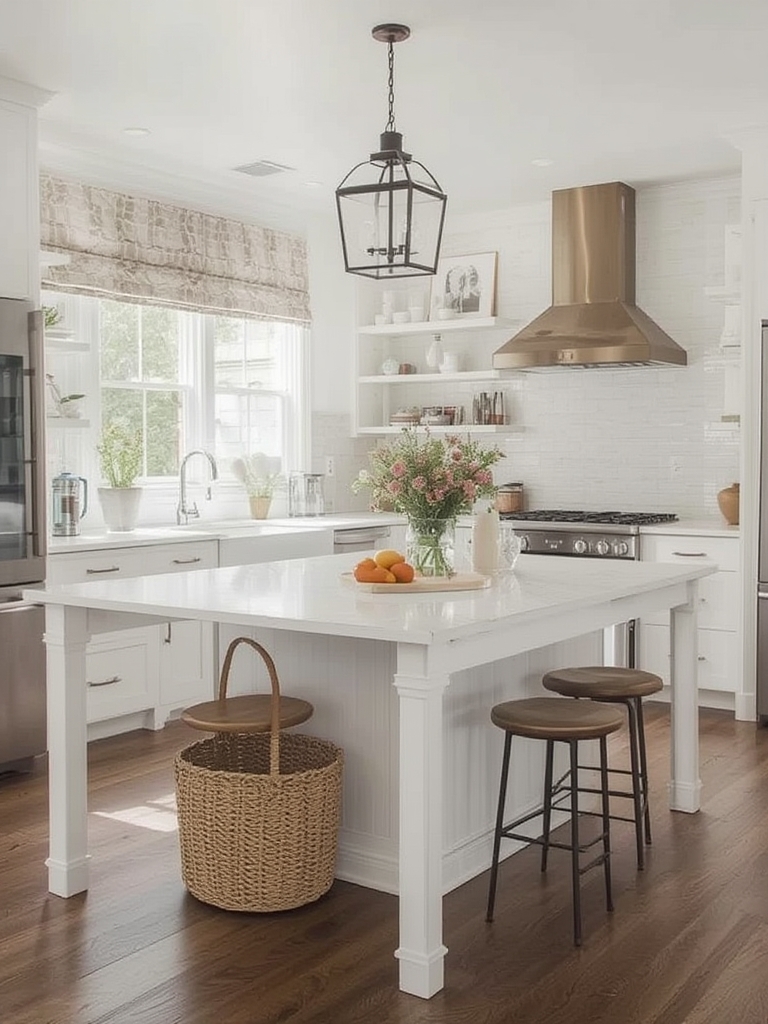
Transforming a kitchen into a modern farmhouse haven blends timeless charm with fresh, contemporary flair. By focusing on natural textures, muted color palettes, and functional design, you can create a space that feels both welcoming and stylish. Below is a data‑driven, step‑by‑step guide that walks you through every stage of the makeover—from planning and budgeting to selecting fixtures and adding a touch of greenery that brings life to the room.
Step 1: Define Your Vision and Set a Realistic Budget
Gather Inspiration and Analyze Trends
- Use Pinterest and Instagram to save at least 20 images that capture the modern farmhouse vibe you love (e.g., shiplap walls, matte black hardware, open shelving).
- Identify recurring elements—such as reclaimed wood, brushed nickel, and soft neutral tones—to prioritize what matters most.
Calculate Costs with a Spreadsheet
- List each major component (cabinets, countertops, flooring, lighting, appliances, décor) in a Google Sheet.
- Research average prices from three reputable suppliers and enter low, median, and high estimates.
- Add a 10‑15% contingency line for unexpected expenses; this keeps the project on track financially.
Step 2: Plan the Layout for Functionality and Flow
Apply the Kitchen Work Triangle
- Measure the distance between the sink, stove, and refrigerator; aim for 13‑26 feet total to ensure efficient movement.
- If the current layout is inefficient, sketch a new floor plan using free tools like SketchUp or Roomstyler.
Maximize Storage with Farmhouse Features
- Incorporate open shelving made from reclaimed pine to display dishes and pantry staples.
- Install deep drawers with pull‑out organizers for pots, pans, and utensils—these keep the countertop clutter‑free.
Step 3: Choose Materials that Echo Farmhouse Warmth
Cabinetry and Wood Accents
- Opt for shaker‑style cabinets painted in soft whites, greys, or muted sage.
- Accent one wall with reclaimed wood planks or a shiplap panel for texture.
Countertops and Backsplash
- Quartz in a veined marble look offers durability while maintaining a classic aesthetic.
- For a budget‑friendly alternative, consider butcher block countertops paired with a subway tile backsplash in matte white.
Step 4: Lighting—Mix Ambient, Task, and Accent
Ambient Lighting
- Install recessed LED lights with dimmers to provide even, energy‑efficient illumination.
Task Lighting
- Hang pendant lights with matte black or oil‑rubbed bronze finishes over the island for focused lighting.
- Under‑cabinet LED strips eliminate shadows on prep surfaces.
Accent Lighting
- Use a vintage‑style chandelier with exposed bulbs to add farmhouse character.
Step 5: Add Decorative Elements that Reinforce the Theme
Textiles and Soft Furnishings
- Choose linen curtains in natural tones; they filter light while adding a cozy feel.
- Place a woven rug runner in front of the sink to protect flooring and introduce texture.
Hardware and Fixtures
- Select brushed nickel or oil‑rubbed bronze knobs and pulls for a subtle, aged look.
- Install a farmhouse‑style apron sink with a pull‑down faucet for both practicality and visual appeal.
Step 6: Incorporate a Kitchen Herb Garden for Fresh Flavor and Greenery
Adding a small herb garden not only enhances the farmhouse aesthetic but also provides fresh ingredients at your fingertips. Below are clear, actionable steps to grow and care for a kitchen herb garden.
Choose the Right Herbs
- Basil – thrives in warm, sunny spots; perfect for sauces.
- Rosemary – tolerates drier conditions; great for roasted dishes.
- Thyme – low‑maintenance, adaptable to varying light.
- Mint – keep in a separate pot to prevent spreading.
Select Containers and Soil
- Use terracotta or glazed ceramic pots with drainage holes; 6‑8 inches in diameter is ideal for most herbs.
- Fill with a high‑quality, well‑draining potting mix (e.g., 60% peat, 30% perlite, 10% vermiculite).
Positioning for Light
- Place the pots on a sunny windowsill that receives at least 4‑6 hours of direct light daily.
- If natural light is limited, supplement with a 2‑foot LED grow light set on a 12‑hour timer.
Watering Routine
- Check soil moisture by inserting a finger 1 inch deep; water only when the top inch feels dry.
- Water thoroughly until water drains from the bottom, then empty the saucer to avoid root rot.
Feeding and Maintenance
- Apply a balanced liquid fertilizer (10‑10‑10) once a month during the growing season.
- Pinch back the tips regularly to encourage bushier growth and prevent flowering, which can make leaves bitter.
- Remove any yellow or wilted leaves promptly to maintain plant health.
Harvesting Tips
- Harvest leaves in the morning after dew has dried for the best flavor.
- Snip just above a leaf node; this stimulates new growth and keeps the plant productive.
Step 7: Final Touches and Styling
Personalize with Vintage Finds
- Display a reclaimed milk can or an antique wooden crate on open shelves for storage and charm.
- Hang a framed botanical print above the sink to reinforce the farmhouse vibe.
Maintain Cohesion
- Stick to a limited color palette—soft whites, muted greys, and natural wood tones—to keep the space feeling unified.
- Use the same metal finish (e.g., brushed nickel) across lighting, faucet, and hardware for visual consistency.
Step 8: Keep the Space Fresh—Ongoing Care Checklist
- Weekly: Wipe countertops with a mild cleaner; sweep floors to prevent dust buildup.
- Monthly: Deep clean appliances, polish hardware, and rotate herb pots for even light exposure.
- Seasonally: Reassess lighting needs—add or adjust grow lights as daylight hours change.
By following these data‑driven steps, you’ll achieve a modern farmhouse kitchen that balances rustic warmth with sleek functionality. The addition of a thriving herb garden not only completes the aesthetic but also adds practical value to your cooking routine. Happy renovating!