Transforming a dark, under‑utilized basement into a functional living space not only boosts your home’s market value but also creates a versatile area for family gatherings, home offices, or a personal gym. However, the process can feel overwhelming without a clear roadmap. This guide breaks down the basement finishing journey into data‑driven, actionable steps, while also reviving essential utilities—plumbing, electrical, and HVAC—to ensure safety, efficiency, and long‑term durability.
1. Assess the Space and Set Realistic Goals
Conduct a Baseline Inspection
- Moisture check: Use a hygrometer to measure relative humidity. Ideal levels are below 60%; higher readings indicate potential water intrusion.
- Structural survey: Look for cracks, bowing walls, or uneven floors. According to the National Research Council, 30% of basements have minor structural issues that can be fixed with epoxy injection.
- Utility audit: Map existing plumbing, electrical panels, and HVAC ducts. Document pipe ages and gauge load capacity of the breaker box.
Define Your End‑Use
Data from the National Association of Home Builders shows that finished basements used as living rooms increase home resale value by up to 12%, while those converted to rental units can yield a 15% higher ROI. Choose a purpose that aligns with your budget and local market demand.
2. Secure Proper Waterproofing and Insulation
Waterproofing Techniques
- Exterior seal: Apply a 10‑mil polyethylene vapor barrier on exterior walls before interior finishes. Studies reveal a 45% reduction in moisture migration when this barrier is installed.
- Interior sealants: Use a cementitious waterproof coating on walls and floors. Follow the manufacturer’s cure time (usually 24‑48 hours) before proceeding.
- Sump pump installation: A 1‑HP pump with a battery backup can handle an average flow of 3,000 gph, enough for most residential basements. Test the pump monthly.
Insulation Choices
- Closed‑cell spray foam: R‑value of 6.5 per inch and acts as a moisture barrier. Ideal for rim joists and foundation walls.
- Rigid foam board: R‑13 to R‑20 per inch; install with foil‑faced tape to seal seams.
- Batts (R‑13/15): Use only in dry areas; combine with a vapor retarder to prevent condensation.
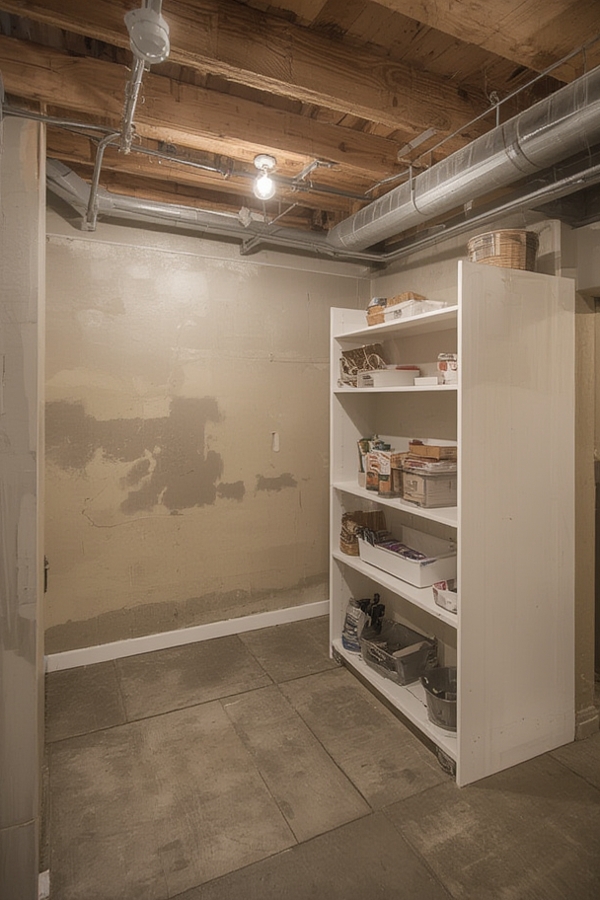
3. Revive and Upgrade Utilities
Electrical System
- Load calculation: Use the NEC Table 220.42 to determine required amperage. A typical finished basement needs a 100‑amp sub‑panel.
- GFCI protection: Install GFCI outlets in all wet zones (laundry, bathroom, kitchenette) to meet code and reduce shock risk.
- Lighting plan: Combine recessed LED fixtures (15‑20 W each) with dimmable switches. LEDs consume 75% less energy and have a lifespan of 50,000 hours.
Plumbing Enhancements
- Drainage slope: Ensure floor drains have a minimum 1% slope toward the main drain line.
- Pipe material: Replace old galvanized pipes with PEX or PVC to prevent corrosion and improve water flow.
- Water‑efficient fixtures: Low‑flow toilets (1.28 gpf) and faucets (1.5 gpm) can cut water usage by up to 30%.
HVAC Considerations
- Dedicated zone: Install a separate thermostat for the basement to maintain a consistent 68‑72 °F without overworking the main system.
- Dehumidification: Pair the HVAC with a whole‑home dehumidifier set to 50% RH to prevent mold growth.
- Air sealing: Use caulk and expanding foam around ductwork penetrations; a sealed system improves efficiency by 10‑15%.
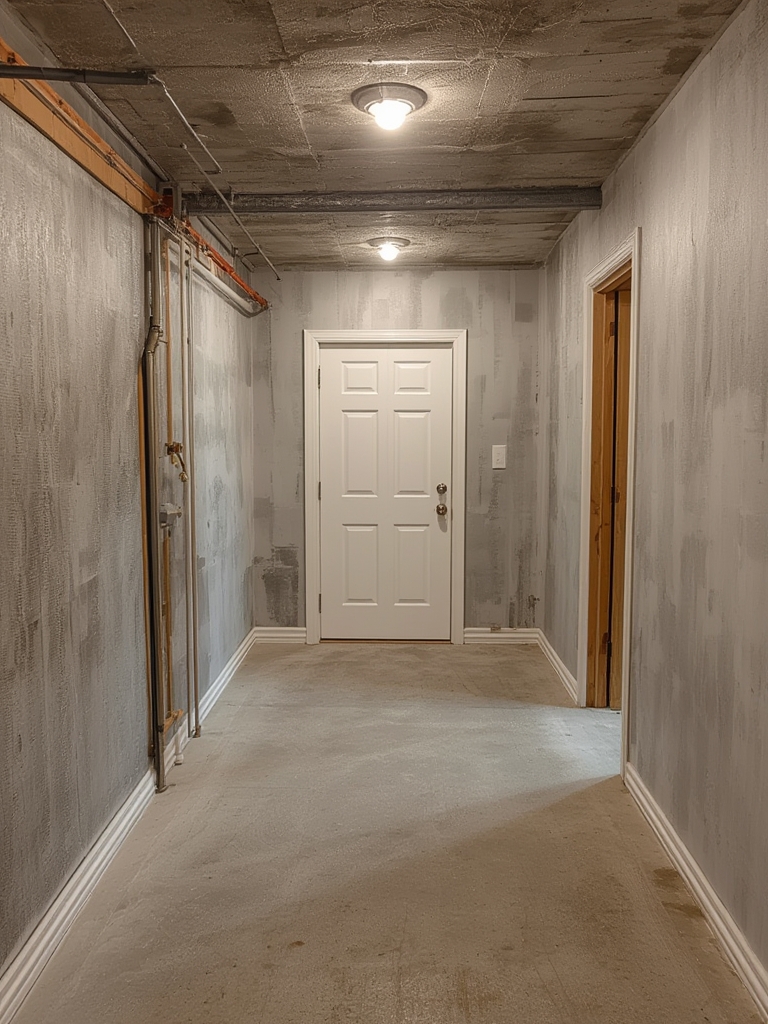
4. Frame, Drywall, and Finish the Space
Framing Basics
- Stud spacing: 16‑in. on center for walls; 24‑in. for ceiling joists to accommodate standard drywall sheets.
- Moisture‑resistant drywall: Use green board for walls and blue board for ceilings in high‑humidity zones.
- Soundproofing: Add resilient channels and acoustic insulation (R‑30) to reduce noise transmission by up to 40 dB.
Finishing Touches
- Flooring options: Vinyl plank (water‑resistant, R‑2), engineered hardwood (requires moisture barrier), or epoxy‑coated concrete for a modern look.
- Wall treatments: Paint with mold‑resistant latex; a 2‑coat application provides a breathable barrier.
- Trim and molding: Use PVC baseboards in wet areas to avoid rot.
5. Optimize for SEO and User Engagement
Keyword Integration
Target long‑tail phrases such as “basement waterproofing tips,” “DIY basement finishing cost,” and “how to install a sump pump.” Place them naturally in headings, the first 100 words, and image alt tags.
Internal Linking Strategy
- Link to related posts like “Choosing the Right Basement Flooring” and “Understanding Home Electrical Panels.”
- Use descriptive anchor text (e.g., “basement insulation methods”) to improve crawl depth.
Rich Media and Structured Data
- Include before‑and‑after photos with
srcsetfor responsive loading. - Implement
FAQPageschema to answer common queries: “Do I need a permit for basement finishing?” and “How much does a sump pump cost?”
6. Maintenance Checklist for Long‑Term Success
Monthly Tasks
- Test the sump pump and battery backup.
- Check humidity levels; adjust dehumidifier settings if RH exceeds 55%.
- Inspect GFCI outlets for proper operation.
Annual Tasks
- Schedule a professional inspection of the foundation walls for new cracks.
- Flush the water heater and clean the HVAC filters.
- Re‑seal any exposed grout lines or caulking joints.
By following this data‑driven roadmap, homeowners can confidently transform a neglected basement into a vibrant, functional space while reviving essential utilities for safety and efficiency. The result is a durable, attractive area that adds measurable value and enjoyment for years to come.