Transforming an under‑utilized attic into a functional, stylish living area is one of the most rewarding home‑improvement projects you can tackle. Not only does an attic conversion add valuable square footage, it also gives you a chance to revive the charm that often gets lost in older homes. Below, you’ll find a data‑driven, step‑by‑step guide that blends practical construction advice with interior‑design tricks, plus a quick care plan for the ideal attic‑friendly plant that keeps the space fresh and inviting.
Why an Attic Conversion Makes Sense
According to the 2023 National Home Improvement Survey, homeowners who added an attic bedroom saw an average resale value increase of 12 %. The same study highlighted three key motivations:
- Extra space without a footprint expansion – perfect for growing families or home‑office needs.
- Energy efficiency – properly insulated attics can reduce heating bills by up to 8 %.
- Unique charm – sloped ceilings and original beams create a character that new construction often lacks.
Understanding these benefits helps you set realistic goals and communicate the project’s value to contractors, lenders, and future buyers.
Planning Your Attic Conversion
1. Conduct a Feasibility Study
Before you swing a hammer, verify that the space can support a conversion:
- Structural load capacity – Hire a licensed structural engineer to confirm joists can handle the added weight of furniture and occupants.
- Building codes – Check local zoning for egress windows, ceiling height (minimum 7 ft in at least 50 % of the floor area), and fire‑safety requirements.
- Utilities – Plan for electrical, HVAC, and plumbing extensions; a simple heat‑pump mini‑split often provides efficient climate control.
2. Create a Data‑Driven Layout
Use free online tools (e.g., SketchUp, RoomSketcher) to model the space. Input the following data points for optimal design:
- Floor area (sq ft)
- Window placement for natural light
- Traffic flow to maintain at least 3 ft of clear pathway
- Furniture footprint (bed, desk, storage)
Running a quick space‑utilization simulation can reveal bottlenecks and help you decide whether a bedroom, office, or hybrid layout works best.
Step‑by‑Step Attic Conversion Process
Step 1 – Secure Permits
Submit architectural drawings, structural calculations, and a site plan to your city’s building department. Expect a 2‑4 week turnaround; expedite by ensuring all forms are complete and signed.
Step 2 – Reinforce the Structure
Typical reinforcement tasks include:
- Adding sister joists or steel beams to meet load requirements.
- Installing fire‑rated drywall on walls and ceilings.
- Upgrading the roof’s insulation to R‑38 or higher for year‑round comfort.
Tip: Use a moisture‑resistant membrane between insulation and the roof deck to prevent condensation.
Step 3 – Install Egress and Windows
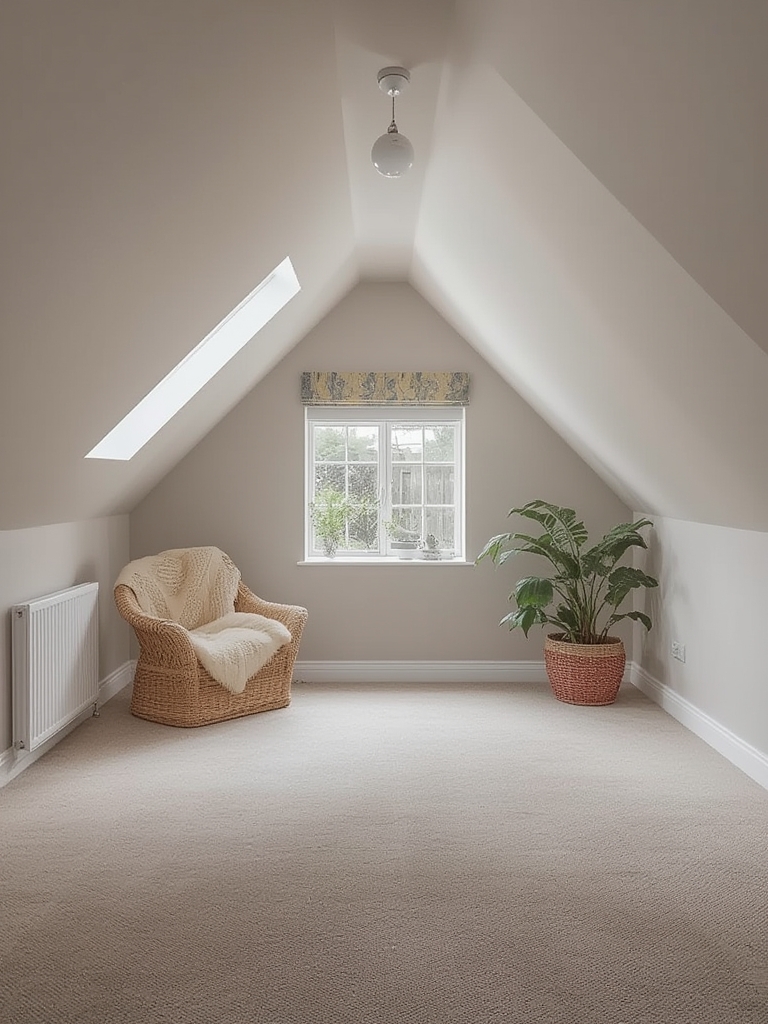
Choose low‑profile, energy‑efficient windows that meet egress size (minimum 5.7 sq ft). For added charm, consider vintage‑style casement windows with modern double glazing. Install a skylight or solar tube to flood the space with daylight, which also reduces reliance on artificial lighting.
Step 4 – Rough‑In Electrical & HVAC
Plan a dedicated circuit for lighting, outlets, and any media equipment. A smart thermostat paired with a ductless mini‑split offers precise temperature control without extending existing ductwork.
Step 5 – Finish Walls, Flooring, and Ceiling
For a timeless look, use reclaimed wood paneling on one accent wall, paired with smooth plaster on the others. Choose a low‑VOC, sound‑absorbing flooring such as cork or engineered hardwood to keep the space quiet and eco‑friendly.
Step 6 – Add Charm‑Revival Details
Charm revival is all about blending the old with the new. Here are three quick wins:
- Expose original beams – Sand, seal, and lightly stain them to highlight natural grain.
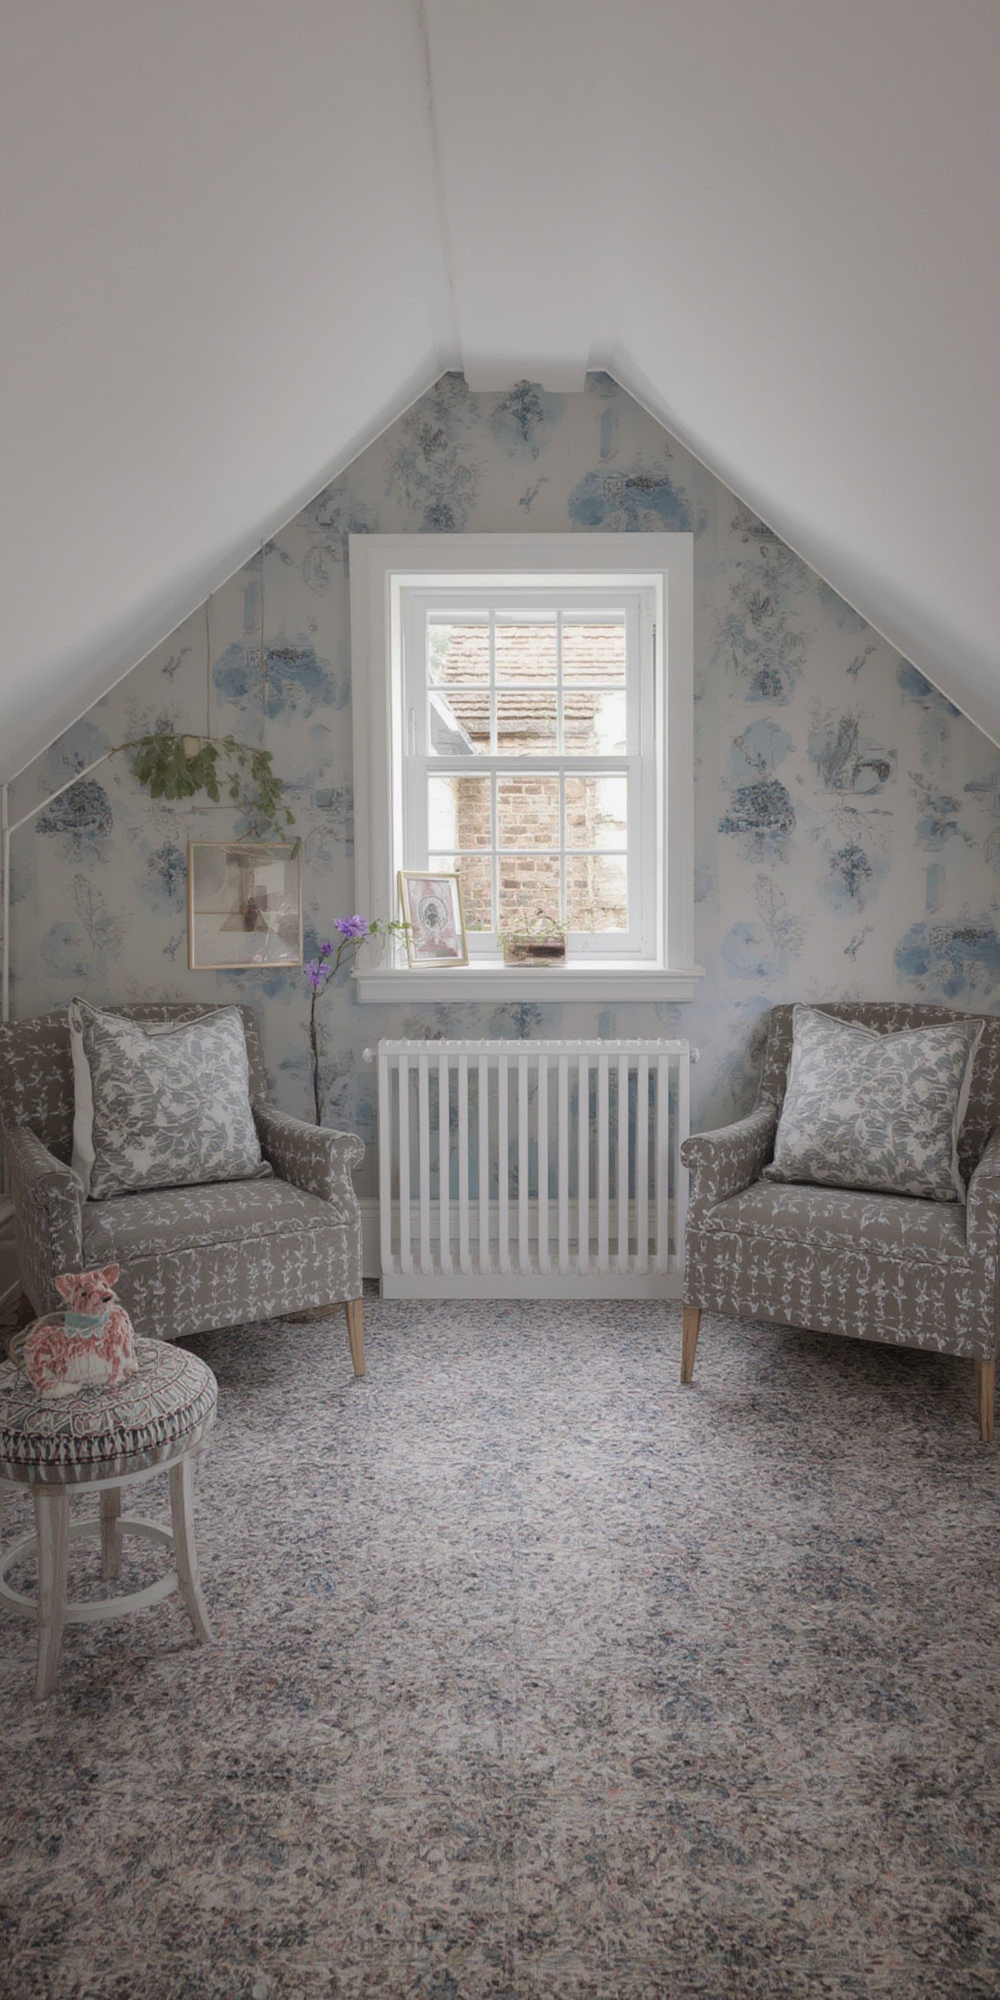
- Install vintage lighting – Edison‑bulb pendants or a reclaimed chandelier add instant character.
- Incorporate texture – Layer a woven rug, linen curtains, and a macramé wall hanging for a cozy, lived‑in feel.
Caring for the Ideal Attic Plant: The Snake Plant (Sansevieria)
A well‑chosen plant not only improves air quality but also softens the angular lines of an attic conversion. The snake plant thrives in low‑light, low‑maintenance conditions—perfect for spaces with limited natural light.
Step 1 – Choose the Right Pot and Soil
- Use a breathable terracotta pot with drainage holes to prevent root rot.
- Fill with a cactus‑mix (sand, perlite, and peat) for excellent drainage.
Step 2 – Position for Light
Place the plant near the egress window or under a skylight. Snake plants tolerate indirect light, but a few hours of filtered sunlight each day promotes stronger growth.
Step 3 – Watering Schedule
Water only when the top 2 inches of soil feel dry—typically every 3‑4 weeks in cooler months and every 2‑3 weeks in summer. Over‑watering is the most common mistake.
Step 4 – Feeding and Maintenance
Apply a balanced, slow‑release fertilizer once in early spring. Remove any yellowed leaves to keep the plant tidy and to prevent pests.
Step 5 – Seasonal Adjustments
During winter, reduce watering further and keep the plant away from drafty vents. In summer, rotate the pot monthly for even growth.
SEO‑Friendly Recap and Quick Checklist
By following this data‑driven roadmap, you’ll not only increase your home’s market value but also create a charming, functional retreat that feels both modern and nostalgic. Below is a concise checklist you can copy‑paste into your project management tool:
- Hire structural engineer & obtain permits.
- Run space‑utilization simulation.
- Reinforce joists and install fire‑rated drywall.
- Fit egress‑compliant windows and skylight.
- Rough‑in electrical, HVAC, and smart thermostat.
- Finish walls, flooring, and ceiling with eco‑friendly materials.
- Apply charm‑revival touches: exposed beams, vintage lighting, texture layers.
- Place a snake plant in a well‑draining pot; follow watering schedule.
- Conduct final inspection and obtain certificate of occupancy.
Ready to start? Grab a notebook, schedule your engineer, and turn that dusty loft into a vibrant, charming haven. Happy converting!