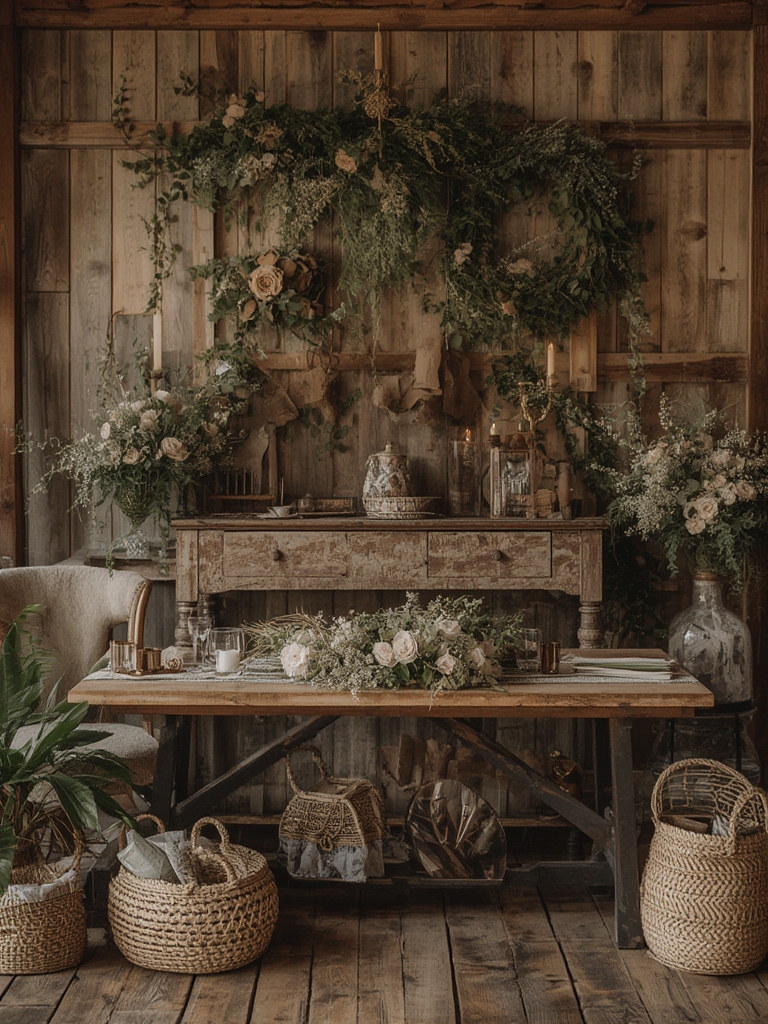
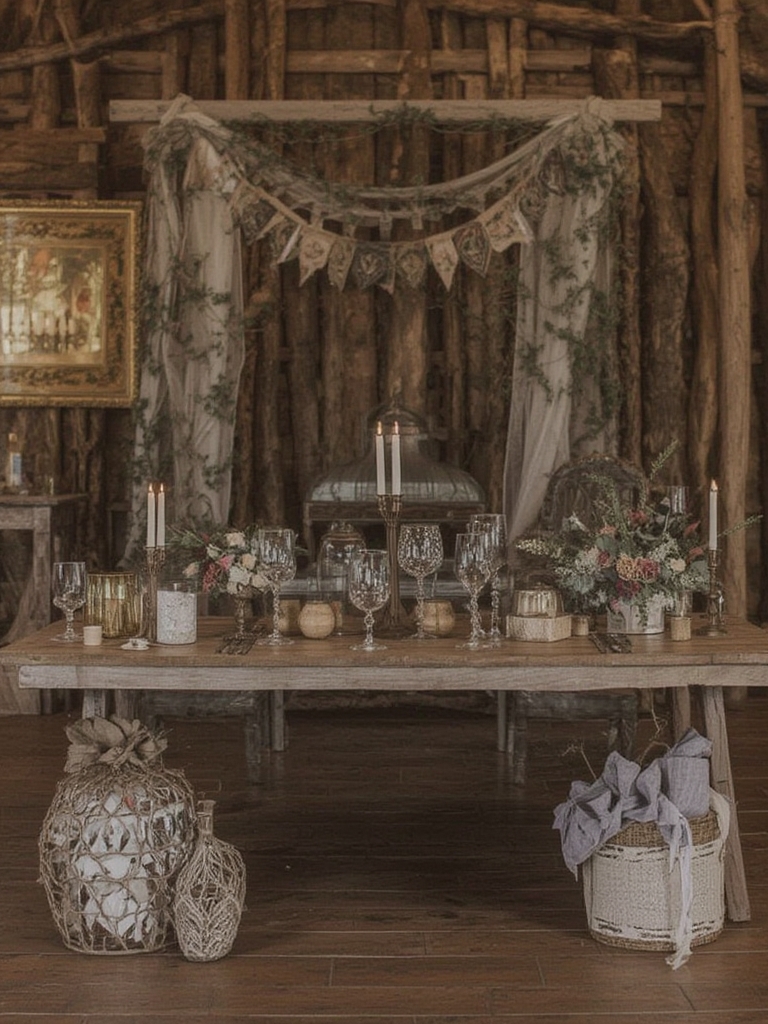
Planning a rustic wedding? The charm of weathered wood, soft linens, and natural greenery can transform any home into a romantic, countryside venue. One of the most versatile elements to achieve this look is lavender. Not only does it add a pop of gentle purple, but its soothing scent and delicate texture make it perfect for bouquets, table runners, and decorative bundles. Below is a data‑driven, step‑by‑step guide to growing and caring for lavender, ensuring you have a fresh, abundant supply for your big day.
Why Lavender Is the Ideal Rustic Wedding Plant
- Visual appeal: Lavender’s muted purple tones complement the earthy palette of burlap, reclaimed wood, and vintage lace.
- Fragrance: Studies show that lavender scent reduces stress and promotes relaxation—perfect for calming nervous brides and guests.
- Versatility: From dried sprigs in centerpieces to fresh bouquets, lavender works in both indoor and outdoor settings.
- Low maintenance: Once established, lavender thrives on minimal water and thrives in most temperate climates.
Choosing the Right Lavender Variety for Your Wedding Décor
English Lavender (Lavandula angustifolia)
Best for traditional, soft‑purple blooms and a sweet fragrance. Ideal for dried arrangements and sachets.
French Lavender (Lavandula dentata)
Features distinctive toothed leaves and a slightly spikier silhouette, great for adding texture to rustic tablescapes.
Spanish Lavender (Lavandula stoechas)
Known for its bold, pineapple‑shaped flower heads—perfect for eye‑catching focal points.
Data from the USDA Plant Hardiness Zone map shows that English lavender performs best in zones 5‑9, while French and Spanish varieties thrive in zones 7‑10. Choose the variety that matches your local climate to reduce the risk of disease.
Step‑by‑Step Guide to Growing Lavender for Your Wedding
Step 1: Prepare the Soil
What to do: Lavender loves well‑draining, slightly alkaline soil (pH 6.5‑7.5). Amend heavy clay with coarse sand or perlite at a 1:1 ratio.
Tip: Conduct a simple soil test using a home kit. If the pH is low, add garden lime—about 2 lb per 100 sq ft—to raise it.
Step 2: Choose the Right Location
What to do: Plant in a spot that receives at least 6‑8 hours of direct sunlight daily.
Trick: If you have limited sun, use a reflective mulch (white gravel) to bounce additional light onto the plants.
Step 3: Planting the Lavender
What to do: Space plants 12‑18 in apart to allow airflow and prevent fungal issues. Dig a hole twice as wide as the root ball, place the plant, and backfill with the amended soil.
Actionable advice: Water lightly after planting, then wait 48 hours before the first deep watering to encourage root establishment.
Step 4: Watering Schedule
What to do: Lavender is drought‑tolerant but needs consistent moisture for the first 3 weeks. Water once a week, providing about 1 in of water.
Tip: Use a drip irrigation system with a timer to deliver precise amounts and avoid over‑watering.
Step 5: Pruning for Maximum Blooms
What to do: Prune in early spring (late March–early April) after the last frost. Cut back 1/3 of the plant, removing woody stems down to fresh green growth.
Trick: For a tidy, “rustic” look, shape the plant into a low mound—this also encourages more lateral branching and a fuller bouquet.
Step 6: Fertilizing (Optional)
What to do: Lavender generally doesn’t need fertilizer, but a light application of a low‑nitrogen, high‑phosphorus fertilizer (e.g., 5‑10‑5) in early spring can boost flower production.
Practical tip: Apply 1 lb per 100 sq ft and water in thoroughly to avoid root burn.
Step 7: Harvesting for Wedding Use
When to harvest: Cut stems when buds are just about to open—this captures peak fragrance and color.
How to harvest: Use sharp garden shears, cut 2‑3 in above the foliage, and immediately place stems in a bucket of cool water.
Quick tip: Store harvested stems upside down in a cool, dark room for up to 48 hours to preserve color and scent.
Practical Décor Ideas Using Home‑Grown Lavender
- Lavender bundles: Tie 5‑7 stems with twine and place them in mason jars as table centerpieces.
- Lavender‑infused napkins: Lightly spritz napkins with a lavender water spray for a subtle aroma.
- DIY lavender wreaths: Combine dried lavender with eucalyptus and burlap for a rustic door or wall décor.
- Lavender confetti: Use dried, crushed lavender buds as eco‑friendly confetti for the ceremony aisle.
SEO Checklist for This Post (For WordPress Editors)
- Primary keyword: “rustic wedding home decor inspiration” – ensure it appears in the first 100 words, in at least one H2, and naturally throughout the content.
- Secondary keywords: “lavender wedding décor,” “grow lavender for weddings,” “rustic wedding plants.” Sprinkle these in subheadings and bullet points.
- Meta description (155‑160 characters): “Discover step‑by‑step lavender growing tips and rustic wedding décor ideas to create a charming, fragrant celebration at home.”
- Internal links: Link to existing posts on “DIY wedding centerpieces” and “Choosing wedding flowers for a rustic theme.”
- Image alt text: Use descriptive alt tags like “fresh lavender stems for rustic wedding décor” and “pruned lavender plant in garden.”
- Readability: Keep sentences under 20 words, use transition words, and break up long paragraphs with bullet points.
Final Thoughts
Integrating home‑grown lavender into your rustic wedding décor not only adds authenticity but also offers a cost‑effective, sustainable solution. By following the data‑backed steps above, you’ll have a thriving lavender garden ready to supply fresh, fragrant stems for every element of your celebration—from bouquets to table runners. Start planting now, and watch your garden bloom into the perfect backdrop for a timeless, rustic wedding day.