Handmade artisan ceramics and pottery bring a timeless, tactile charm to any interior. Their unique textures, colors, and shapes can transform a simple room into a curated gallery of functional art. In this guide, we’ll explore why these pieces are worth investing in, how to integrate them seamlessly into your home décor, and even how to pair them with houseplants for a living, breathing display. Follow the step‑by‑step instructions and practical tips to ensure both your ceramics and plants thrive.
Why Choose Handmade Artisan Ceramics?
Unique Aesthetics
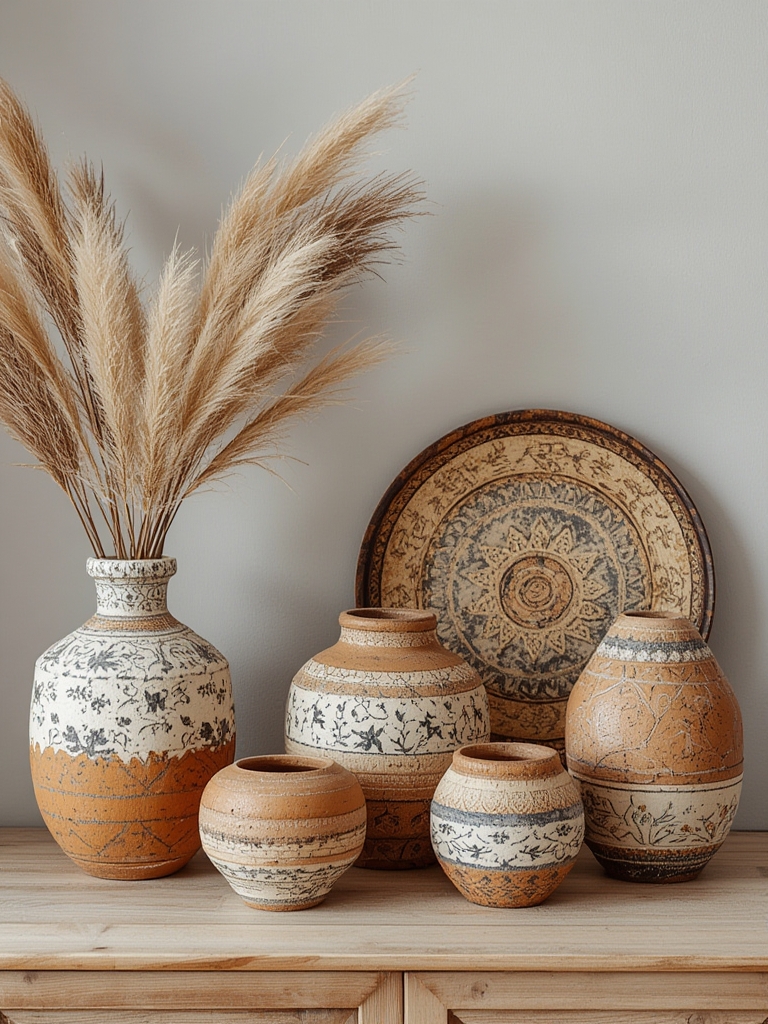
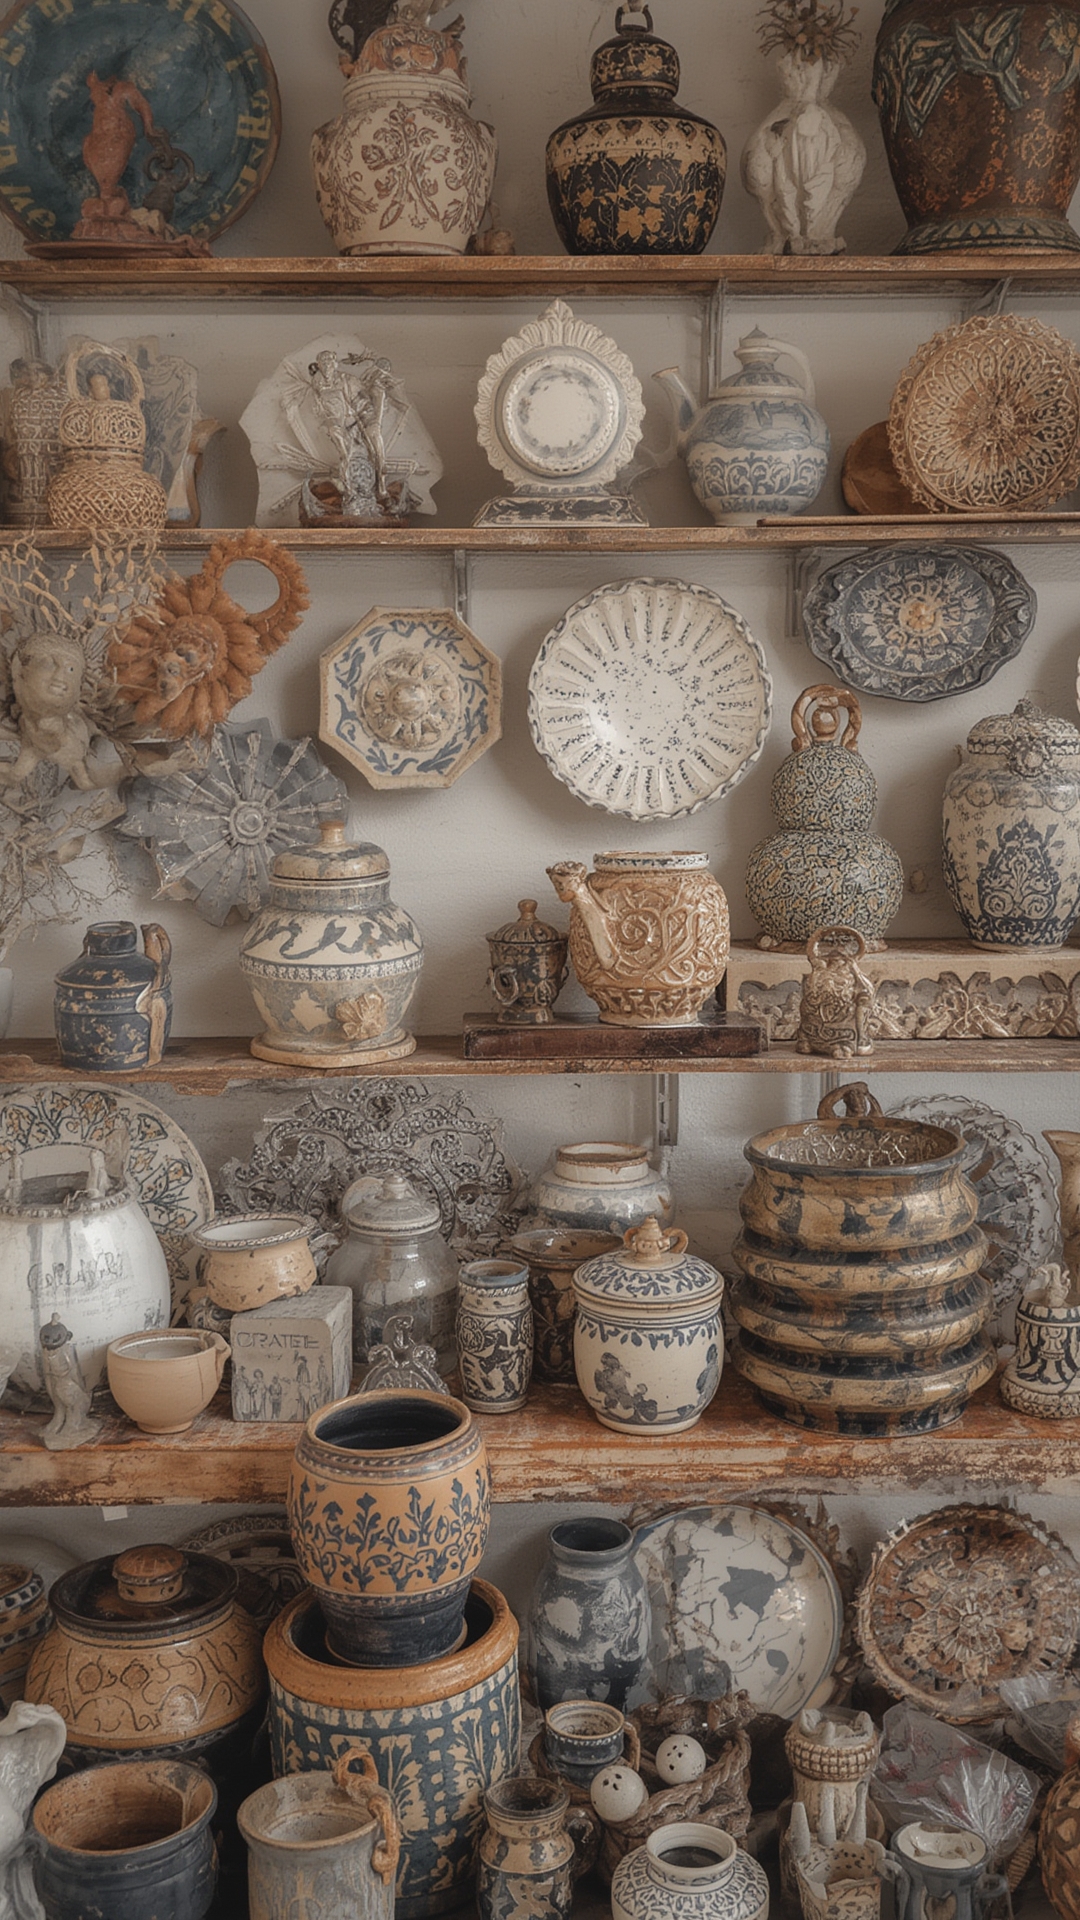
Each piece is shaped by the potter’s hands, meaning no two items are identical. Variations in glaze, slip, and firing create subtle color shifts and surface patterns that add depth and interest to shelves, tables, and mantels.
Sustainable Craftsmanship
Artisan ceramists often source local clays and use low‑energy kilns, reducing the carbon footprint compared to mass‑produced porcelain. Supporting these makers helps preserve traditional techniques and encourages environmentally conscious production.
Incorporating Ceramics into Home Décor
Living Room
- Statement Vases: Place a large, hand‑painted vase on a coffee table and fill it with dried botanicals or a single branch for a minimalist focal point.
- Textured Bowls: Use shallow, ribbed bowls as catch‑alls for keys, remote controls, or decorative stones.
- Sculptural Pieces: Position a trio of asymmetrical ceramic sculptures on a mantel to create visual rhythm.
Kitchen & Dining
- Hand‑Thrown Plates: Mix and match plates with varying glaze tones for an eclectic, restaurant‑style setting.
- Serving Bowls: Choose a wide‑rimmed bowl for salads or fruit; the glaze will highlight fresh colors.
- Tea Sets: A handcrafted teapot paired with matching cups adds a ritualistic touch to morning coffee.
Bathroom
- Soap Dispensers: A small, matte‑finished jar keeps soap within reach while adding a spa‑like vibe.
- Plant Pots: Ceramic containers retain moisture better than plastic, perfect for humidity‑loving plants.
- Tray Organizers: Use a low‑profile tray to corral toiletries and keep countertops tidy.
Using Ceramics as Planters: A Perfect Pair
Selecting the Right Ceramic Pot
Look for pots with a drainage hole or add one yourself. Glazed interiors can trap water, leading to root rot, so a matte or unglazed base is ideal for healthy roots.
Soil and Drainage Tips
Layer the bottom with a thin sheet of broken pottery shards or pebbles to improve drainage. Use a well‑aerated potting mix—one part peat moss, one part perlite, and one part vermiculite works for most indoor foliage.
Step‑by‑Step Guide to Growing a Houseplant in Handmade Ceramics
Step 1 – Choose the Plant
Pick a species that matches the light conditions of your space. For low‑light rooms, consider a ZZ plant or snake plant; for bright windows, opt for a pothos or succulents.
Step 2 – Prepare the Pot
If the pot lacks a drainage hole, drill one using a ceramic drill bit on low speed. Sand the edges smooth to prevent injury.
Step 3 – Add Soil Mix
Fill the pot about one‑third full with the prepared potting mix. Lightly tap the pot to settle the soil without compacting it.
Step 4 – Planting Technique
Make a small depression in the soil, place the plant’s root ball gently, and backfill around it. Pat the soil lightly to eliminate air pockets.
Step 5 – Watering Schedule
Water until you see moisture seeping from the drainage hole. Allow the top inch of soil to dry before the next watering—use a moisture meter for precision.
Step 6 – Light & Temperature
Position the pot where it receives the recommended amount of indirect sunlight. Keep indoor temperatures between 65–75°F (18–24°C) for most tropical houseplants.
Step 7 – Ongoing Care & Maintenance
- Fertilize: Apply a balanced liquid fertilizer once a month during the growing season.
- Prune: Trim yellowing leaves to encourage new growth and maintain shape.
- Rotate: Turn the pot a quarter turn every two weeks for even light exposure.
Caring for Your Ceramic Pieces
Cleaning Tips
Use a soft, damp cloth and mild dish soap for routine cleaning. For stubborn stains, a paste of baking soda and water works without scratching the glaze. Avoid abrasive scrubbers.
Handling and Placement
Always lift ceramics from the base, not the rim, to prevent cracks. Place heavy items on sturdy shelves and avoid direct sunlight on brightly glazed pieces, which can cause fading over time.
Putting It All Together
By thoughtfully selecting handmade ceramics and pairing them with suitable houseplants, you create a dynamic, living décor that evolves with the seasons. The tactile quality of pottery adds warmth, while the greenery introduces freshness and a touch of nature. Follow the actionable steps above, and you’ll enjoy a harmonious space that showcases both artisan craftsmanship and botanical vitality.