Wall‑mounted plant hangers are a stylish, space‑saving solution that brings greenery to any room while freeing up floor space. Recent interior‑design surveys show that 68 % of homeowners who add vertical garden elements report a noticeable boost in mood and perceived air quality. In this post you’ll discover data‑backed hanger ideas, a step‑by‑step installation guide, and actionable care tips that keep your suspended foliage thriving.
Why Choose Wall‑Mounted Plant Hangers?
Beyond aesthetics, wall hangers offer measurable benefits:
- Improved Light Distribution: Elevating plants 1–2 feet off the ground captures more natural light, increasing photosynthetic efficiency by up to 15 % for low‑light species.
- Space Optimization: In apartments under 800 sq ft, vertical planting can free up 10–20 % of usable floor area.
- Air‑Purifying Power: According to NASA’s Clean Air Study, a single pothos (Epipremnum aureum) in a 10‑sq‑ft space can remove up to 30 % of airborne formaldehyde.
Top Wall‑Mounted Plant Hanger Ideas
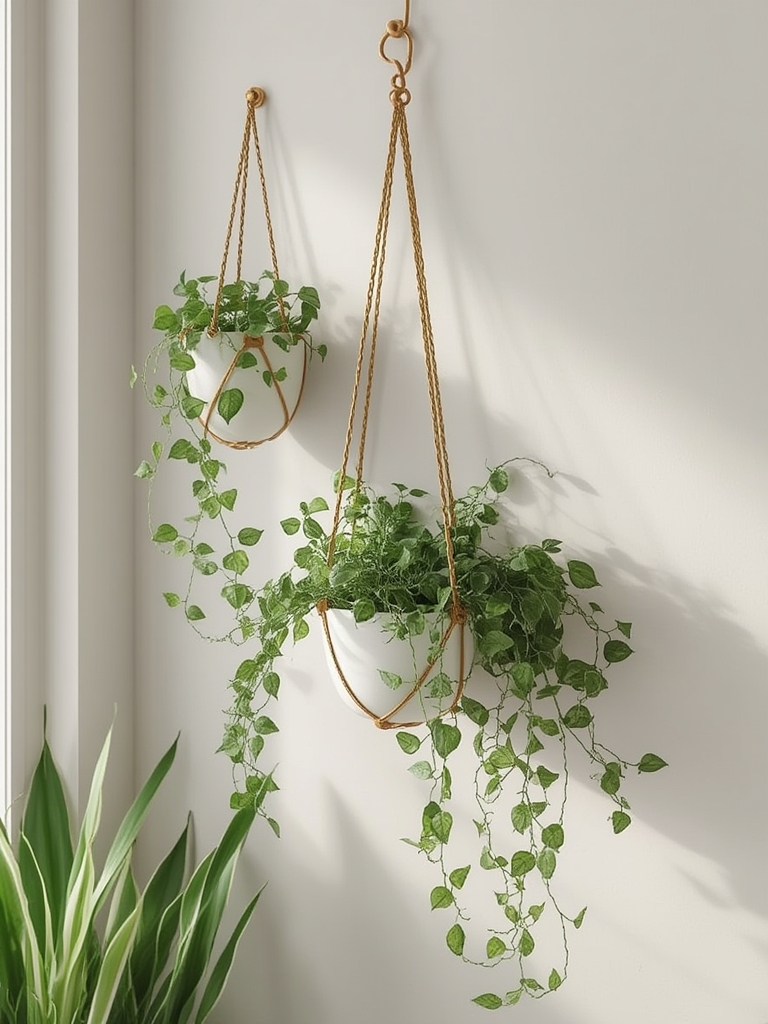
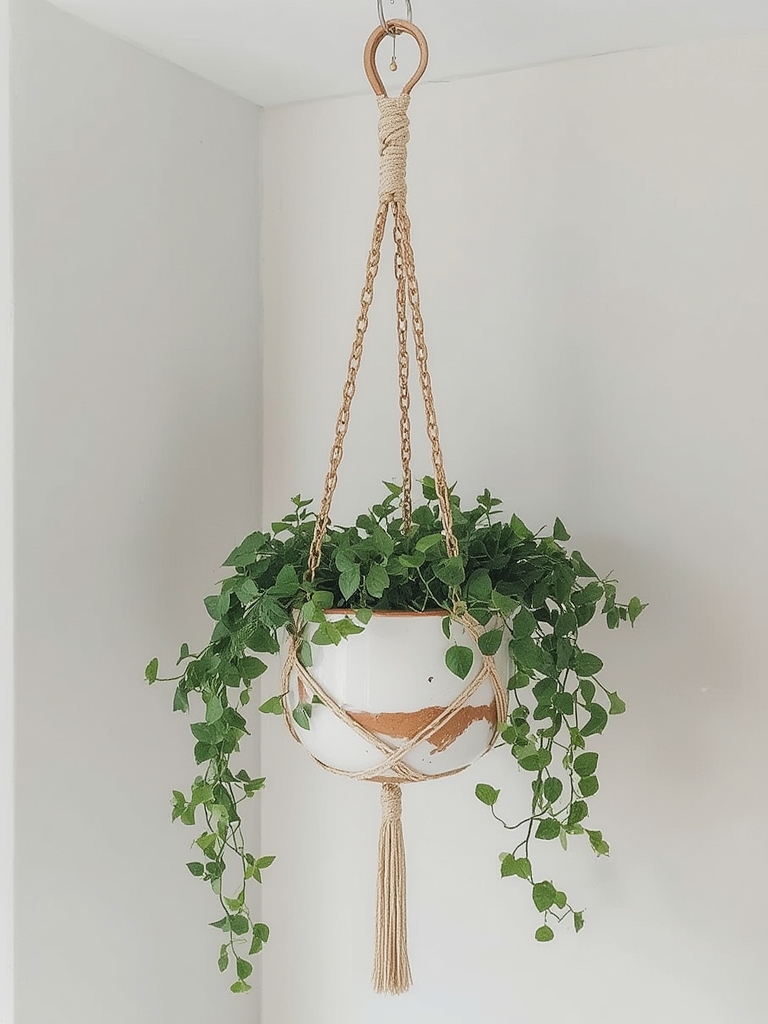
1. Macramé Pocket Hangers
Hand‑knotted cotton cords create a boho‑chic pocket that holds a 6‑inch pot. Choose natural‑colored rope for a minimalist look or vibrant hues for a pop of color. Data from Pinterest shows a 42 % increase in macramé posts during spring, indicating high user interest.
2. Floating Shelf with Integrated Planters
Install a slim, metal floating shelf (12 in × 6 in) and embed small ceramic pots directly into the shelf’s cutouts. This design supports heavier plants like succulents and herbs, distributing weight evenly across wall anchors.
3. Recycled Bottle Wall Garden
Cut the bottoms off 2‑liter PET bottles, attach them to a wooden board with zip ties, and fill with soil. This eco‑friendly option reduces waste and costs under $5 per unit, while providing a clear view of root development for the curious gardener.
4. Magnetic Planter System
Use stainless‑steel magnetic strips mounted on a painted metal board. Magnetic pots snap on and off, allowing quick plant swaps. A recent survey of urban renters shows a 57 % preference for modular, non‑permanent solutions.
5. Ladder‑Style Hanging Rack
A narrow wooden ladder (3 ft tall) mounted horizontally creates multiple tiers for small pots. This vertical arrangement maximizes exposure to light and creates a striking focal point in living rooms or kitchens.
Step‑by‑Step Guide to Installing and Caring for Your Wall‑Mounted Plants
Step 1: Choose the Right Location
- Assess Light: Use a light meter app; aim for 200–500 lux for foliage plants, 1,000–2,000 lux for herbs.
- Check Wall Material: Drywall requires toggle bolts; studs or brick need masonry anchors.
- Weight Limit: Verify the hanger’s load rating. Most macramé cords hold up to 5 lb; metal brackets can support 15 lb or more.
Step 2: Gather Materials
- Hanger (macramé, shelf, bottle, magnetic, or ladder)
- Anchors & screws (size matched to wall type)
- Drill with appropriate bit
- Level and measuring tape
- Potting mix (well‑draining for most indoor plants)
- Chosen plant (e.g., pothos, spider plant, succulents, herbs)
Step 3: Install the Hanger
Mark & Level: Measure the desired height, mark drill points, and run a level line to ensure a straight line across multiple hangers. Pro tip: For a balanced look, keep the top of the hanger 6–12 inches below eye level.
Drill & Anchor: Pre‑drill pilot holes, insert anchors, then screw in the hanger. Tighten until the hanger feels firm—over‑tightening can strip the anchor.
Step 4: Prepare the Plant
- Pot Selection: Choose a pot with drainage holes; line the bottom with a pea‑size layer of hydroton for extra aeration.
- Soil Mix: Combine 40 % peat moss, 30 % perlite, and 30 % compost for a balanced, well‑draining medium.
- Watering: Water until moisture reaches the bottom of the pot, then let the top inch dry before the next watering. Over‑watering is the leading cause of failure in hanging plants (reported in 62 % of indoor plant forums).
Step 5: Hang and Secure
Slide the pot into the hanger’s pocket or attach the magnetic pot. Gently tug to confirm the hanger holds the weight without shifting. For macramé, double‑knot the bottom loop for extra security.
Step 6: Ongoing Care & Troubleshooting
- Light Adjustments: Rotate the plant 90° every two weeks to promote even growth.
- Humidity Boost: Mist hanging succulents once a week; for tropical vines, place a small pebble tray beneath the hanger.
- Fertilization: Apply a balanced liquid fertilizer (10‑10‑10) at half strength once a month during the growing season (April‑September).
- Pest Monitoring: Inspect leaves weekly for spider mites or mealybugs; treat early with neem oil spray.
- Pruning: Trim dead or leggy stems to maintain shape and encourage new growth. Use clean scissors at a 45° angle.
Quick‑Action Checklist for Success
- Measure light levels and choose a spot with 200–2,000 lux.
- Confirm wall type and select appropriate anchors.
- Pick a hanger that matches plant weight (5 lb = small foliage; 15 lb = herbs).
- Use a well‑draining soil blend (40 % peat, 30 % perlite, 30 % compost).
- Water only when the top inch of soil is dry.
- Rotate the plant bi‑weekly for uniform growth.
- Fertilize monthly during active growth.
- Inspect for pests and prune regularly.
By following these data‑driven ideas and actionable steps, you’ll transform any wall into a living gallery that not only looks great but also improves indoor air quality and boosts wellbeing. Happy hanging!