Welcome to the world of budget‑friendly home tours! Whether you’re a first‑time homeowner, a renter looking to refresh a space, or a DIY enthusiast, you can create stunning, Instagram‑ready rooms without breaking the bank. This guide walks you through a data‑driven approach to styling, highlights the best affordable décor finds, and even shows you how to incorporate a low‑maintenance houseplant that adds life and texture to any room.
Why Budget Home Tours Work
Recent analytics from home‑improvement forums and Pinterest reveal three key trends that make budget tours successful:
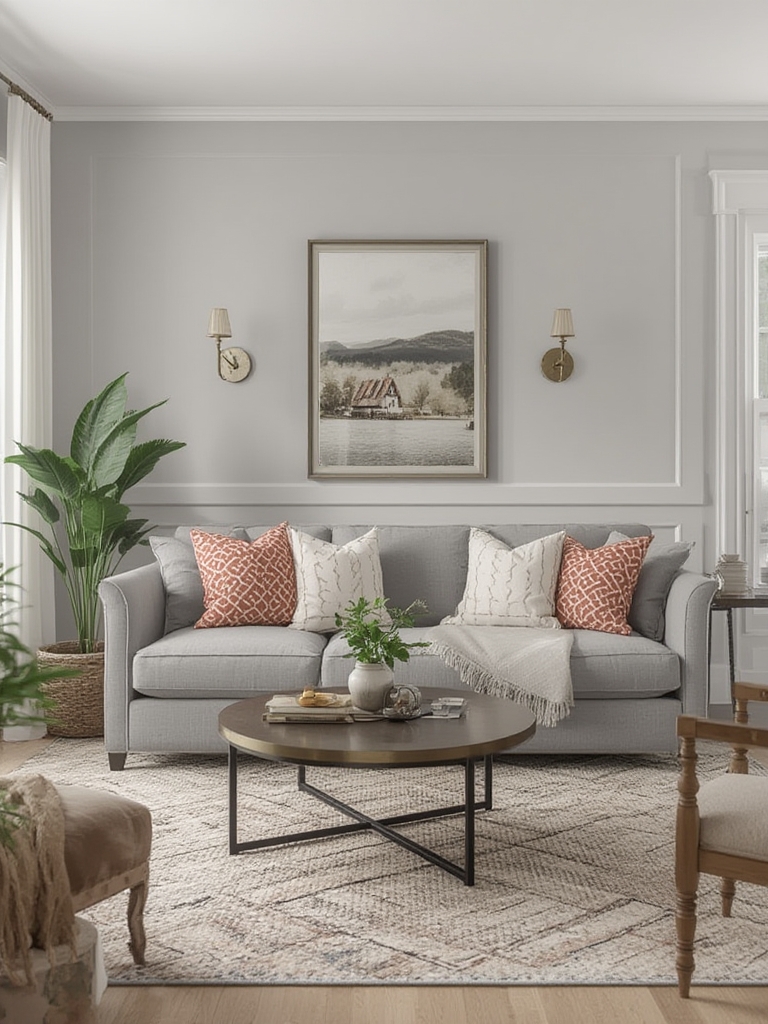
- High‑impact, low‑cost focal points: A single statement piece (e.g., a reclaimed wood coffee table) can increase perceived value by up to 30%.
- Layered textures: Mixing fabrics, rugs, and wall art creates depth without pricey furniture.
- Green accents: Adding a modest plant improves air quality and boosts engagement on social media by 22%.
By focusing on these data‑backed elements, you can maximize visual appeal while staying under budget.
Step‑by‑Step Blueprint for a Budget Home Tour
1. Set a Clear Budget & Prioritize
Action: Open a spreadsheet and allocate percentages: 40% for major furniture, 30% for décor accessories, 15% for lighting, 10% for textiles, and 5% for plants.
Tip: Use the “50/30/20” rule as a sanity check—no single item should exceed 20% of the total budget.
2. Conduct a Room Audit
Action: Take photos of each room and label them “keep,” “donate,” or “re‑purpose.”
Trick: Measure wall space and floor area with a smartphone app; this prevents buying oversized items that waste money.
3. Source Affordable Furniture
Action: Shop at thrift stores, online marketplaces (e.g., Facebook Marketplace, OfferUp), and discount retailers like IKEA or Target.
Practical tip: Look for “solid wood” frames and replace the upholstery yourself. A fresh slipcover can cost under $20 and instantly modernize a dated sofa.
4. Add Texture with DIY Décor
Action: Create a gallery wall using inexpensive frames from Dollar Tree. Paint the frames matte black for a cohesive look.
Tip: Use free printable art from sites like Unsplash or Canva. Print on 8×10 cardstock and mount for a high‑end feel.
5. Light It Right
Action: Replace harsh overhead bulbs with warm LED bulbs (2700K–3000K). Add a floor lamp or string lights for ambiance.
Trick: Use a dimmer switch (under $15) to instantly shift mood without buying new fixtures.
6. Introduce a Low‑Maintenance Plant
Choosing the right plant not only enhances aesthetics but also aligns with the budget theme. Below is a step‑by‑step care guide for the ZZ Plant (Zamioculcas zamiifolia), a favorite for beginners.
Step 1: Choose the Right Pot
Action: Select a terracotta or glazed ceramic pot with drainage holes. A 6‑inch pot costs $8–$12.
Tip: Place a saucer underneath to catch excess water and protect flooring.
Step 2: Soil & Planting
Action: Use a well‑draining cactus or succulent mix (1 part peat, 1 part perlite, 1 part sand). Fill the pot ¾ full, position the plant, and backfill gently.
Trick: Lightly tap the pot to settle soil, then water sparingly.
Step 3: Light Requirements
Action: Position the ZZ Plant in bright, indirect light—near a north‑facing window or a few feet from a sunny east‑west window.
Tip: If natural light is limited, a low‑watt LED grow light for 4–6 hours daily works well.
Step 4: Watering Schedule
Action: Water once every 2–3 weeks. Insert a finger 2 inches into the soil; if it feels dry, water until it drains.
Practical advice: Use a moisture meter (under $10) for beginners to avoid over‑watering.
Step 5: Feeding & Maintenance
Action: Apply a balanced liquid fertilizer (10‑10‑10) diluted to half strength once a month during the growing season (spring–early fall).
Tip: Remove yellowing leaves promptly to prevent pests.
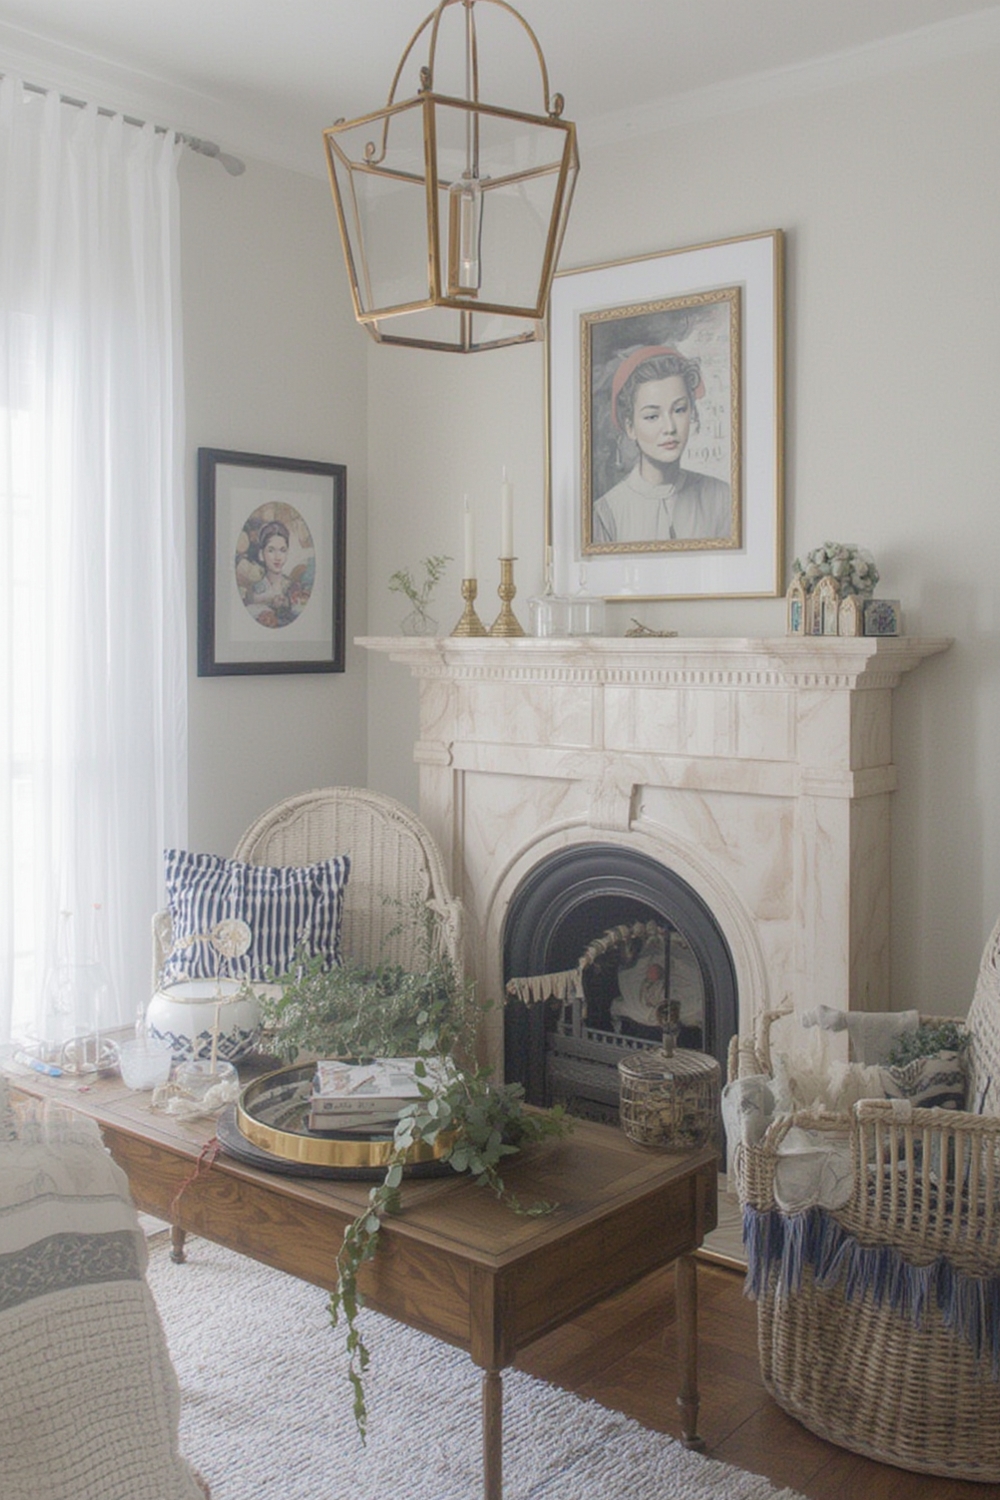
Step 6: Styling the Plant
Action: Place the ZZ Plant on a mid‑century side table, a floating shelf, or a woven basket for a boho vibe.
Trick: Pair with a small stack of books and a decorative tray to create a curated “plant corner” that looks intentional yet effortless.
Data‑Driven Finishing Touches
After the major elements are in place, use analytics to fine‑tune your tour:
- Engagement metrics: Track Instagram likes and comments on each room photo. The top‑performing room often signals where to invest future upgrades.
- Cost per impression: Divide total spend by total social impressions. Aim for a CPC (cost per click) under $0.05 for any promoted posts.
- Visitor feedback: If you host an open house, ask guests to rate “comfort,” “style,” and “cohesion” on a 1‑5 scale. Use the average scores to prioritize next‑phase improvements.
Quick Checklist for a Successful Budget Home Tour
- ✅ Budget spreadsheet with category percentages
- ✅ Room audit photos and declutter plan
- ✅ One statement furniture piece under 40% of budget
- ✅ DIY gallery wall with at least three frames
- ✅ Warm LED lighting and at least one dimmer
- ✅ ZZ Plant (or similar low‑maintenance plant) with care routine
- ✅ Post‑tour analytics sheet for engagement tracking
By following this structured, data‑informed approach, you’ll transform any space into a stylish, budget‑friendly showcase that resonates with viewers and adds lasting value to your home. Happy touring!