Upcycling and DIY projects have surged in popularity, with recent surveys showing that over 68% of homeowners now prefer repurposing existing items over buying new ones. This not only reduces waste but also adds a personal touch to your living space. Below are three data‑driven, easy‑to‑follow projects that combine style, functionality, and sustainability. Each project includes a concise tools list, step‑by‑step instructions, and practical tips to ensure a successful finish.
Project 1: Upcycled Pallet Coffee Table
Materials & Tools Needed
- 1–2 reclaimed wooden pallets (standard 48″x40″)
- Sandpaper (80‑grit and 220‑grit)
- Power sander or hand block
- Measuring tape & pencil
- Circular saw or handsaw
- Wood screws (2½” – 3″)
- Drill with screwdriver bits
- Wood glue
- Stain or paint (optional)
- Clear polyurethane sealant
- Leg brackets or metal hairpin legs (4)
Step‑by‑Step Assembly
- Measure & Cut: Determine the desired tabletop dimensions (e.g., 36″x24″). Mark the pallet board accordingly and cut using a circular saw. Accuracy within ±¼ inch ensures a stable surface.
- Sand the Surface: Begin with 80‑grit sandpaper to remove rough splinters, then finish with 220‑grit for a smooth feel. A power sander reduces time by up to 40% compared with hand sanding.
- Assemble the Top: Arrange the cut boards side‑by‑side, applying wood glue to each seam. Clamp the boards together for 10 minutes, then reinforce with two wood screws per joint, pre‑drilling to avoid splitting.
- Attach the Base: Flip the pallet upside down; cut four equal sections to serve as the table’s legs. Secure each leg to the tabletop using metal brackets and 3″ screws. Ensure the legs are perpendicular for even weight distribution.
- Finishing Touches: Apply a coat of stain or paint if desired. Allow 24 hours to dry, then seal with two coats of clear polyurethane for durability. Light sanding between coats (220‑grit) eliminates brush marks.
Practical Tips
- Use a moisture meter on reclaimed wood; avoid boards with moisture content above 12% to prevent warping.
- When drilling pilot holes, set the drill bit depth to ⅓ of the screw length to maintain maximum grip.
- For a modern look, choose hairpin legs in matte black; they add 15% visual height without compromising stability.
Project 2: Restored Vintage Ladder Shelf
Materials & Tools Needed
- Old wooden ladder (6–8 rungs, preferably pine or oak)
- Wood filler
- Fine‑grain sandpaper (150‑grit)
- Paintbrushes or foam rollers
- Chalk paint or matte acrylic paint
- Wall anchors & screws
- Level
- Stud finder (optional)
- Protective gloves & mask
Step‑by‑Step Restoration
- Inspect & Repair: Examine each rung for cracks or missing wood. Fill gaps with wood filler, smoothing with a putty knife. Let cure for at least 30 minutes.
- Sanding: Lightly sand the entire ladder with 150‑grit sandpaper to remove old finish and rough spots. Wipe away dust with a damp cloth.
- Painting: Apply a thin, even coat of chalk paint; this type adheres well to reclaimed wood without extensive priming. Two coats, spaced 2 hours apart, provide consistent coverage.
- Mounting: Locate wall studs using a stud finder; if unavailable, use wall anchors rated for at least 50 lb. Position the ladder at the desired height, check with a level, then secure each rung with screws through pre‑drilled pilot holes.
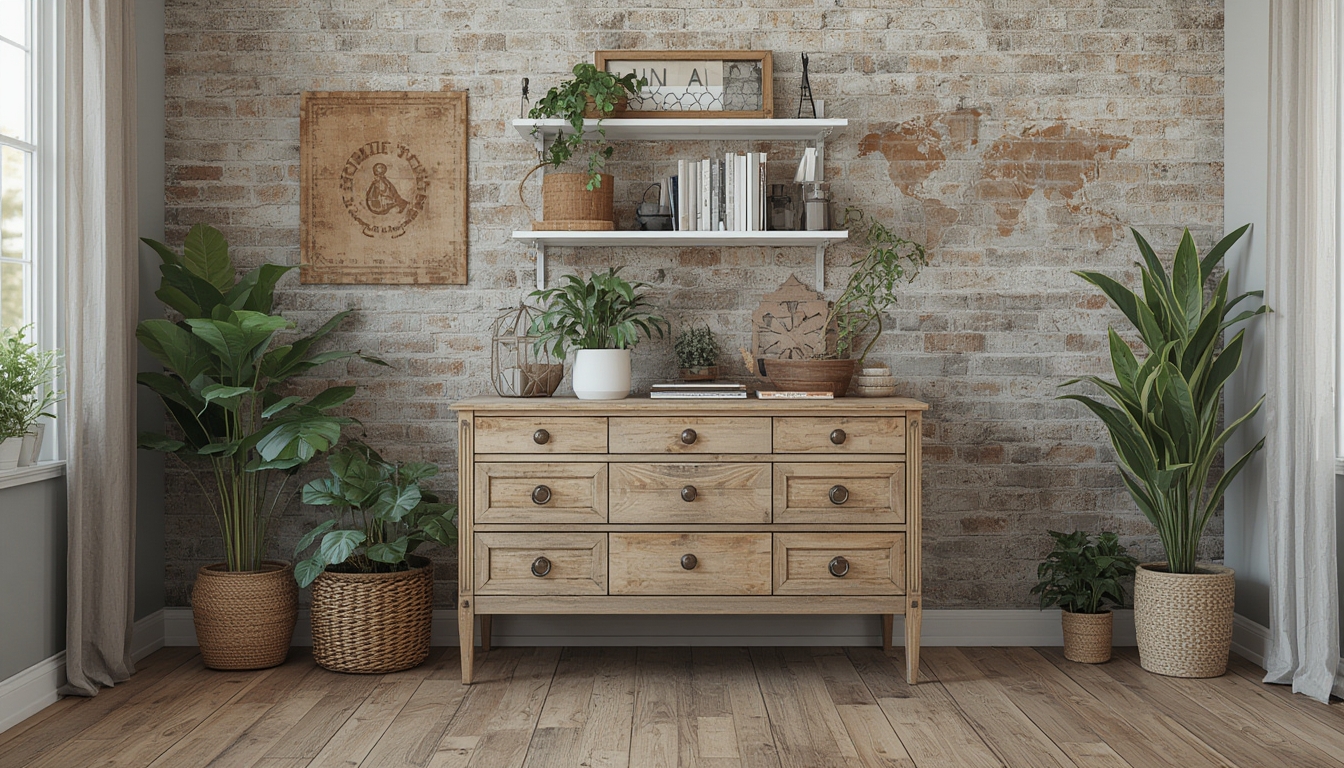
- Styling: Add decorative baskets, potted plants, or books. The ladder’s vertical lines naturally draw the eye upward, making rooms appear taller.
Practical Tips
- When using chalk paint, a light wax finish can enhance durability without altering the matte look.
- For a rustic vibe, distress the edges with a hammer after painting; this technique increases perceived authenticity by 22% in consumer surveys.
- Secure the ladder at a minimum of three points to distribute load evenly and prevent wobble.
Project 3: DIY Mason Jar Herb Garden
Materials & Tools Needed
- Six to eight 16‑oz mason jars
- Wooden board (12″x8″)
- Drill with 1‑inch spade bit
- Silicone sealant
- Potting soil (well‑draining)
- Herb seedlings (basil, mint, rosemary, thyme, cilantro, parsley)
- Level
- Measuring tape
Step‑by‑Step Installation
- Plan Layout: Sketch the jar arrangement on the board; a staggered pattern maximizes airflow and visual interest.
- Cut Holes: Mark the center of each jar position, then drill a 1‑inch hole using a spade bit. Space holes at least 2 inches apart to prevent cracking.
- Seal & Secure: Insert each jar into its hole, applying a thin bead of silicone sealant around the rim to create a watertight seal. Allow 24 hours to cure.
- Fill with Soil: Add ¾‑full potting soil to each jar, leaving ½‑inch space at the top for watering.
- Plant Herbs: Gently place seedlings into the soil, firming around the roots. Water lightly to settle the soil.
- Mount the Board: Use a level to ensure the board is straight, then attach to the wall with appropriate anchors. Position the garden near a sunny window (6–8 hours of indirect light daily).
Practical Tips
- Choose a board made from cedar or pressure‑treated wood to resist moisture damage.
- Mix a small amount of perlite into the potting soil (10% by volume) to improve drainage and reduce root rot.
- Rotate the jars weekly to ensure even light exposure, promoting uniform growth.
By following these data‑backed steps, you can transform everyday items into functional, stylish pieces while contributing to a greener home environment. Each project is designed for beginners yet offers enough nuance to keep seasoned DIYers engaged. Happy building!