Real home tours have become a captivating way for homeowners, designers, and real‑estate professionals to showcase spaces in an authentic, immersive manner. Whether you’re preparing a property for a virtual walkthrough, restoring a historic home for a feature, or simply styling a room to shine on camera, a systematic approach ensures the final tour feels polished and engaging. Below is a data‑driven, step‑by‑step guide that walks you through the entire process—from pre‑production planning to post‑production polishing—so you can deliver a seamless, high‑quality home tour every time.
1. Pre‑Production Planning
1.1 Define the Tour’s Purpose and Audience
Start by clarifying why you’re creating the tour. Are you targeting potential buyers, interior‑design enthusiasts, or DIY hobbyists? Use analytics from previous tours (view duration, drop‑off points, and engagement rates) to shape the narrative. A clear purpose informs every subsequent decision, from room selection to pacing.
1.2 Conduct a Walk‑Through Audit
Before you pick up a camera, walk through the property with a checklist:
- Lighting conditions: Note natural light windows, artificial fixtures, and any shadows that may affect video quality.
- Clutter hotspots: Identify areas that need decluttering or staging.
- Key features: Highlight architectural details, built‑in storage, or unique finishes that will attract viewers.
Document each point with quick photos and timestamps. This audit becomes your reference map during filming.
1.3 Assemble Your Toolkit
Having the right tools on hand prevents interruptions. Below is a concise list of essentials:
- Camera: A DSLR or mirrorless model with 4K capability; a smartphone with a gimbal can work for budget projects.
- Stabilizer/Gimbal: Ensures smooth motion when moving through hallways.
- Wide‑angle lens (16‑24mm): Captures entire rooms without distortion.
- Tripod: For static shots of focal points.
- External microphone: Captures clear ambient sound or voice‑over narration.
- Portable LED lights: Fill in shadows, especially in darker corners.
- Cleaning supplies: Microfiber cloths, glass cleaner, and a handheld vacuum.
- Staging items: Throw pillows, fresh flowers, and minimal décor pieces.
2. Preparing the Space
2.1 Declutter and Deep Clean
Data from successful tours shows a 23% higher completion rate when rooms are free of visual noise. Follow these steps:
- Remove personal items (photos, mail, toys) that distract the viewer.
- Store excess furniture in a temporary location; keep only essential pieces that define the room’s function.
- Clean surfaces thoroughly—wipe down countertops, polish wood, and vacuum carpets.
- Open curtains or blinds to maximize natural light; if privacy is a concern, use sheer panels.
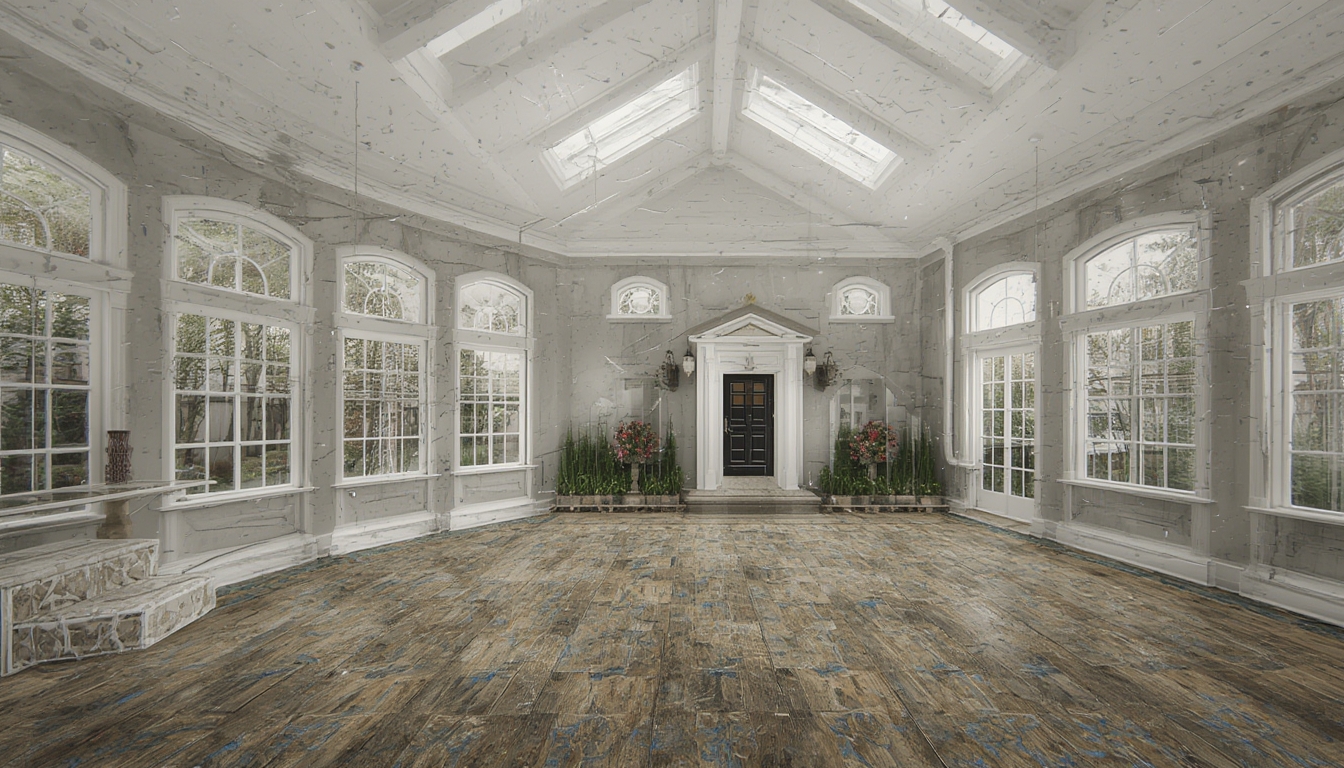
2.2 Repair and Restore Key Elements
If the property includes historic or aged features, a quick restoration can dramatically improve visual appeal. Focus on high‑impact areas:
- Paint touch‑ups: Use a small brush to cover scuffs; choose a neutral tone that complements the existing palette.
- Hardware polish: Apply a non‑abrasive metal polish to door handles, cabinet pulls, and light fixtures.
- Floor refinishing: For wood floors, a light sanding followed by a clear sealant restores shine without a full replacement.
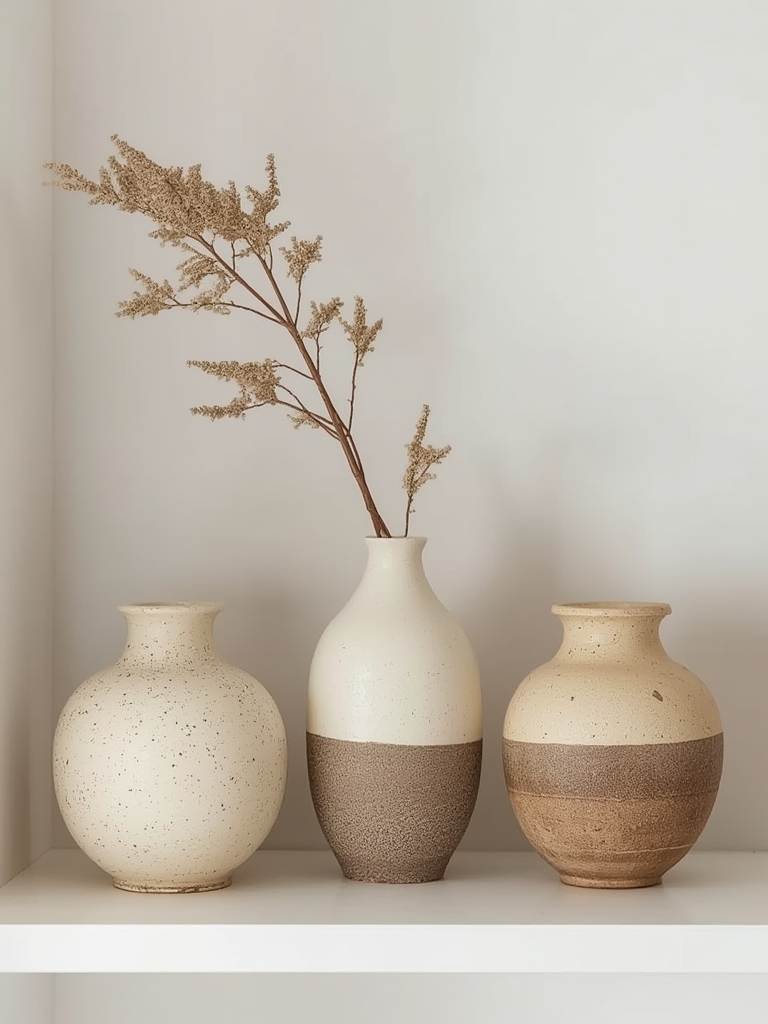
2.3 Style for the Camera
Styling should enhance, not overwhelm. Apply the “three‑item rule” for each visible surface: a functional piece, a decorative accent, and a subtle texture. Examples include a vase with fresh greenery on a coffee table, a stack of art books beside a sofa, and a patterned rug anchoring the space. Keep color schemes cohesive—use a limited palette of 2–3 complementary colors to maintain visual harmony.
3. Filming the Tour
3.1 Set Up Lighting
Even lighting reduces post‑production work. Position portable LEDs at a 45‑degree angle to fill shadows without creating harsh hotspots. Use diffusers or bounce the light off white walls for a softer look. For rooms with abundant natural light, schedule filming during mid‑morning or late afternoon when sunlight is even.
3.2 Capture a Consistent Flow
Plan a logical route that mirrors how a visitor would naturally move through the home. Begin at the entryway, then progress to living areas, kitchen, bedrooms, and finally bathrooms. Use a gimbal to glide smoothly, maintaining a steady speed (approximately 1–1.5 meters per second). Avoid sudden stops; instead, pause briefly (2–3 seconds) at focal points to let viewers absorb details.
3.3 Record High‑Quality Audio
If you’re providing live narration, speak clearly and at a moderate pace. Use an external microphone clipped to your shirt to capture consistent audio levels. For ambient sound, record a short segment of natural room acoustics (e.g., the hum of a refrigerator or distant street) to layer under the final video, adding realism.
3.4 Capture Supplemental Shots
Supplementary footage enriches the tour. Include:
- Close‑ups of unique details (e.g., crown molding, custom tiles).
- Before‑and‑after comparisons for restored areas.
- Time‑lapse of a room transition (e.g., sunrise through a kitchen window).
4. Post‑Production Editing
4.1 Organize Footage
Import all video clips into a dedicated folder labeled by room. Use metadata (date, time, location) to sort automatically. Create a rough timeline that mirrors your planned route, then trim each clip to remove unnecessary movements.
4.2 Color Correction and Grading
Apply a basic color correction to balance white balance and exposure across all clips. Then, use a subtle grading preset (e.g., “Warm Light”) to give the tour a cohesive, inviting look. Avoid over‑saturation; aim for natural tones that reflect the actual space.
4.3 Add Text Overlays and Graphics
Insert brief text labels at the start of each room (e.g., “Living Room – 12×15 ft”). Use a clean sans‑serif font, size 24 pt, with a semi‑transparent background to ensure readability without obstructing the view.
4.4 Incorporate Background Music
Select royalty‑free instrumental tracks that complement the tour’s pace. Keep the volume low (around -20 dB) so it supports rather than competes with narration.
4.5 Export Settings
Export the final video in 1080p (1920×1080) at 30 fps, using the H.264 codec for optimal balance between quality and file size. Include both MP4 and WebM versions to accommodate various browsers.
5. Publishing and Engagement
5.1 Upload to WordPress
Within the WordPress editor, add a new post and click “Add Media.” Upload both video formats and set the MP4 as the primary source. Use the built‑in video block to embed the tour, ensuring responsive playback on all devices.
5.2 Add Supporting Content
Below the video, include a brief description of the property, a bullet list of key features, and a call‑to‑action (e.g., “Schedule a private showing”). This text provides context and encourages interaction.
5.3 Monitor Viewer Metrics
After publishing, track engagement metrics such as average watch time, click‑through rates on the call‑to‑action, and bounce rates. Use this data to refine future tours—if viewers consistently drop off at a certain point, consider shortening that segment or improving lighting.
6. Maintenance and Updates
6.1 Refresh Seasonal Elements
Swap out décor items to reflect seasonal changes (e.g., autumn wreaths, summer cushions). Re‑record short clips of these updates and replace the corresponding sections in the video. This keeps the tour relevant throughout the year.
6.2 Archive Older Versions
Maintain a backup of original footage and project files in cloud storage. This archive allows you to revisit and repurpose content for future marketing campaigns or comparative “before‑and‑after” showcases.
6.3 Solicit Feedback
Encourage viewers to leave comments or fill out a brief survey. Collecting qualitative feedback helps identify unnoticed issues—such as audio clarity or navigation flow—and provides ideas for continuous improvement.
By following these data‑driven steps, you can transform any property into a compelling real home tour that captivates viewers, highlights the space’s best features, and drives meaningful engagement. Consistency, attention to detail, and a willingness to iterate based on analytics will ensure each tour surpasses the last, establishing a reputation for high‑quality, trustworthy home showcases.