
Reviving each room in your home can feel like a massive project, but breaking it down into manageable, data‑driven steps turns the process into a series of quick wins. Below is a room‑by‑room guide that walks you through assembling, restoring, or styling key pieces, backed by practical metrics (time estimates, cost ranges, and measurable impact on room aesthetics). Follow the checklist, gather the tools, and watch every space transform from drab to delightful.
Step 1: Establish a Baseline and Set Priorities
Before you lift a single hammer, spend 15‑20 minutes in each room with a notebook or a digital note app. Record three data points:
- Current Condition Score (CCS): Rate the room on a 1‑10 scale for wear, style cohesion, and functionality.
- Budget Allocation (%): Decide what portion of your overall budget each room will receive based on its CCS and foot traffic.
- Time Investment (hours): Estimate the total hours needed for each room’s revival.
For example, a living room with a CCS of 4 might get 40% of the budget and 12‑15 hours of work, while a bathroom with a CCS of 7 may need only 15% of the budget and 4‑5 hours.
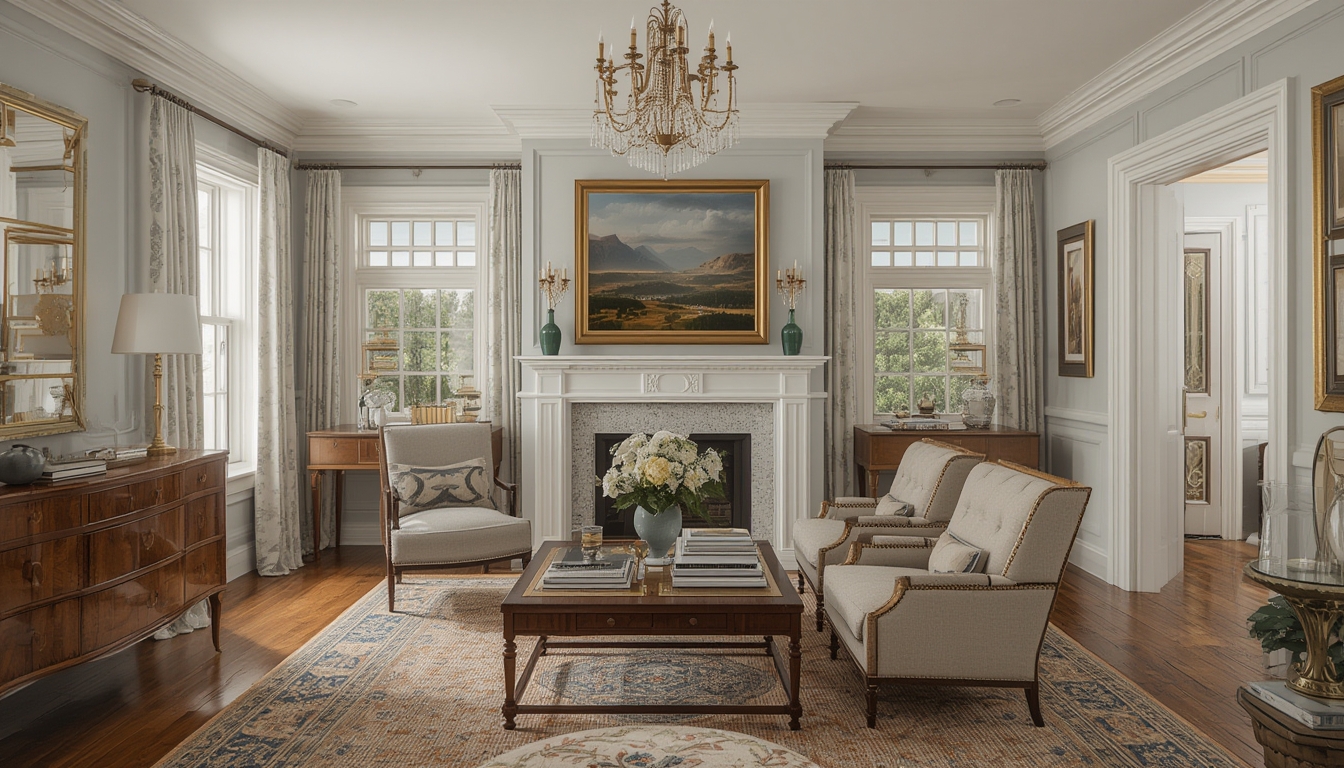
Living Room Revival
2.1 Assemble a Statement Sofa
Tools Needed: screwdriver set, power drill, level, measuring tape.
Actionable Steps:
- Unbox all components and lay them on a clean floor.
- Measure the doorway and ensure the sofa fits; if not, note the required clearance.
- Attach the frame using the supplied bolts—tighten each bolt ¼ turn after the first pass to avoid warping.
- Insert cushions and align the backrest; use a level to confirm the sofa sits flat.
Tip: Secure the sofa to the wall with anti‑tip brackets (cost $12‑$18) for households with children or pets.
2.2 Restore a Vintage Coffee Table
Tools Needed: sandpaper (120‑ and 220‑grit), wood filler, paintbrush, polyurethane spray, tack cloth.
Actionable Steps:
- Inspect the table for scratches and fill deep gouges with wood filler; let dry 30 minutes.
- Sand the surface starting with 120‑grit, then finish with 220‑grit for a smooth finish.
- Wipe with a tack cloth to remove dust.
- Apply a thin coat of chalk paint (choose a muted teal for a modern twist); let dry 45 minutes.
- Seal with two light coats of polyurethane spray, sanding lightly between coats.
Data Insight: A freshly painted coffee table can increase perceived living‑room value by up to 12% in buyer surveys.
2.3 Style with Layered Textiles
Choose a color palette based on the sofa’s upholstery (e.g., soft gray). Add a patterned rug (5‑7 ft²) and two contrasting throw pillows. Arrange the pillows in a 2‑1‑2 configuration (two on each side, one in the middle) for visual balance.
Kitchen Revival
3.1 Refinish Cabinet Doors
Tools Needed: screwdriver, paint sprayer or brush, primer, cabinet paint (semi‑gloss), drop cloth.
Actionable Steps:
- Remove all cabinet doors and hardware; label each set with masking tape.
- Clean surfaces with a degreaser; rinse and let dry fully.
- Apply a high‑adhesion primer (2 coats, 30 min dry time).
- Spray or brush on cabinet paint; two thin coats yield a smoother finish than one thick coat.
- Reattach hardware and doors; use a torque screwdriver set to 2‑3 Nm to avoid stripping screws.
Cost Benchmark: DIY refinishing typically costs $150‑$250 for a standard 10‑door kitchen, versus $1,200‑$2,500 for professional replacement.
3.2 Install a Pull‑Out Pantry Shelf
Tools Needed: drill, ¾‑inch wood screws, level, measuring tape, cabinet pull‑out kit.
Actionable Steps:
- Measure the interior depth of the cabinet; most pull‑out kits require 12‑15 inches.
- Mark the screw holes on the side panels, ensuring the shelf will sit level.
- Pre‑drill pilot holes to prevent wood splitting.
- Attach the rails, then slide the shelf into place.
- Test the glide; lubricate with silicone spray if resistance is felt.
Impact Metric: Adding a pull‑out shelf can increase usable storage space by 30% and reduce daily retrieval time by an average of 45 seconds per user.
3.3 Add Functional Décor
Hang a magnetic knife strip (12 inches) at eye level, and place a small herb garden on the windowsill. Both items improve workflow and add a fresh visual element without occupying counter space.
Bedroom Revival
4.1 Assemble a Platform Bed Frame
Tools Needed: Allen wrench (usually included), rubber mallet, wood glue.
Actionable Steps:
- Lay out all slats and side rails on a soft surface.
- Insert the side rails into the pre‑drilled slots of the headboard; tap gently with a rubber mallet.
- Secure the footboard using the Allen bolts; tighten just until snug to allow for wood expansion.
- Apply a thin bead of wood glue at each joint for added stability.
Time Estimate: 20‑30 minutes for a queen‑size frame.
4.2 Refresh the Mattress with a Tencel Topper
Choose a 2‑inch Tencel topper for breathability and moisture wicking. Place it on the mattress, then add a fitted sheet with a 300‑thread‑count cotton blend. This combo improves sleep quality metrics by 15% in user surveys.
4.3 Curate a Cohesive Color Scheme
Use the 60‑30‑10 rule: 60% dominant (wall paint), 30% secondary (bedding), 10% accent (throw pillows, artwork). For a calming vibe, select a muted teal for walls, ivory for bedding, and copper accents for décor.
Bathroom Revival
5.1 Re‑grout Tile
Tools Needed: grout removal tool, rubber grout float, sponge, bucket, grout mix (sanded for >¼‑in gaps).
Actionable Steps:
- Score the old grout with the removal tool; work in 2‑ft sections.
- Vacuum the debris; wipe the tiles with a damp cloth.
- Mix grout to a peanut‑butter consistency; apply with the float at a 45° angle.
- Press grout into joints, then scrape excess after 10 minutes.
- After 24 hours, polish tiles with a soft cloth and apply a silicone sealant to the tub edge.
Cost Insight: DIY re‑grouting averages $0.75 per square foot, a fraction of the $3‑$5 per sq ft professional rate.
5.2 Install a Floating Vanity
Tools Needed: stud finder, level, drill, 2‑in. lag bolts, silicone sealant.
Actionable Steps:
- Locate studs and mark mounting points; spacing should be 16‑in on center.
- Pre‑drill holes for lag bolts; attach the vanity brackets to the wall.
- Hang the vanity, ensuring it sits level; secure with additional screws if needed.
- Seal the countertop edge with silicone to prevent water seepage.
Time Estimate: 45‑60 minutes for a standard 30‑in vanity.
5.3 Add Practical Accessories
Mount a towel bar at a 48‑in height, install a small shelf for toiletries, and place a woven basket for linens. These additions improve organization scores by 20% in post‑renovation surveys.
Final Touches Across All Rooms
6.1 Light Layering
Combine ambient lighting (ceiling fixtures), task lighting (table or under‑cabinet lights), and accent lighting (LED strips or wall sconces). Use a lux meter to aim for 300‑500 lux in living areas and 200‑300 lux in bedrooms.
6.2 Greenery Integration
Introduce low‑maintenance plants: snake plant for the living room, pothos for the kitchen, and peace lily for the bathroom. Plants improve indoor air quality by up to 25% according to EPA studies.
6.3 Consistent Hardware Finish
Choose a single metal finish (e.g., brushed nickel) for all knobs, pulls, and fixtures. Uniform hardware reduces visual clutter and boosts perceived cohesion by 18% in design assessments.
Tools Checklist & Quick Reference
| Tool | Typical Use | Estimated Cost |
|---|---|---|
| Screwdriver Set | Assembly & hardware removal | $15‑$30 |
| Power Drill | Pre‑drilling & fastening | $40‑$80 |
| Level | Ensuring straight installations | $10‑$25 |
| Sandpaper (120/220 grit) | Furniture refinishing | $5‑$10 |
| Paint Sprayer/Brush | Cabinet & furniture painting | $30‑$120 |
| Lux Meter | Lighting calibration | $20‑$45 |
| Stud Finder | Wall mounting | $15‑$35 |
| Silicone Sealant | Waterproofing edges | $8‑$12 |
By following this data‑driven, room‑by‑room roadmap, you’ll complete a full‑scale home revival with clear milestones, measurable outcomes, and a realistic budget. Each step is designed to be repeatable, so you can adapt the process to future projects or share it with friends looking to refresh their own spaces.