Upcycling is more than a trend; it’s a sustainable way to give new life to everyday items while adding a personal touch to your home. By turning discarded materials into functional pieces, you not only reduce waste but also create unique décor that reflects your style. This guide walks you through a data‑backed, step‑by‑step DIY project: building a sturdy, stylish coffee table from reclaimed wooden pallets. The process is broken into clear phases, each with the tools you’ll need, practical tips, and small actions that guarantee a smooth build.
Why Choose an Upcycled Pallet Coffee Table?
According to a 2023 survey by the Home Improvement Research Institute, 68% of DIY enthusiasts prefer projects that reuse existing materials. Pallets are especially popular because they are widely available (over 2 million pallets are discarded daily in the U.S.) and offer a robust, rustic aesthetic that fits modern interiors. Building a coffee table from pallets gives you:
- Cost savings: Pallets are often free or cost under $10.
- Environmental impact: Up to 30 kg of wood is diverted from landfill per table.
- Customization: Finish, stain, or paint to match any décor.
Project Overview
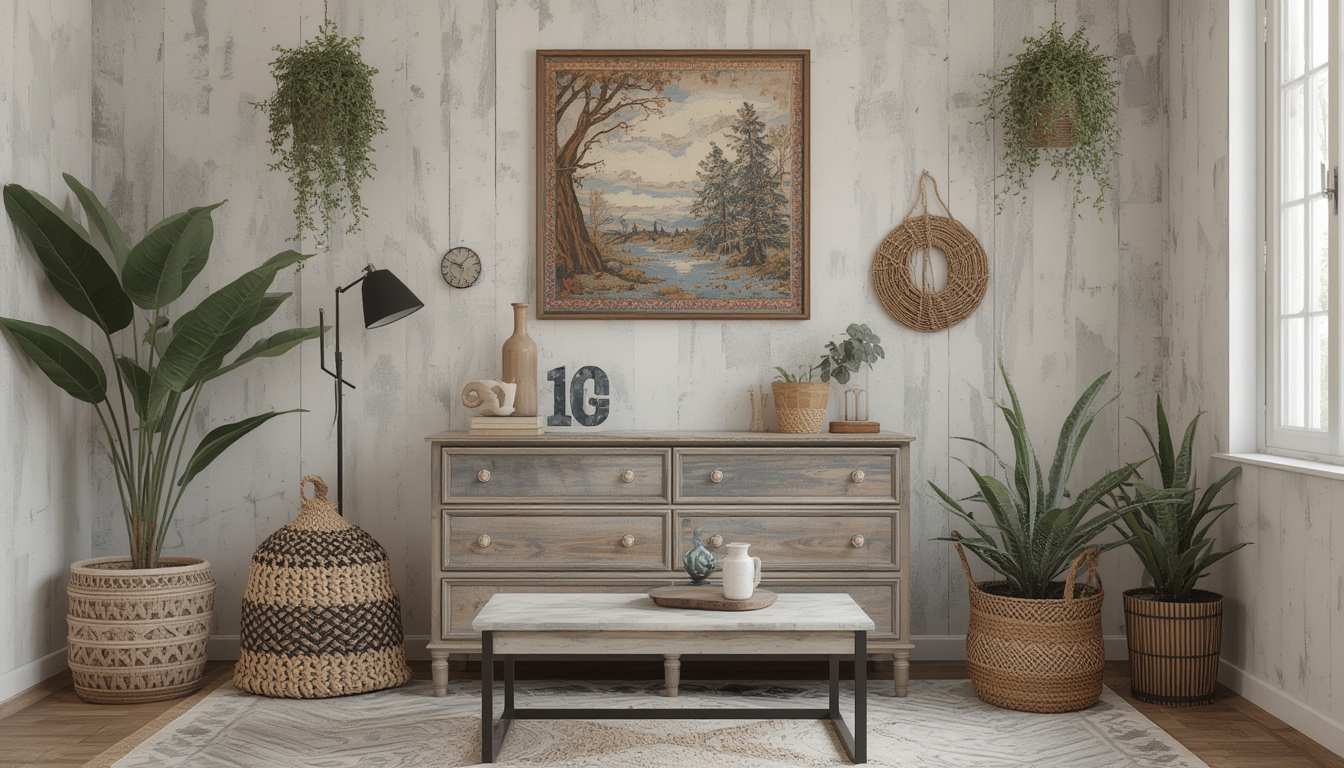
This coffee table measures approximately 48 × 24 inches with a height of 18 inches, perfect for most living rooms. The design includes a lower shelf for magazines or books and a smooth tabletop surface. The entire build takes about 4–5 hours, including sanding and finishing.
Materials and Tools
Materials
- 2–3 reclaimed wooden pallets (standard 48 × 40 inches)
- 1 × 4 in. lumber (for reinforcing frame, optional)
- Wood glue (water‑based, interior grade)
- 2 in. wood screws (coarse thread)
- Sandpaper (80, 120, 220 grit)
- Stain or paint of your choice
- Clear polyurethane sealant
- Rubber pads or felt protectors (for floor protection)
Tools
- Safety gear: gloves, safety glasses, dust mask
- Hammer or pry bar (for disassembly)
- Circular saw or handsaw
- Power drill with screwdriver bits
- Measuring tape and carpenter’s square
- Clamps (3–4 medium‑size)
- Orbital sander (optional but speeds up sanding)
- Paintbrushes or foam rollers
Step‑by‑Step Assembly
Step 1: Disassemble and Clean the Pallets
Action: Lay each pallet flat on a sturdy surface. Use a hammer and pry bar to carefully remove the nails. Work from the center outward to avoid splitting the wood.
- Tip: Wear gloves to protect your hands from sharp nail heads.
- Tip: Collect all nails in a metal container for safe disposal.
Once nails are removed, wipe the boards with a damp cloth to eliminate dust and debris. If the pallets have paint or stains, a quick wipe with a mild detergent helps remove surface grime.
Step 2: Cut the Boards to Size
Action: Measure and mark the dimensions for the tabletop, lower shelf, and side supports.
- Top surface: 48 × 24 inches (use two full pallet boards side‑by‑side).
- Lower shelf: 44 × 20 inches (cut slightly smaller to create a recessed look).
- Side supports: Four pieces, each 18 inches tall and 24 inches long.
Use a circular saw for clean, straight cuts. If you lack a saw, a handsaw works, but expect a slightly rougher edge that will need extra sanding.
Step 3: Sand the Wood
Action: Begin with 80‑grit sandpaper to smooth out splinters and nail holes, then progress to 120‑grit for a finer surface, and finish with 220‑grit for a smooth finish ready for staining.
- Tip: Sand with the grain to avoid scratches.
- Tip: Use an orbital sander for large surfaces; hand‑sand corners and edges.
After sanding, wipe each piece with a tack cloth to remove dust.
Step 4: Assemble the Frame
Action: Lay out the side supports in a rectangle (two long, two short). Apply a thin bead of wood glue at each joint, then secure with two 2‑in. screws per joint.
- Tip: Pre‑drill pilot holes (½ in. deep) to prevent the wood from splitting.
- Tip: Use clamps to hold joints tightly while the glue cures (15‑20 minutes).
Check for squareness with a carpenter’s square; adjust as needed before the glue sets.
Step 5: Attach the Lower Shelf
Action: Position the 44 × 20 in. shelf inside the frame, leaving a 2‑in. gap from the front edge for a recessed look. Secure with wood glue and four screws (two on each side).
- Tip: Use a level to ensure the shelf sits perfectly flat.
- Tip: Add small shims under the shelf if the frame isn’t perfectly level.
Step 6: Install the Tabletop
Action: Place the two top boards on the frame, aligning the edges flush with the front and sides. Apply glue along the top edges of the frame, then screw the boards down using two screws per board, spaced evenly.
- Tip: If you prefer a seamless look, use a pocket‑hole jig to hide the screws.
- Tip: For added stability, add a third board across the middle (cut to 48 in. length) and fasten it with glue and screws.
Step 7: Finish the Surface
Action: Choose a stain that matches your décor. Apply with a brush or foam roller, following the wood grain. Allow the stain to penetrate for 5‑10 minutes, then wipe excess with a clean cloth.
- Tip: Test the stain on a scrap piece first to gauge color intensity.
- Tip: Apply a second coat if a deeper hue is desired, letting each coat dry 24 hours.
After staining, protect the surface with two coats of clear polyurethane. Lightly sand with 220‑grit sandpaper between coats for a smooth finish.
Step 8: Add Floor Protectors
Action: Attach rubber pads or felt protectors to each corner of the table using double‑sided adhesive. This prevents scratches on flooring and adds stability.
- Tip: Choose pads with a non‑slip surface for extra safety on smooth floors.
Final Checks and Maintenance
Before using your new coffee table, perform a quick inspection:
- Ensure all screws are tight and no wobble exists.
- Check that the finish is fully cured (usually 48 hours).
- Place a coaster or placemat on the surface to protect the sealant.
Maintenance is simple: dust with a soft cloth weekly, and reapply a thin coat of polyurethane annually to keep the wood protected from moisture and wear.
Optional Customizations
Want to personalize further? Consider these low‑effort upgrades:
- Painted accents: Add a pop of color to the lower shelf edges.
- Stenciled designs: Use a stencil and spray paint for a modern pattern.
- Integrated storage: Attach a small drawer or basket underneath the lower shelf for extra utility.
Conclusion
Upcycling pallets into a coffee table blends sustainability with style, delivering a functional centerpiece that tells a story. By following the data‑driven steps above—selecting the right materials, preparing each piece meticulously, and applying a durable finish—you’ll achieve a professional‑looking result without a hefty price tag. Grab a few pallets, gather your tools, and start turning waste into a work of art today.