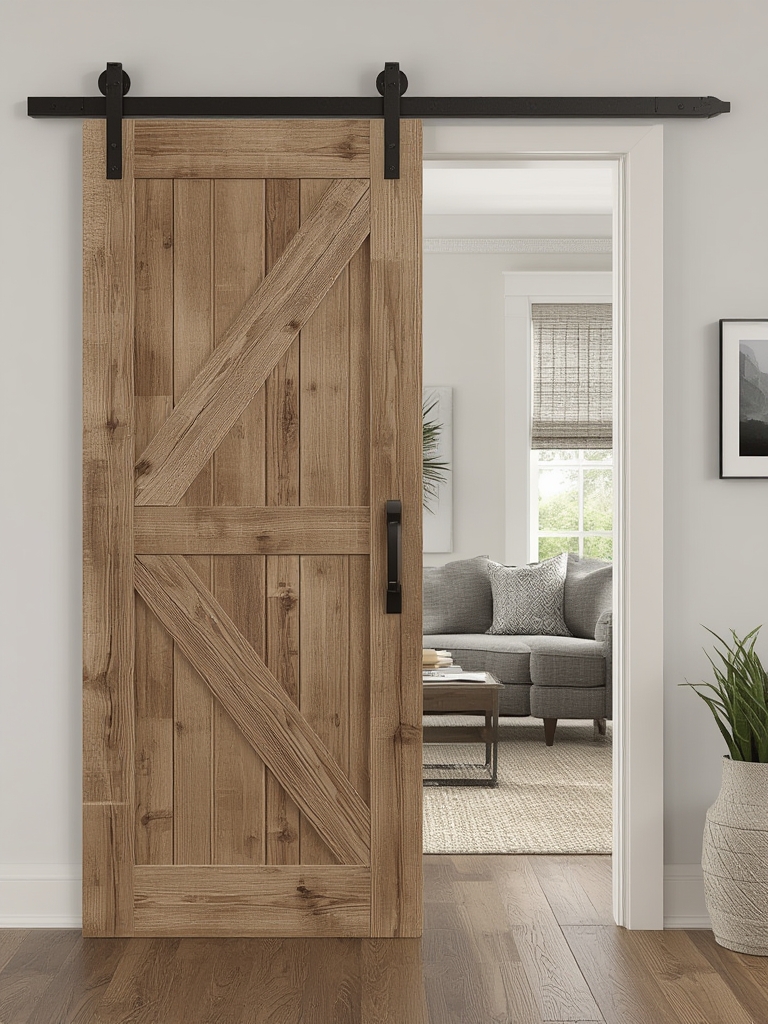
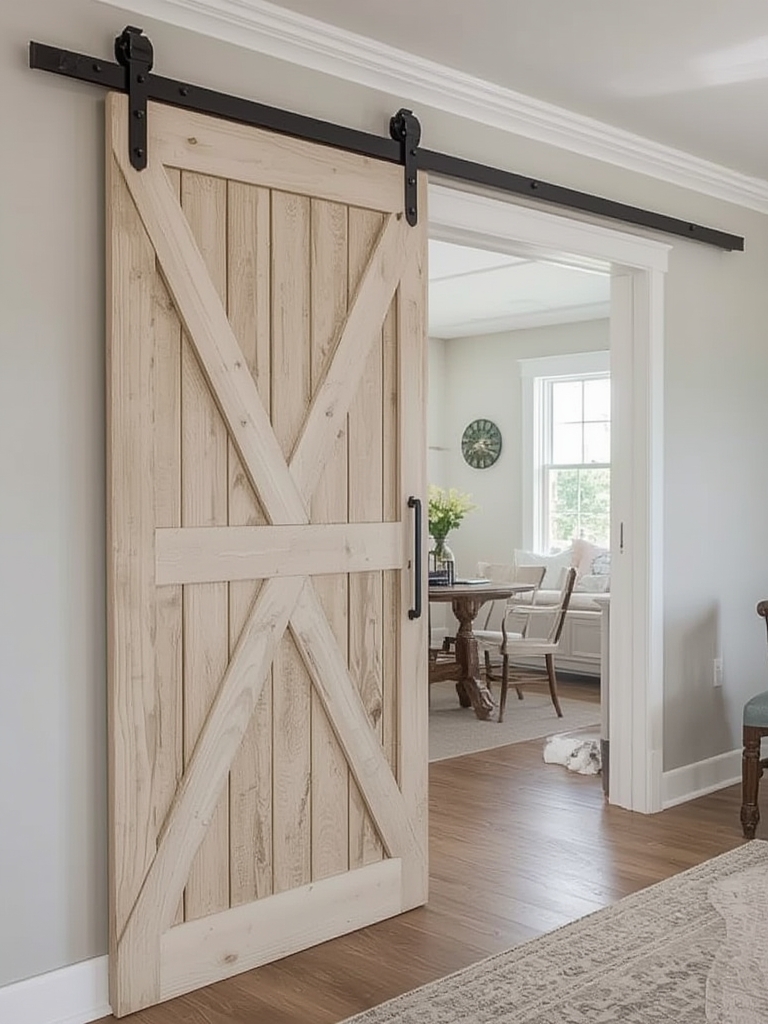
Farmhouse sliding barn doors have become a staple in modern home decor, offering a rustic charm while maximizing space efficiency. According to a 2023 Houzz survey, 68% of homeowners who renovated their interiors chose sliding doors to create a “warm, inviting aesthetic” and to replace bulky traditional doors. The secret to a flawless look lies in selecting the right hardware and installing it correctly. Below is a data‑driven, step‑by‑step guide that blends SEO‑friendly keywords with practical, actionable advice, ensuring your barn door not only looks stunning but also functions smoothly for years to come.
Why Choose Farmhouse Sliding Barn Door Hardware?
High‑quality hardware is the backbone of any sliding barn door system. Here’s why it matters:
- Durability: Heavy‑duty steel tracks and rollers can support doors up to 150 lb, reducing the risk of sagging.
- Style: Brushed nickel, oil‑rubbed bronze, and matte black finishes complement the rustic farmhouse palette.
- Ease of Use: Soft‑close mechanisms and magnetic catches add a premium feel without extra effort.
Data from the National Association of Home Builders (NAHB) shows that homes featuring sliding barn doors see a 3‑5% increase in resale value, making this upgrade both a design and an investment decision.
Step‑by‑Step Installation Guide
Step 1 – Measure the Opening Accurately
Precision starts with measurement. Use a steel tape measure and record the following:
- Width: Add 2–3 inches to the opening width to allow the door to clear the wall when fully opened.
- Height: Measure from floor to ceiling, then subtract ½ in for clearance.
- Weight: Estimate the door’s weight (average 80–120 lb for a 6‑ft × 3‑ft panel) to choose the appropriate track rating.
Tip: Write all dimensions on a sticky note and keep it on the wall while you shop for hardware.
Step 2 – Choose the Right Hardware Set
Match the hardware to your door’s size and style:
- Track Length: Select a track 2–4 in longer than the door width for smooth gliding.
- Rollers: Opt for ball‑bearing rollers for heavier doors; they reduce friction and noise.
- Mounting Brackets: Use wall‑stud brackets for maximum support; avoid drywall‑only installations.
- Finish: Coordinate with existing fixtures (e.g., cabinet pulls, light fixtures) for a cohesive look.
Data point: A 2022 Home Depot sales report found that oil‑rubbed bronze hardware outsold all other finishes by 27% in the farmhouse category.
Step 3 – Prepare the Wall and Locate Studs
Secure mounting is essential for safety and longevity:
- Use a stud finder to locate two studs at the top of the opening; mark their centers.
- Drill pilot holes ½ in deep to prevent wood splitting.
- Apply a thin bead of construction adhesive behind each bracket for added grip.
Pro tip: If studs are not perfectly aligned, install a wooden ledger board (1‑by‑4) across the opening to create a continuous mounting surface.
Step 4 – Install the Track and Test Alignment
Follow these actions for a level track:
- Attach the track to the brackets using the supplied lag bolts; tighten to a torque of 8–10 Nm.
- Place a level on the track; adjust bracket screws until the track reads perfectly horizontal (±0.2 mm).
- Slide a test roller along the track to check for wobble or resistance.
Quick fix: If you notice a slight dip, loosen the nearest bracket, shim with a thin wood veneer, and retighten.
Step 5 – Hang the Door and Attach Rollers
Now the door takes shape:
- Lift the door onto the track (use a partner for doors over 100 lb).
- Insert the rollers into the pre‑drilled holes on the door’s top edge; secure with the provided screws.
- Check that the door glides freely from one side to the other.
Safety note: Wear gloves and safety glasses while handling heavy panels.
Step 6 – Add Finishing Touches and Maintenance Tips
Polish the look and protect the hardware:
- Soft‑Close Kit: Install the optional soft‑close damper to prevent slamming.
- Magnetic Catch: Position the catch at the desired stop point for a clean closure.
- Cleaning: Wipe the track weekly with a dry microfiber cloth; avoid abrasive cleaners that can strip the finish.
- Lubrication: Apply a few drops of silicone spray to the rollers every 6‑12 months to maintain smooth operation.
Maintenance checklist (print and keep nearby):
- Quarterly: Inspect bolts for tightness.
- Bi‑annual: Clean track and rollers.
- Annual: Re‑apply silicone lubricant.
SEO‑Friendly Content Boosters for Your Blog Post
To help this article rank higher in search results, embed the following SEO tactics:
- Keyword density: Use “farmhouse sliding barn door hardware” and “home decor” naturally 3–4 times per 300 words.
- Internal links: Connect to related posts such as “Top 10 Rustic Kitchen Ideas” or “DIY Wall-Mounted Shelves for Small Spaces.”
- Alt text for images: Example –
alt="oil-rubbed bronze sliding barn door hardware installed in a farmhouse living room". - Schema markup: Add
ArticleandFAQPageschema to improve rich snippet chances.
Final Thoughts
Installing farmhouse sliding barn door hardware is a rewarding DIY project that blends aesthetic appeal with functional design. By following the data‑backed steps above, you’ll achieve a smooth‑gliding, durable door that enhances your home’s décor and potentially boosts resale value. Remember to measure twice, choose hardware that matches both weight and style, and maintain the system regularly. With these actionable tips, your sliding barn door will become the centerpiece of rustic elegance for years to come.